Monday, December 23, 2019

McCalls 7596, My Artsy Caftan

McCalls 7596 McCalls 7596 McCalls 7596 McCalls 7596 McCalls 7596 McCalls 7596

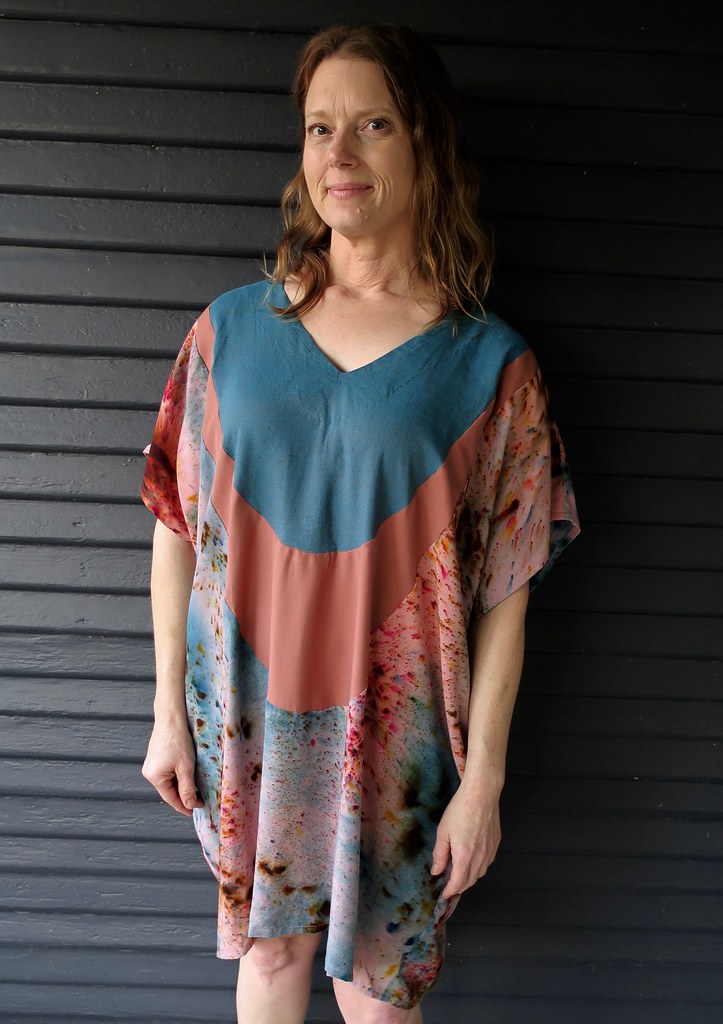
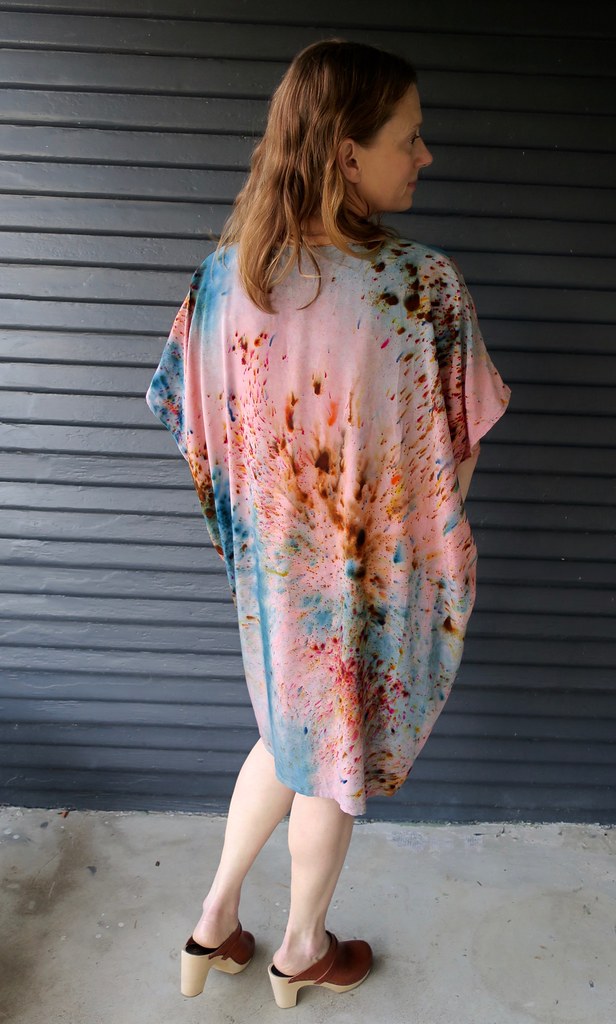
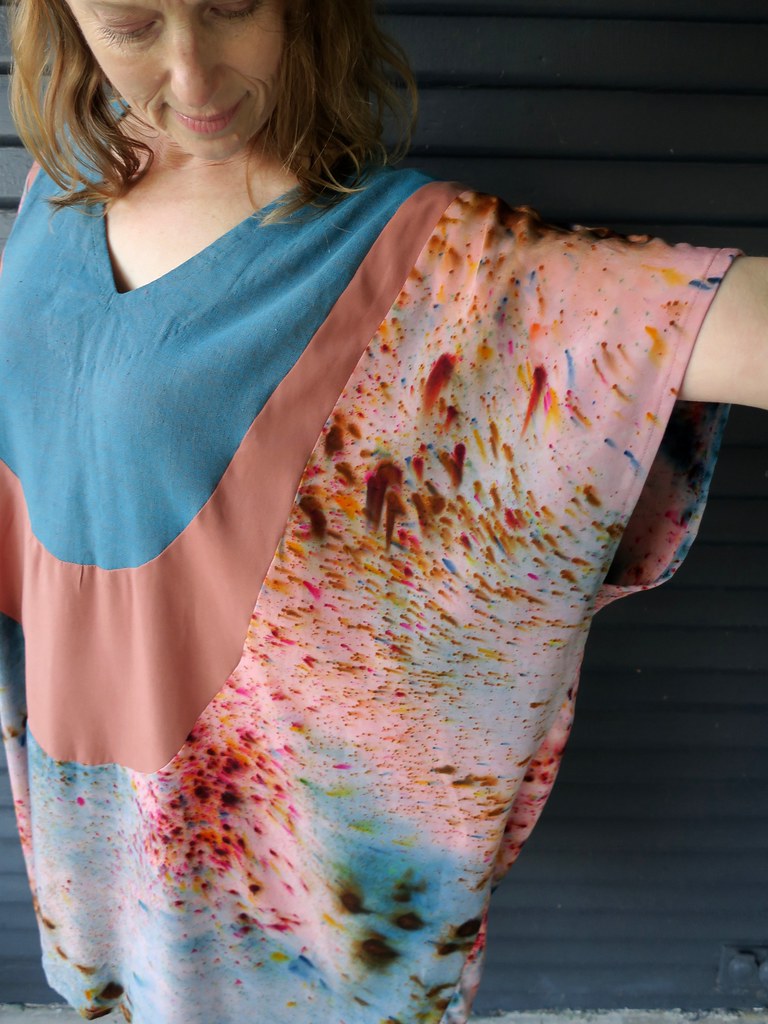
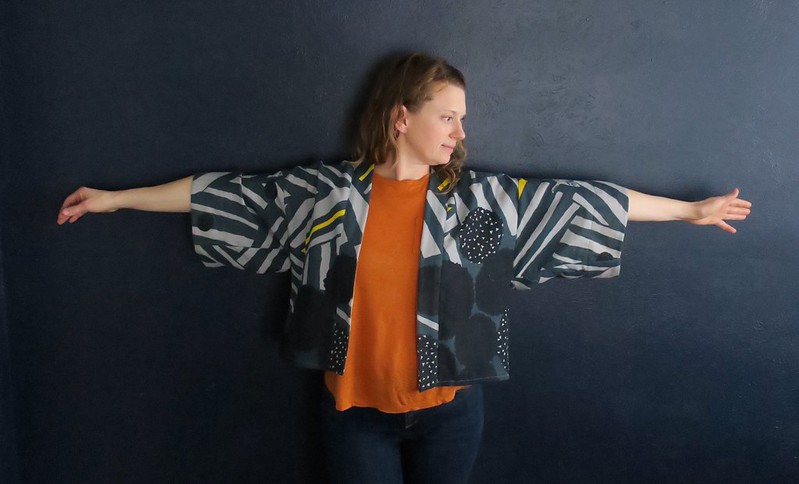
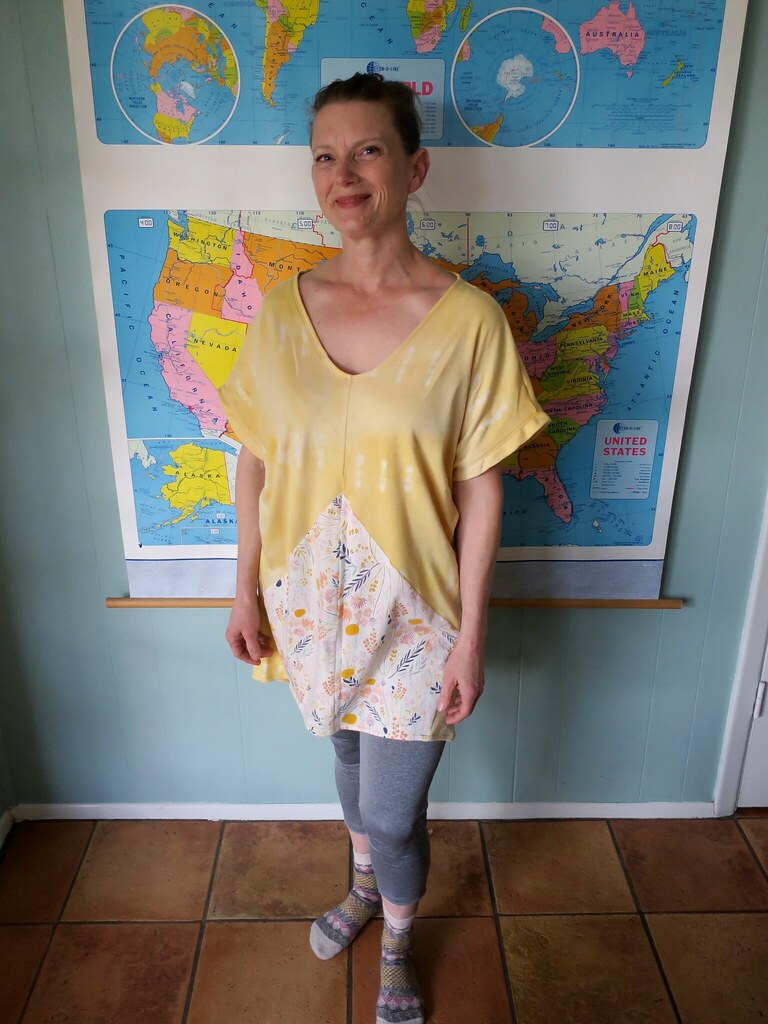
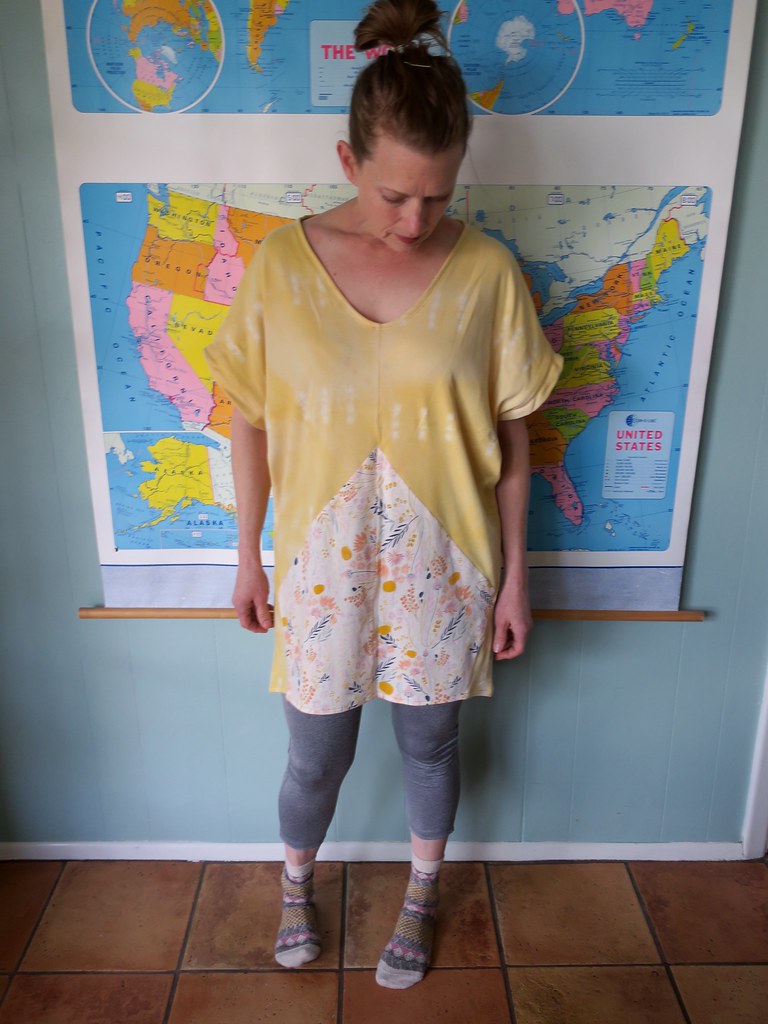
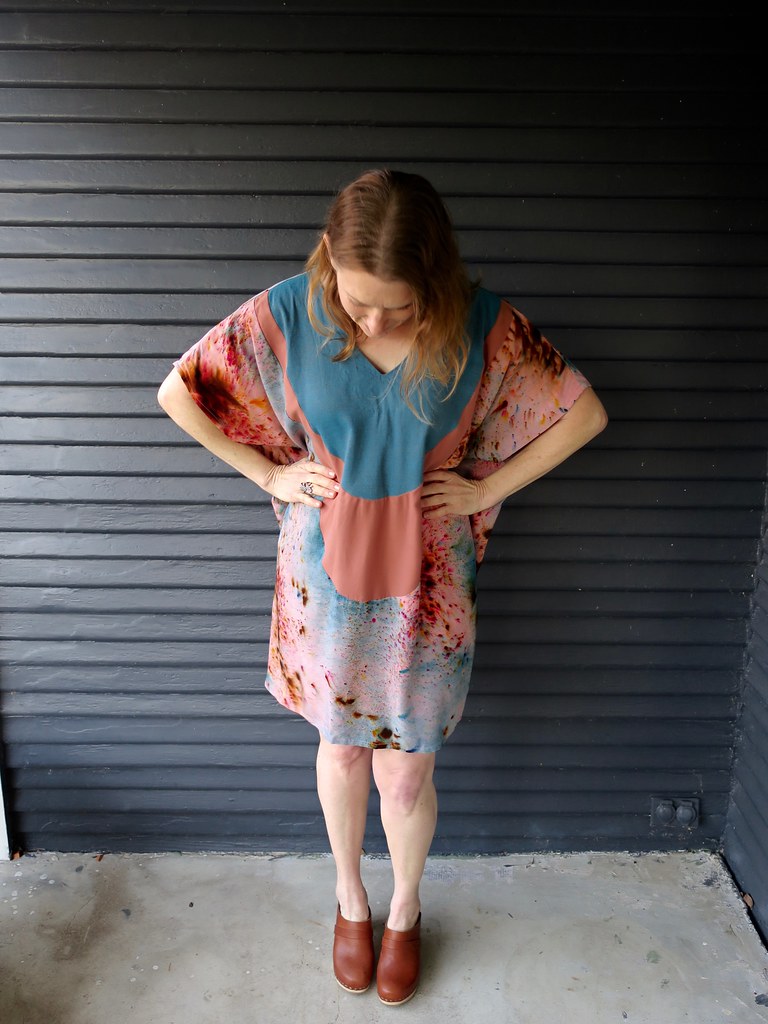
What, a blog post? I'm not sure I remember how to do this, but this garment felt like it deserved more attention than a little old Instagram post would give it. This piece feels very special and like a fully formed expression of my creative pursuit. I dyed the rayon challis last year with my mom. I intended it for a maxi shirt dress but it just felt too loud for a full body covering. When we were planning our camping trip to Santa Fe this Fall I decided I needed a last minute swim cover up  and this one came together quite quickly. I finished everything but hand stitching the facing before our trip and took my needle and thread along to do that at camp. I had grand notions of photographing this at Ojo Caliente  hot springs in front of some gorgeous red rocks, wouldn't that have been stunning?! Well, we didn't make it to Ojo and the hand stitching only recently got completed at home. Good news is this is a perfect house dress, swim cover up and might possibly even get worn out as a dress at some point. And, I love this thing so much! I love the way the simple silhouette drapes so elegantly, especially in these divine fabrics.

I made a size Small and the pattern is Mccalls 7596. The rayon challis is from Dharma Trading, the Cedarwood Safia Twill is from Matchpoint fabric (I may have to order some more of that one) and the teal rayon linen blend is leftover from my Alice Top. The only modification that I made was re-drafting the front curved yoke to allow for color blocking. This pattern is super easy and comes together very quickly, I highly recommend it!

Tuesday, April 16, 2019

Vintage Simplicity 7006

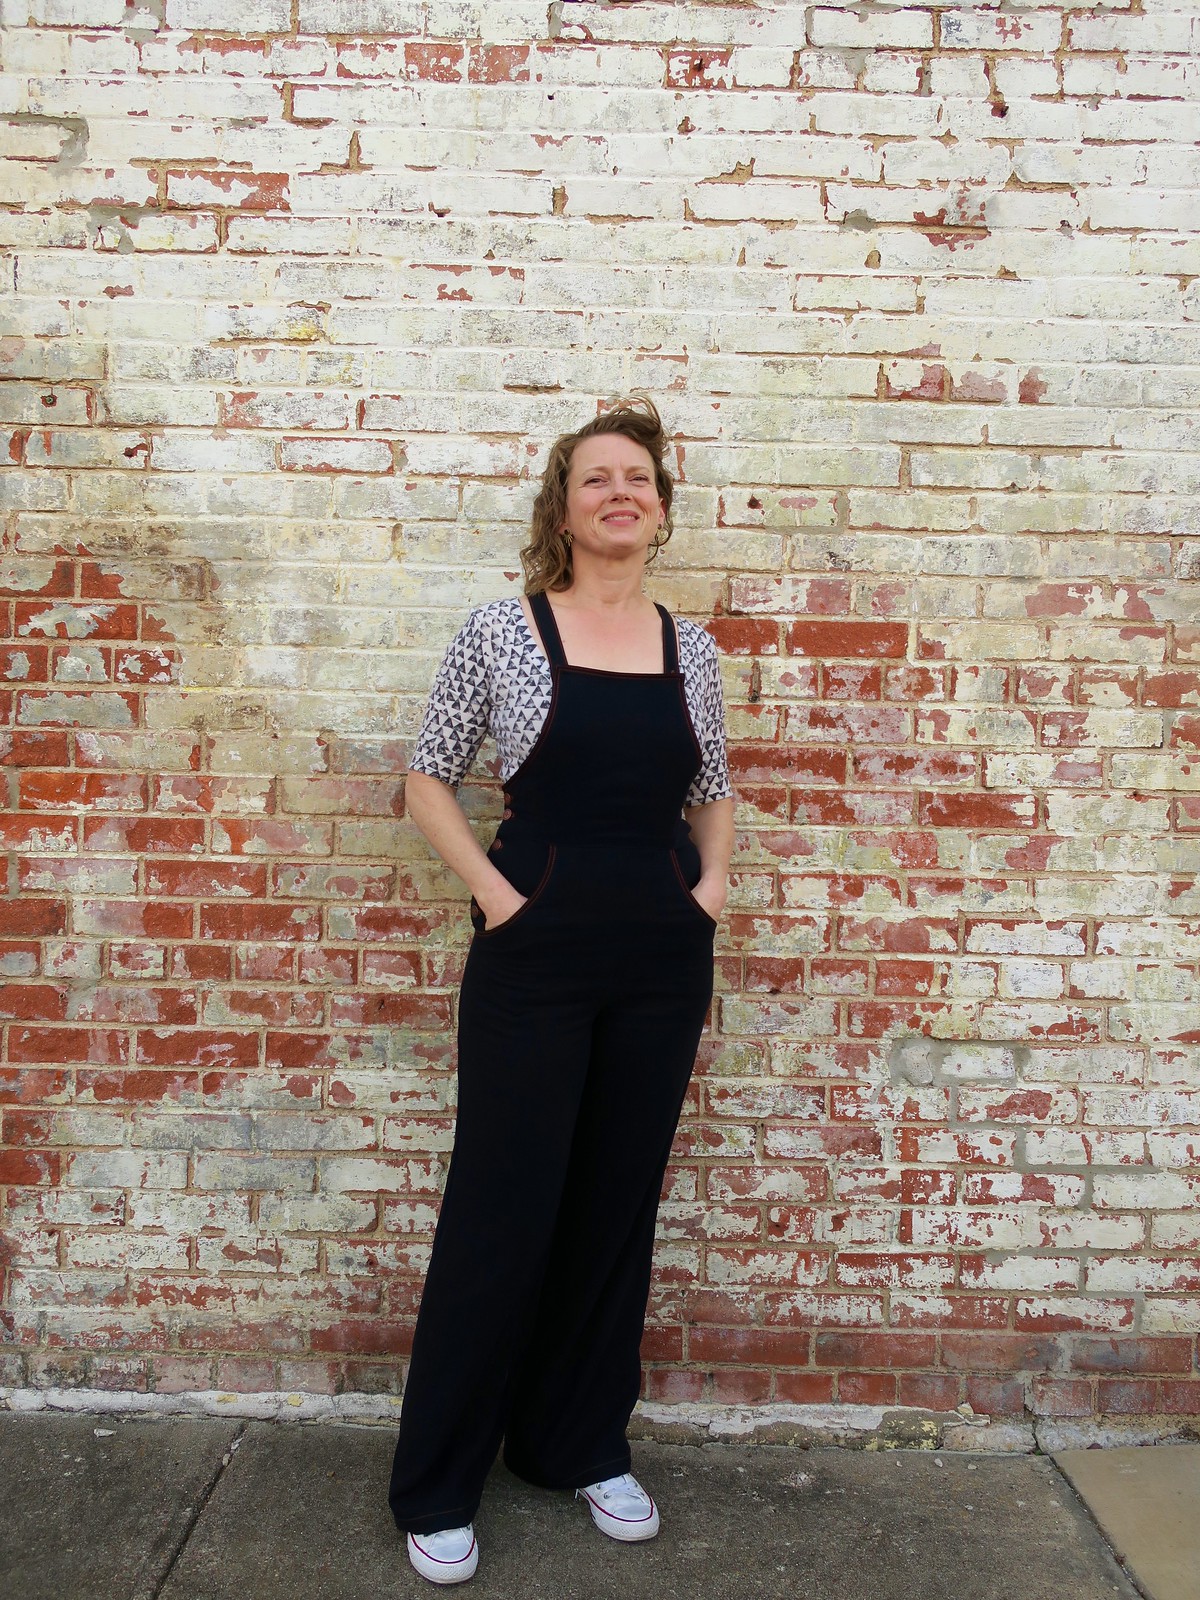
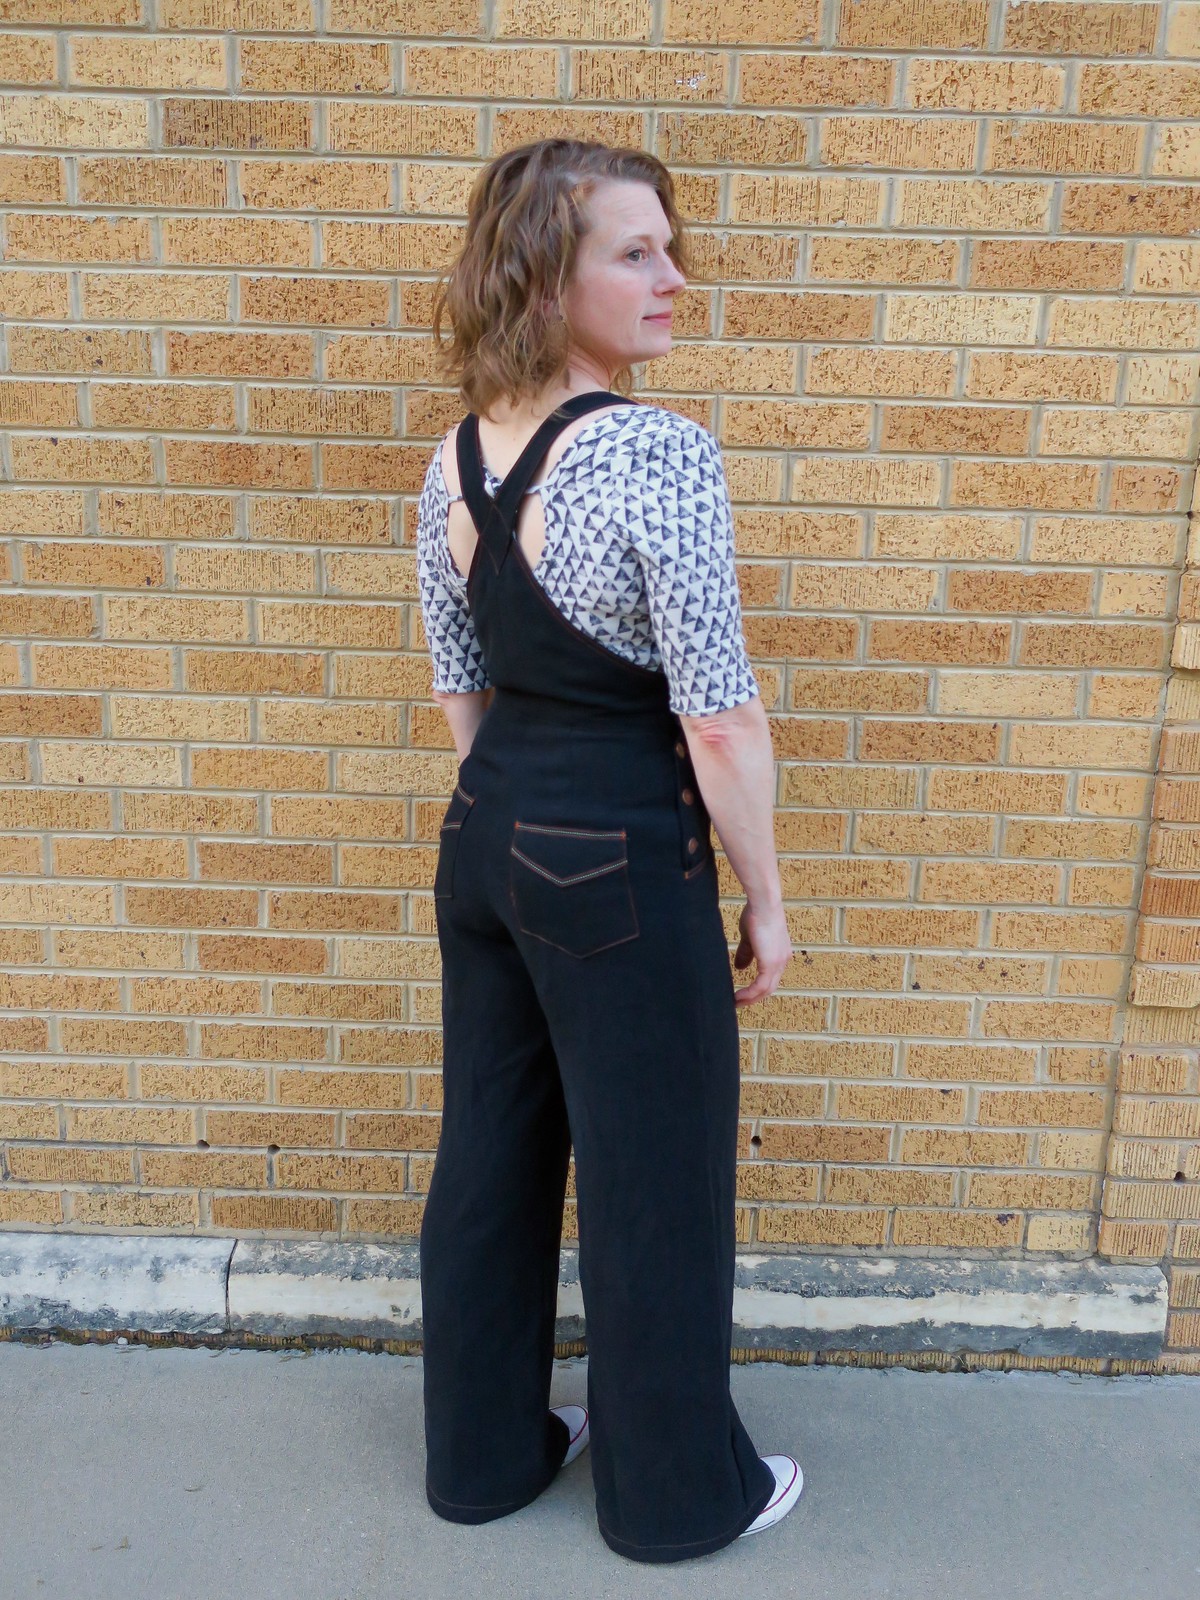
I was inspired by the Sew Bibs Challenge over on Instagram last month. I surprised myself and finished this pair of overalls on the very last day of the challenge.
  Simplicity 7006

Can you tell I'm super proud of these?!
Simplicity 7006 Simplicity 7006

The fit is excellent, they are comfy and the style ticks all my boxes: simple, vintage yet modern, lots of buttons and top stitching. Nothing to not love here.

Simplicity 7006

I do need help when it comes to booty pocket placement. I messed these up the first time and still not sure they are quite even. How, oh how do you get your pockets to be both the exact same size, and placed evenly on your booty?! Help!

Simplicity 7006 Simplicity 7006


I was surprised how easy it was to fit this pattern, considering it is a Misses 9 & 11. I muslined it and only had to add 1/4" to each side seam from the waist down to the hips. I added to the bib pieces to match this as well. I did my typical round pubis and low butt adjustments. Plus I learned a new to me full front thigh adjustment. I added 3/4" to the crotch at the front inseam and removed 1/2" from the crotch at the back inseam. This gives the full front thigh more room without making the crotch length too long. You can see a diagram of what I did here where it says add for full thighs.

Simplicity 7006

I used the pockets from this vintage pattern McCalls 4849, view B Simplicity 7006

The mystery fabric for these overalls came from one of the tablecloths that my mom made me for my booth when I made jewelry. I believe it is a Tencel Twill that she got at a warehouse fabric store on Harry Hines in Dallas for probably $1 a yard. How is that for thrifty?

My booth at Bayou City in Houston

Pattern: Simplicity 7006 from 1975

Size: misses 11

Alterations: Added 1/4" to sides from bib down through hip
                    Added butt pockets from McCalls 4849
                    Left off front bib pocket
                    Used buttons instead of overall buckles
                    Low butt, round pubis adjustment
                    Full front thigh adjustment

My Measurements: Bust 34"
                                Waist 26"
                                Hips 39"

As I say with every pair of pants I make, these are the best fitting pants I have made so far. With this pair I think I have truly made wearable pants that I would not change. This is a years in the making, huge deal for me. I am thrilled. I definitely plan to use this pattern again and again. I want to make a shorts version as well as using the pants only without the bibs.

Sunday, March 10, 2019

Simplicity 1318 Times Two

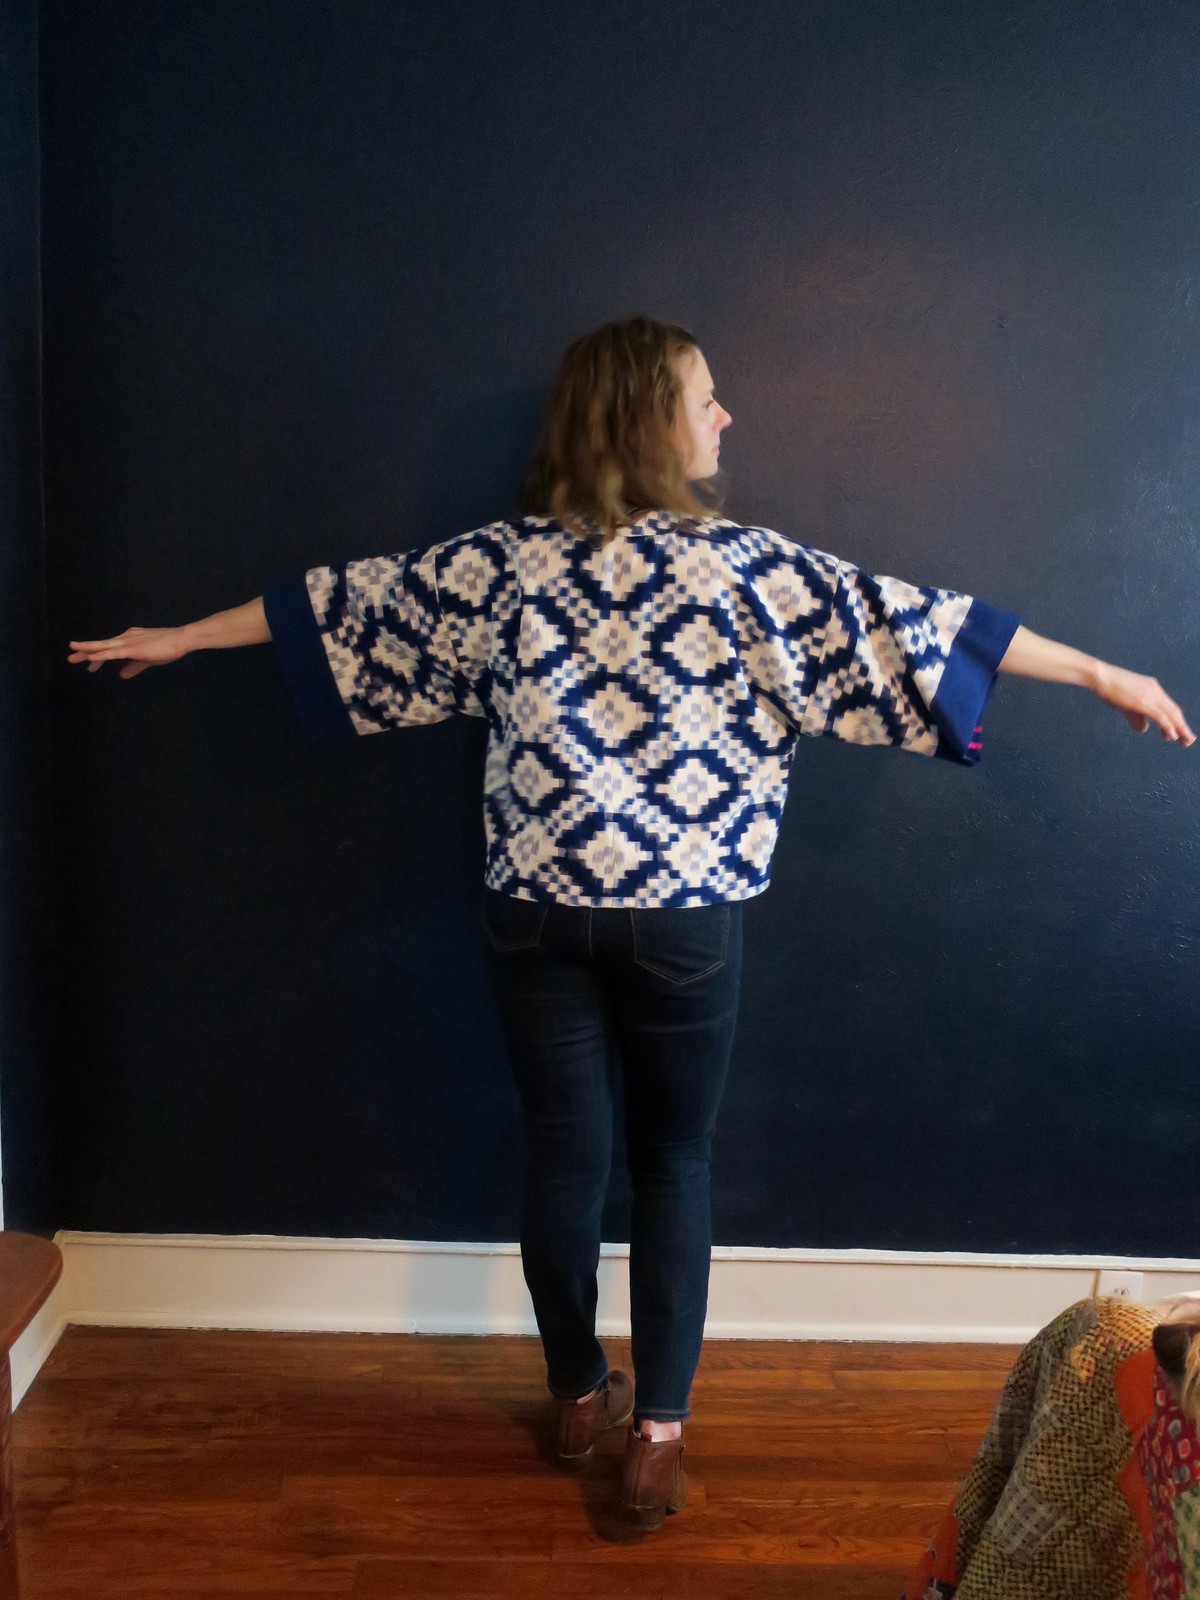
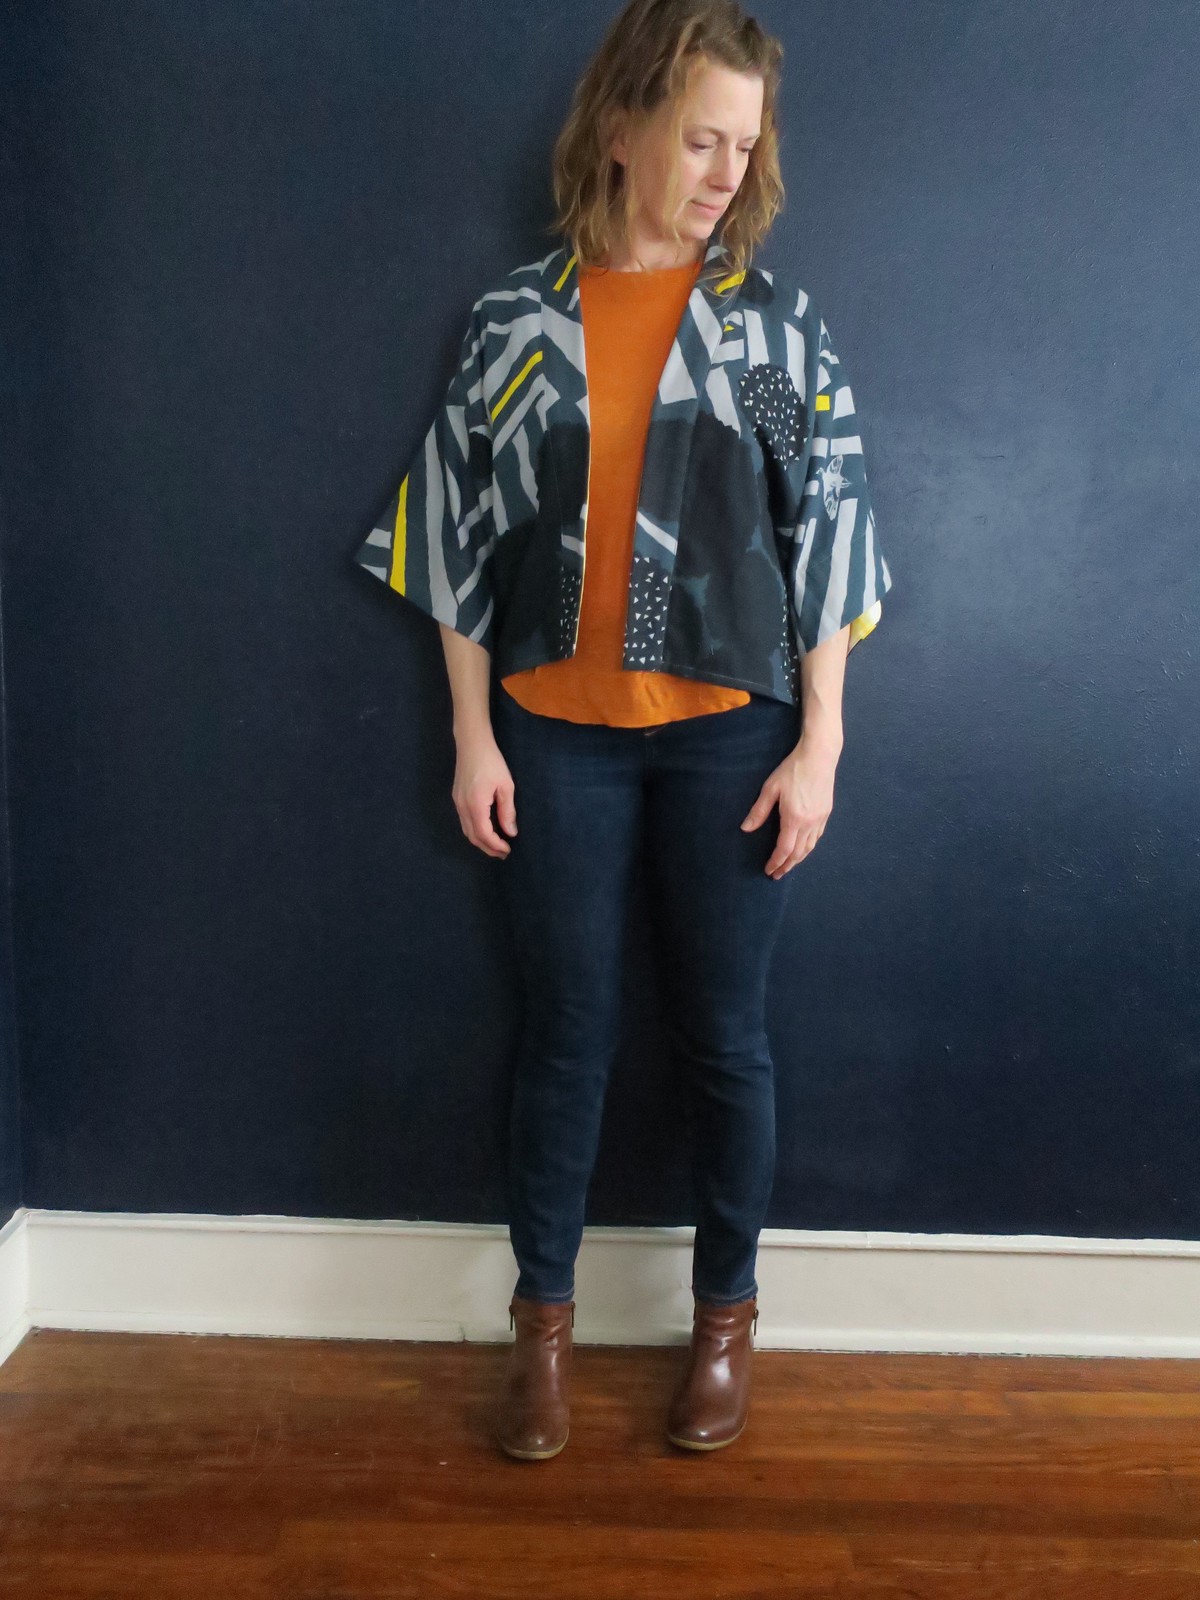
Back in the Fall I placed an order with Stone Mountain Fabrics during a sale. I had my eye on a certain Ikat for a while but by the time I ordered it there was none left. They have the best customer service and offered to sell me another Ikat at the same sale price so I ended up with this gorgeous blue and white fabric from India. I only ordered a yard and a half but was able to squeeze this Haori style jacket out of that yardage.

Simplicity 1318

Simplicity 1318

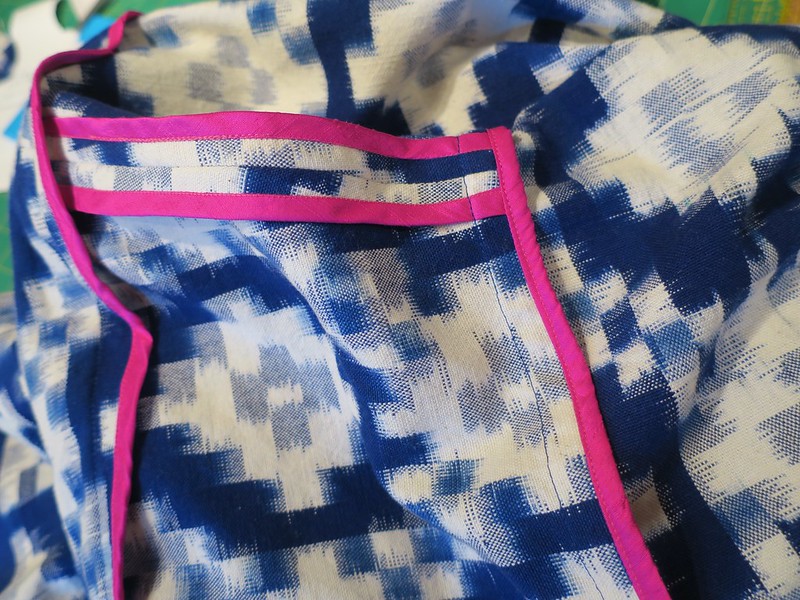
I started this project back before Christmas and on a whim I tried out Hong Kong seam binding with this bright fuchsia silk dupoini. This fabric was originally a pair of pants that my mom thrifted and this is the second piece that I have used it in for bias binding. My Papercut Flutter Blouse has a bit of bright contrast too thanks to those thrifted pants.

Simplicity 1318

Even though the pop of color was super satisfying to me, I lost steam on this make for a while. I was kicking myself for taking such a simple sew and making it so much more labor intensive. In the end I am glad I did. Even though you don't see it from the outside, look how beautiful the guts of this little jacket are! Plus I challenged myself and learned a new technique. Since I prefer simple silhouettes I really think elevating my construction is where the challenge lies in sewing for me. If you are interested in learning how to bind your seams in this way Colette has a tutorial on Hong Kong Finish.

Simplicity 1318

Those colors together make me so happy! Speaking of Happy Colors, are you following the #sewhappycolor challenge that Katie Kortman is hosting? Super bright colors are not always my cup of tea these days (besides these small doses), but this challenge got me inspired. I dyed fabric, cut a pattern and sewed a top all in one week. For a slow maker and procrastinator like me that is a big deal.

Simplicity 1318

Speaking of procrastinating, my oldest friend Gretchen has a birthday six days after mine. She gives the best gifts, always something handmade and like a box of treasures and goodies. I was stumped last year on what to make her. I had planned to dye some fabric and make her a caftan. But I was too wishy washy on color and pattern and how to dye the fabric. Too much pressure, I guess, creating for such a talented woman. Eventually I showed her my ikat jacket and she wanted me to make her the same pattern out of this beautiful Kokka double gauze.

Simplicity 1318

Simplicity 1318

I dyed a little bit of lightweight cotton in a bright yellow for the facings to give it a pop of color and contrast. I also squeezed this version out of 1.5 yards.

Simplicity 1318

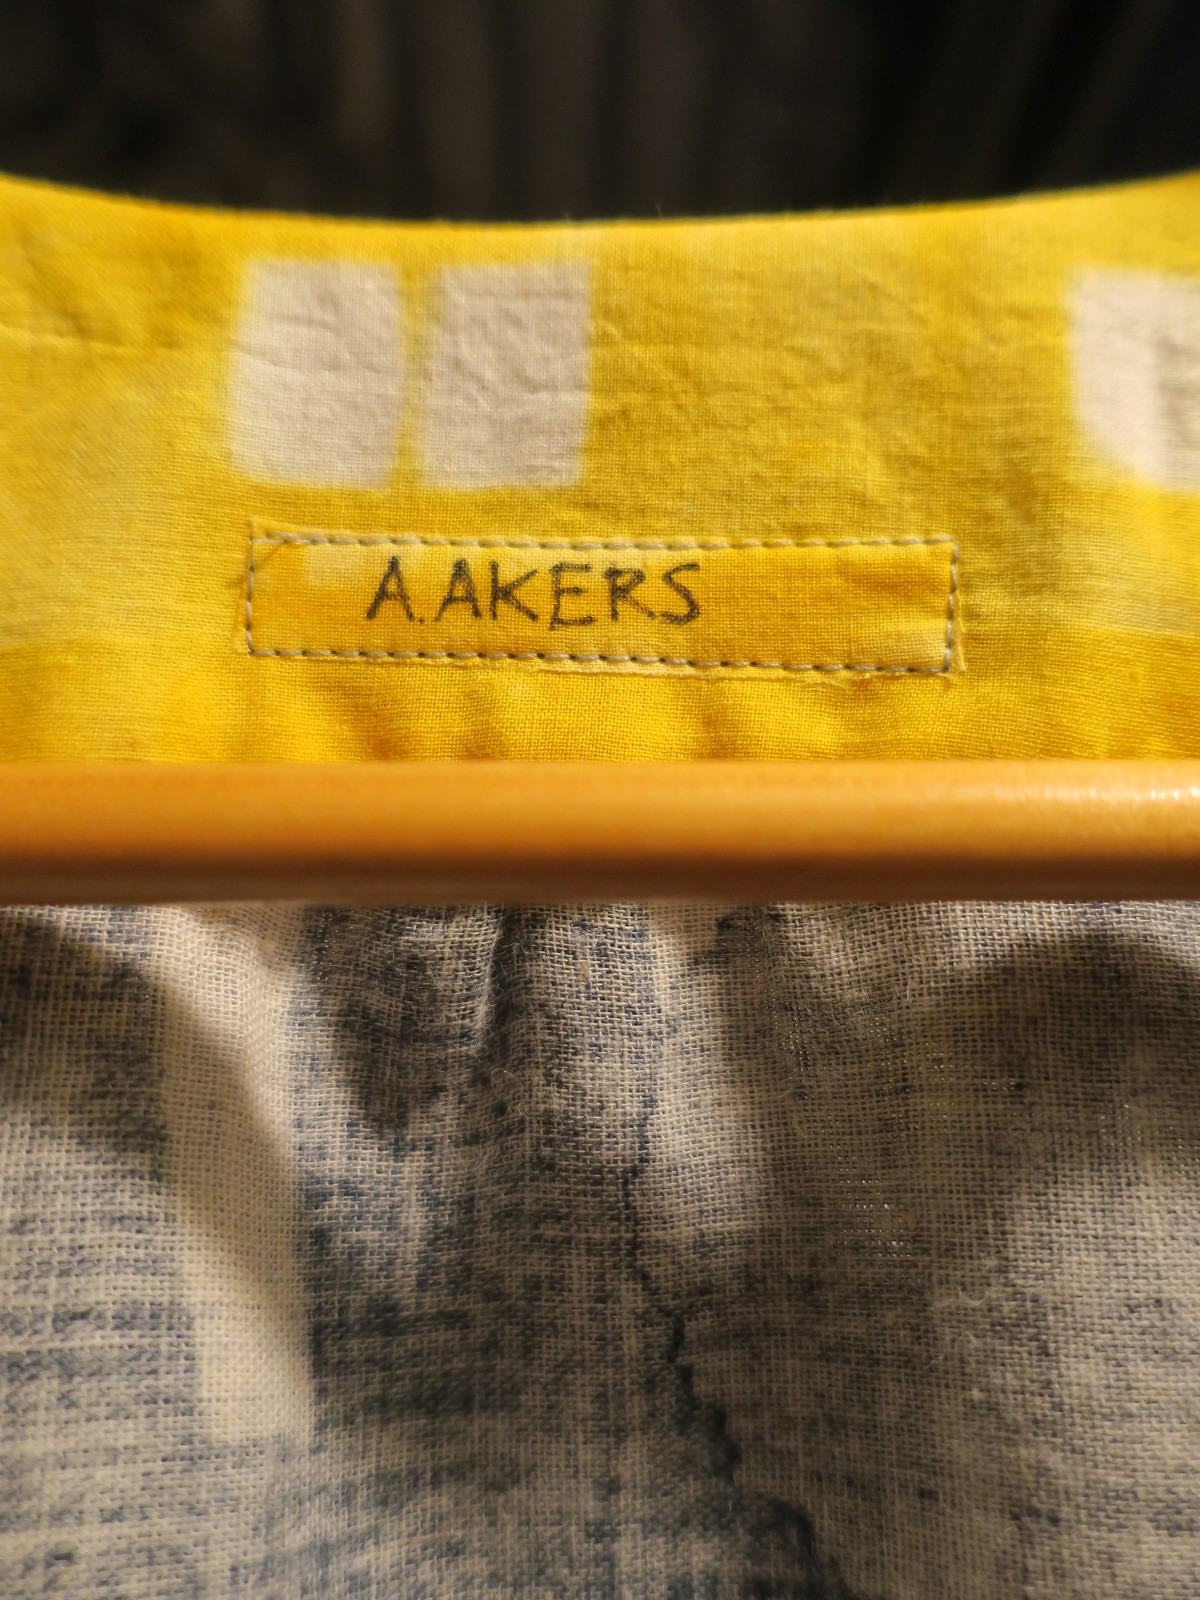
I made my own tag because I don't like the ones that I had made. I need to come up with something that I really love.

Simplicity 1318

Pattern: Simplicity 1318

View: B

Size: XS

Alterations:
Cut the back pattern piece on the fold.
Leave off the bands on the sleeves.
Shorten body and sleeves in order cut from 1.5 yards.

Sunday, February 17, 2019

My Magic Lander Pants

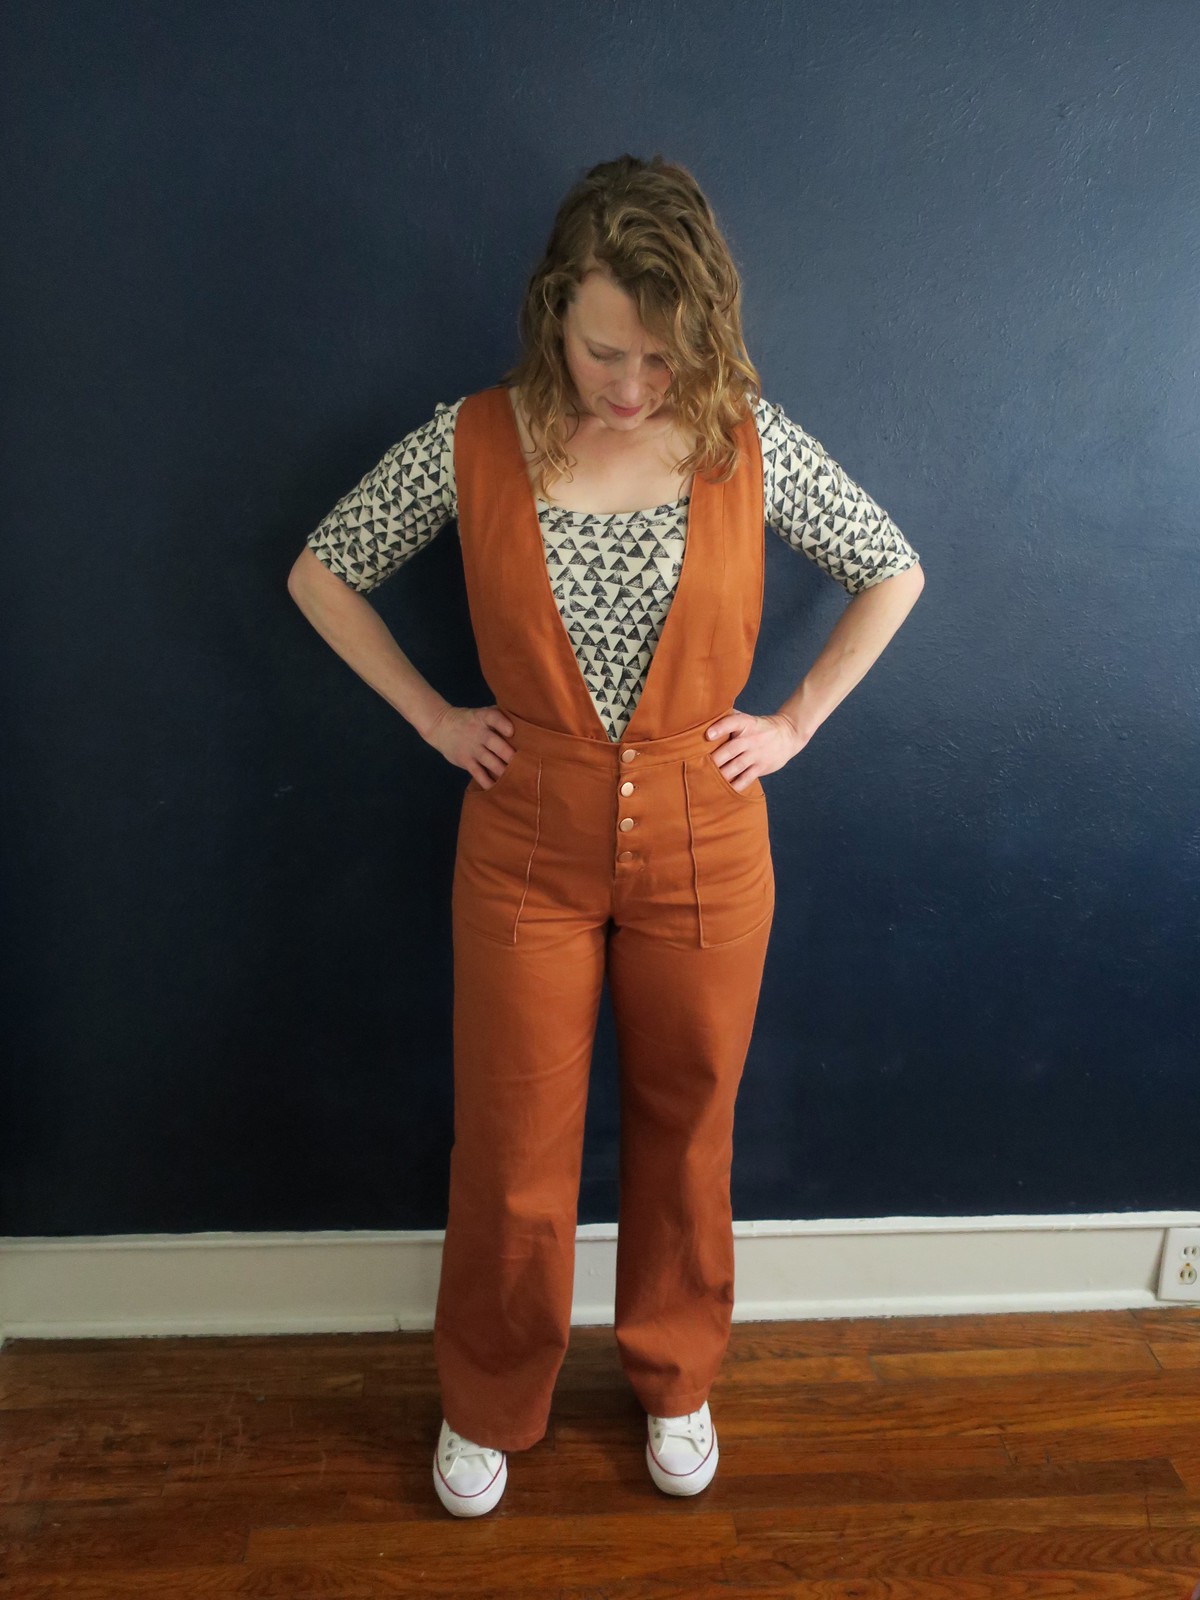
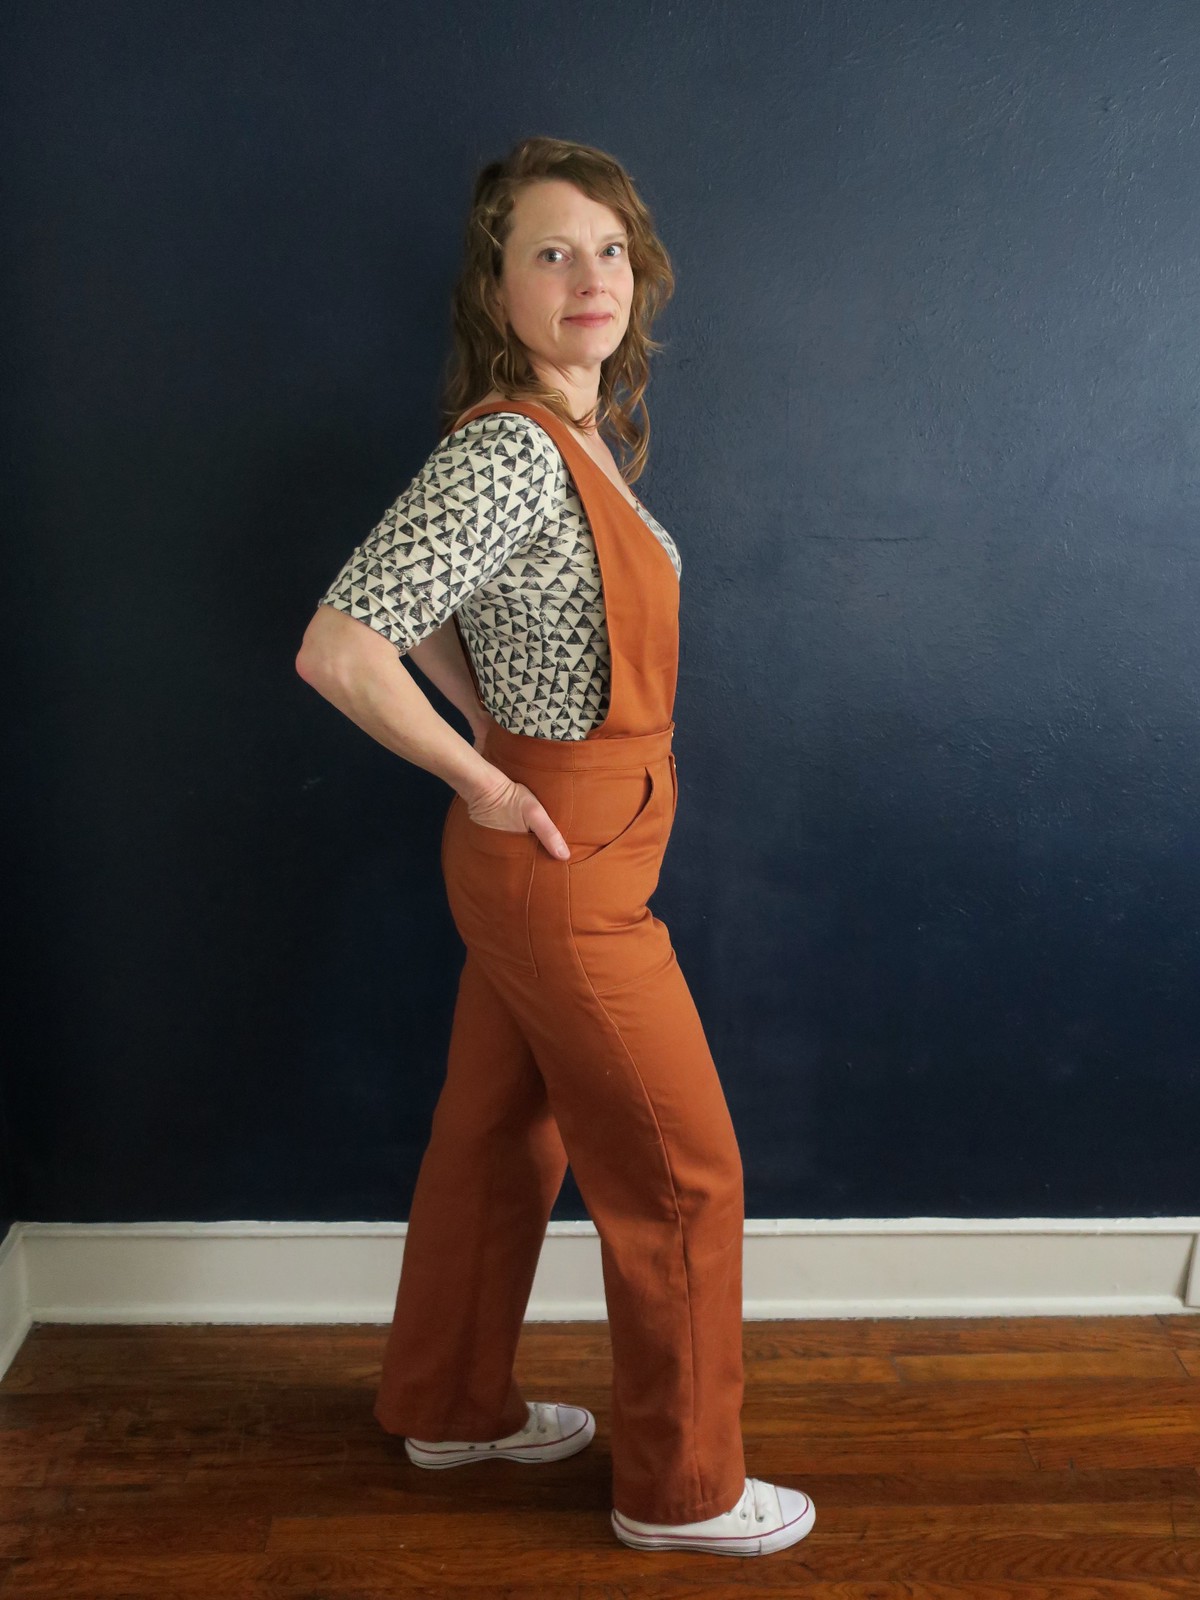
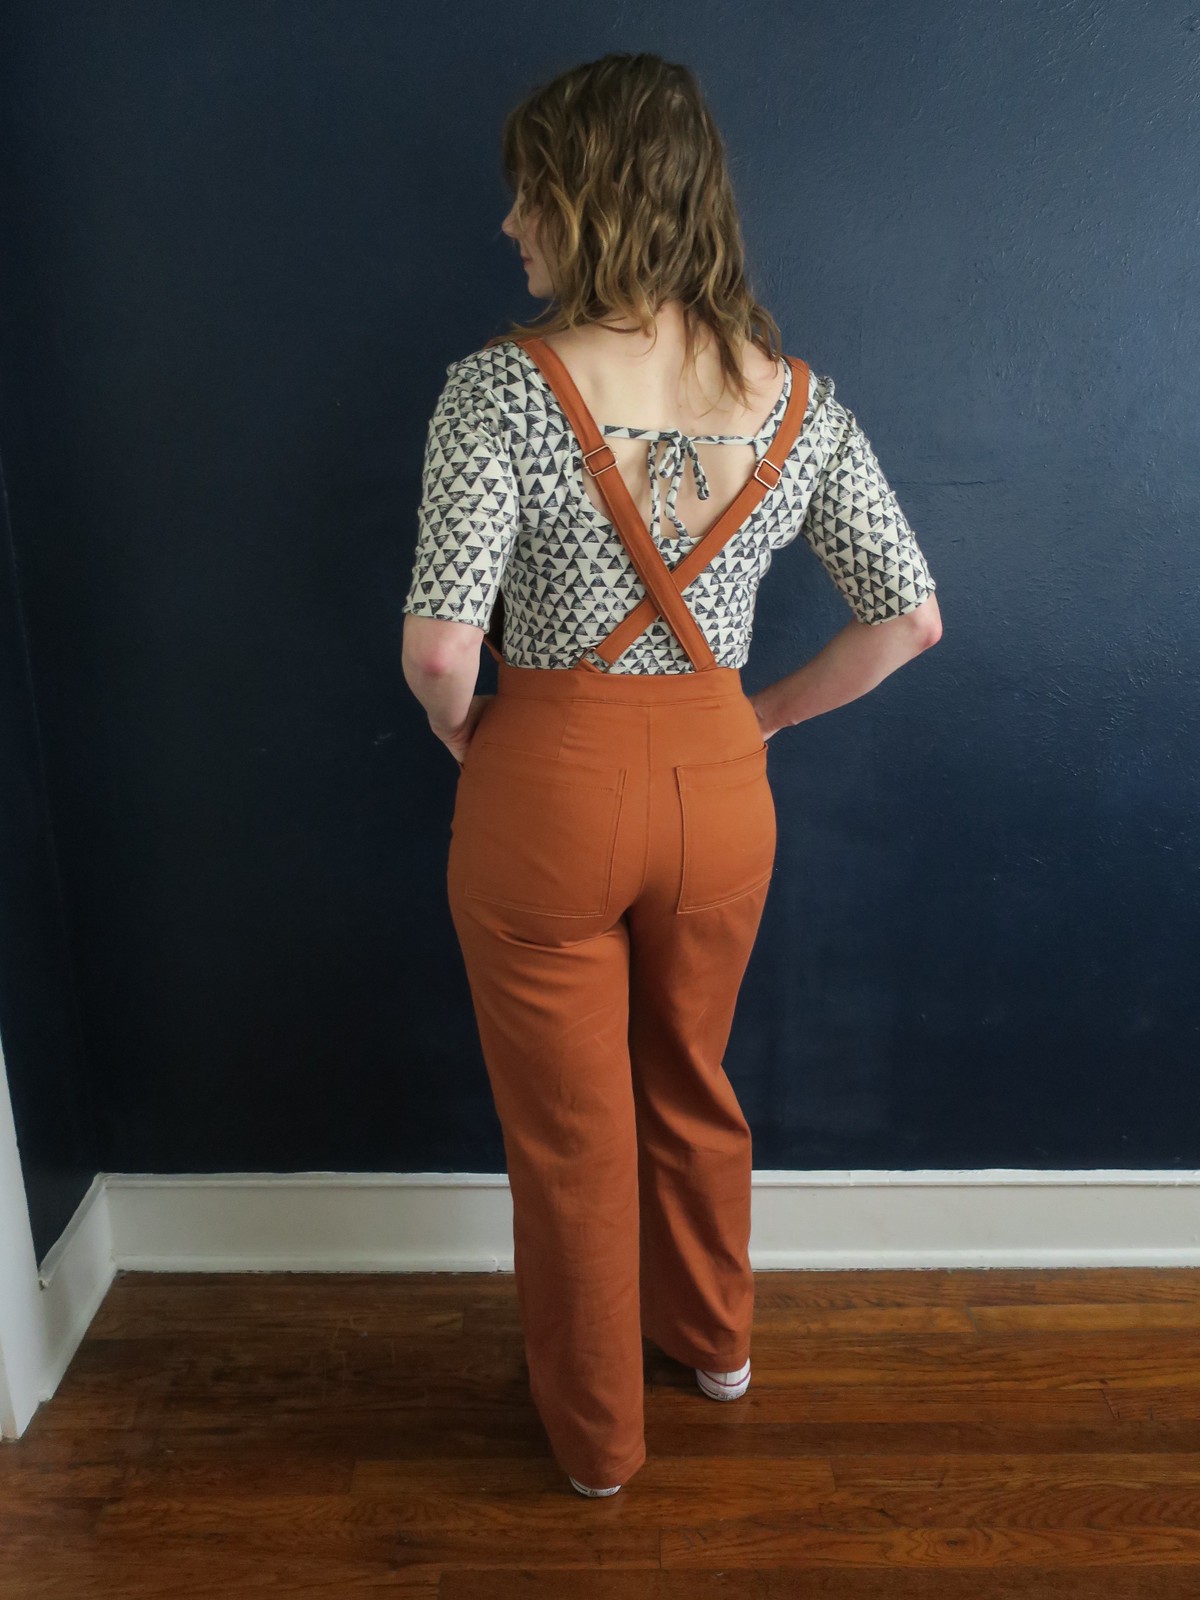
I can't tell you how thrilled I am to finally have these Lander pants/magic overalls be a reality! I had seen a few versions of this shape of overall or jumpsuit last Fall and I finally got around to making this idea happen. I had planned to have these finished by the end of January for the Sew Fancy Pants contest but I'm slow and I was taking my time, and drafting the bib and top stitching and so on. But they are done now, and aren't they freaking fantastic?!
  Magic Lander Pants

I had made a pair of Lander Shorts last summer that I love. However I like my pants much more fitted than my shorts. I ended up taking them in 1/4" at the side seams, except through the hip and I drafted a curved waistband, which I will use for any future versions of this pattern. I also took 1/2 wedge out of the center back seam where it meets the waistband. This eliminated the swayback.
Magic Lander Pants


Magic Lander Pants

I used the tutorial from SewNorth on instagram to figure out how to attach my two bib pieces. The waist band has an extra layer of fabric to protect it from the buttons and the inside waist band has button holes. This worked out great and now I have a party trick where I can remove the top half of these overalls and have plain 'ol pants.
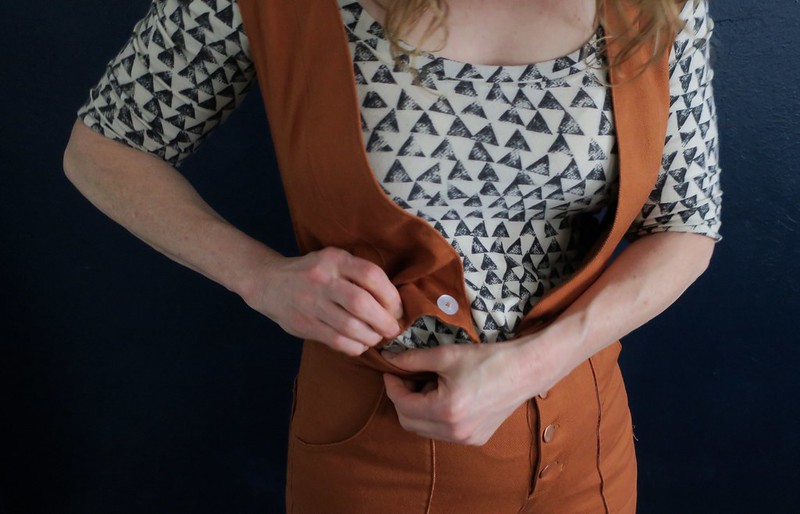
Magic Lander Pants

The only downside to this is that I think between the extra layer of fabric and the buttons they fit a little tighter when the bib is buttoned on.
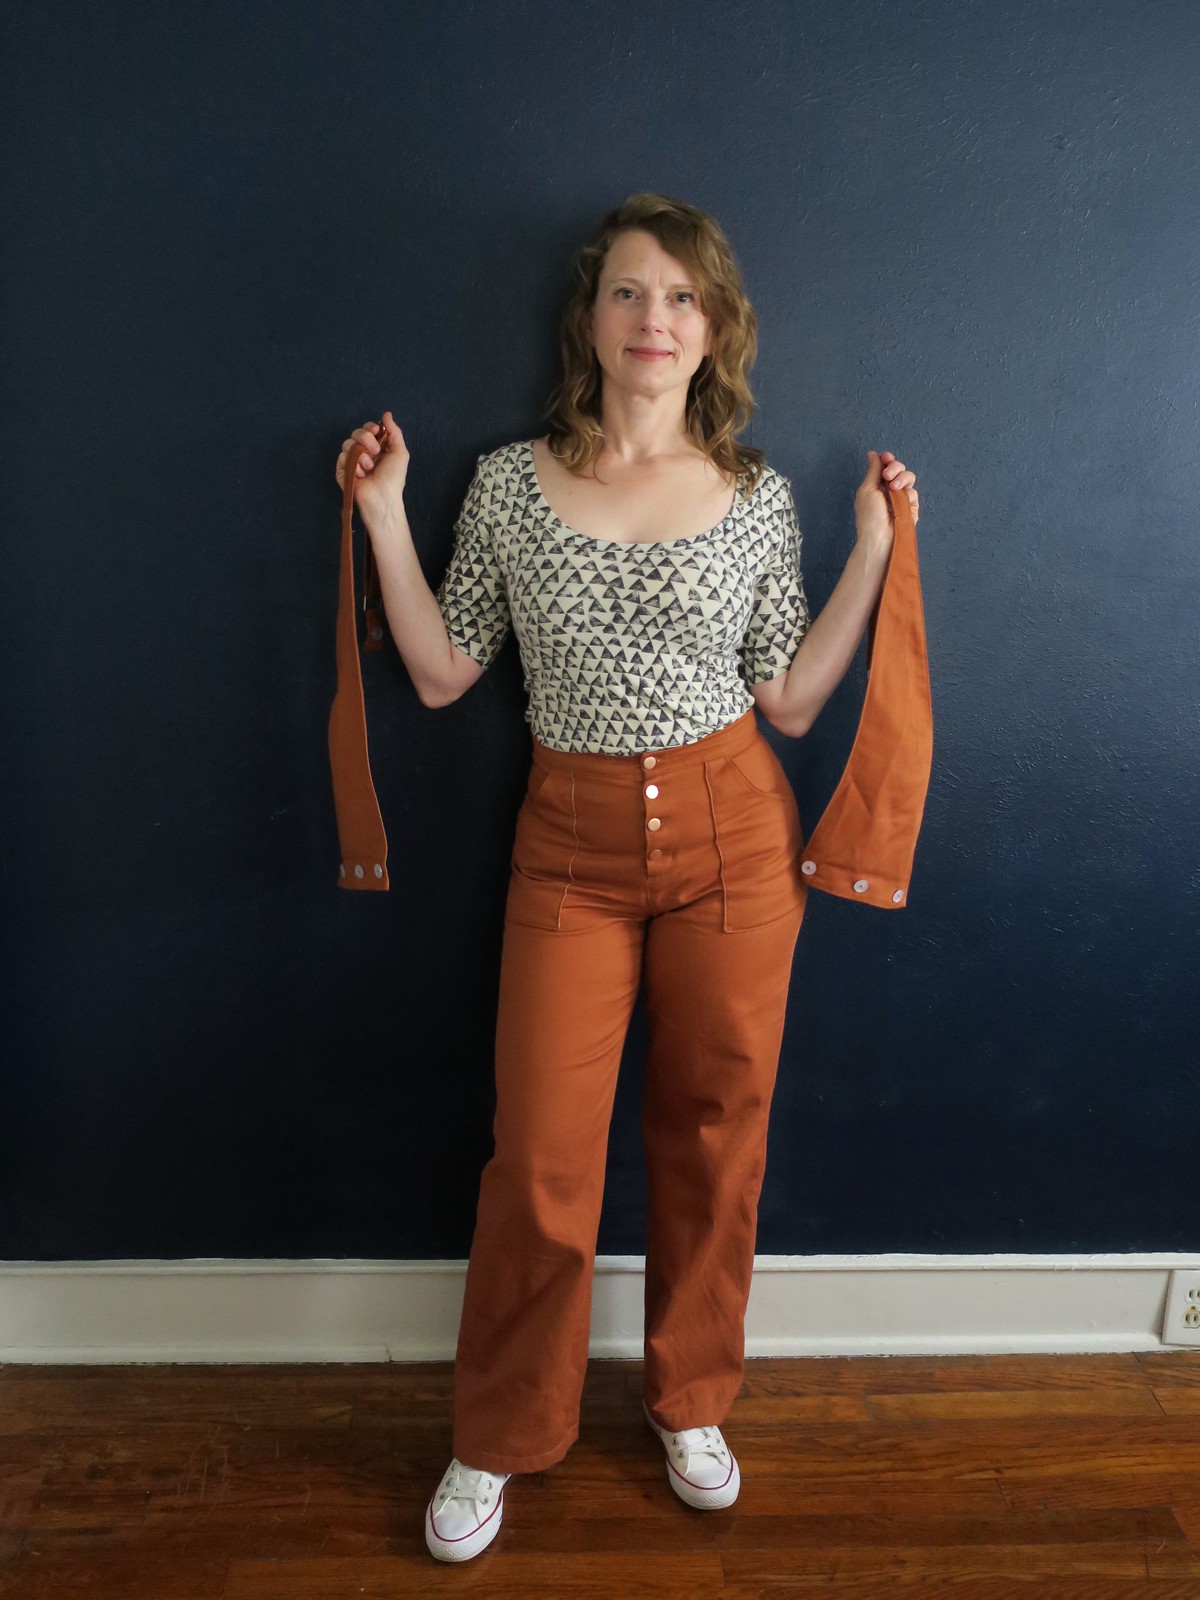
Magic Lander Pants


Magic Lander Pants

I'm learning so much about my body from sewing pants. I always thought of myself as "short waisted". My waist is very close to my bust. In my mind I assumed that my waist to crotch length would also be short, but now I think I have a high waist. I have seen the Lander pants sit at some peoples true waist without alterations. Even with lowering the crotch after they were all put together I think these need another 1" to 1.5" to sit at my true waist. Next time I make this pattern I will add that length. Right now they are just a tiny bit uncomfortable where they are sitting. While that could be frustrating, this is by far the best fitting pair of pants that I have made so far and I am hoping they will stretch enough to make them comfy.
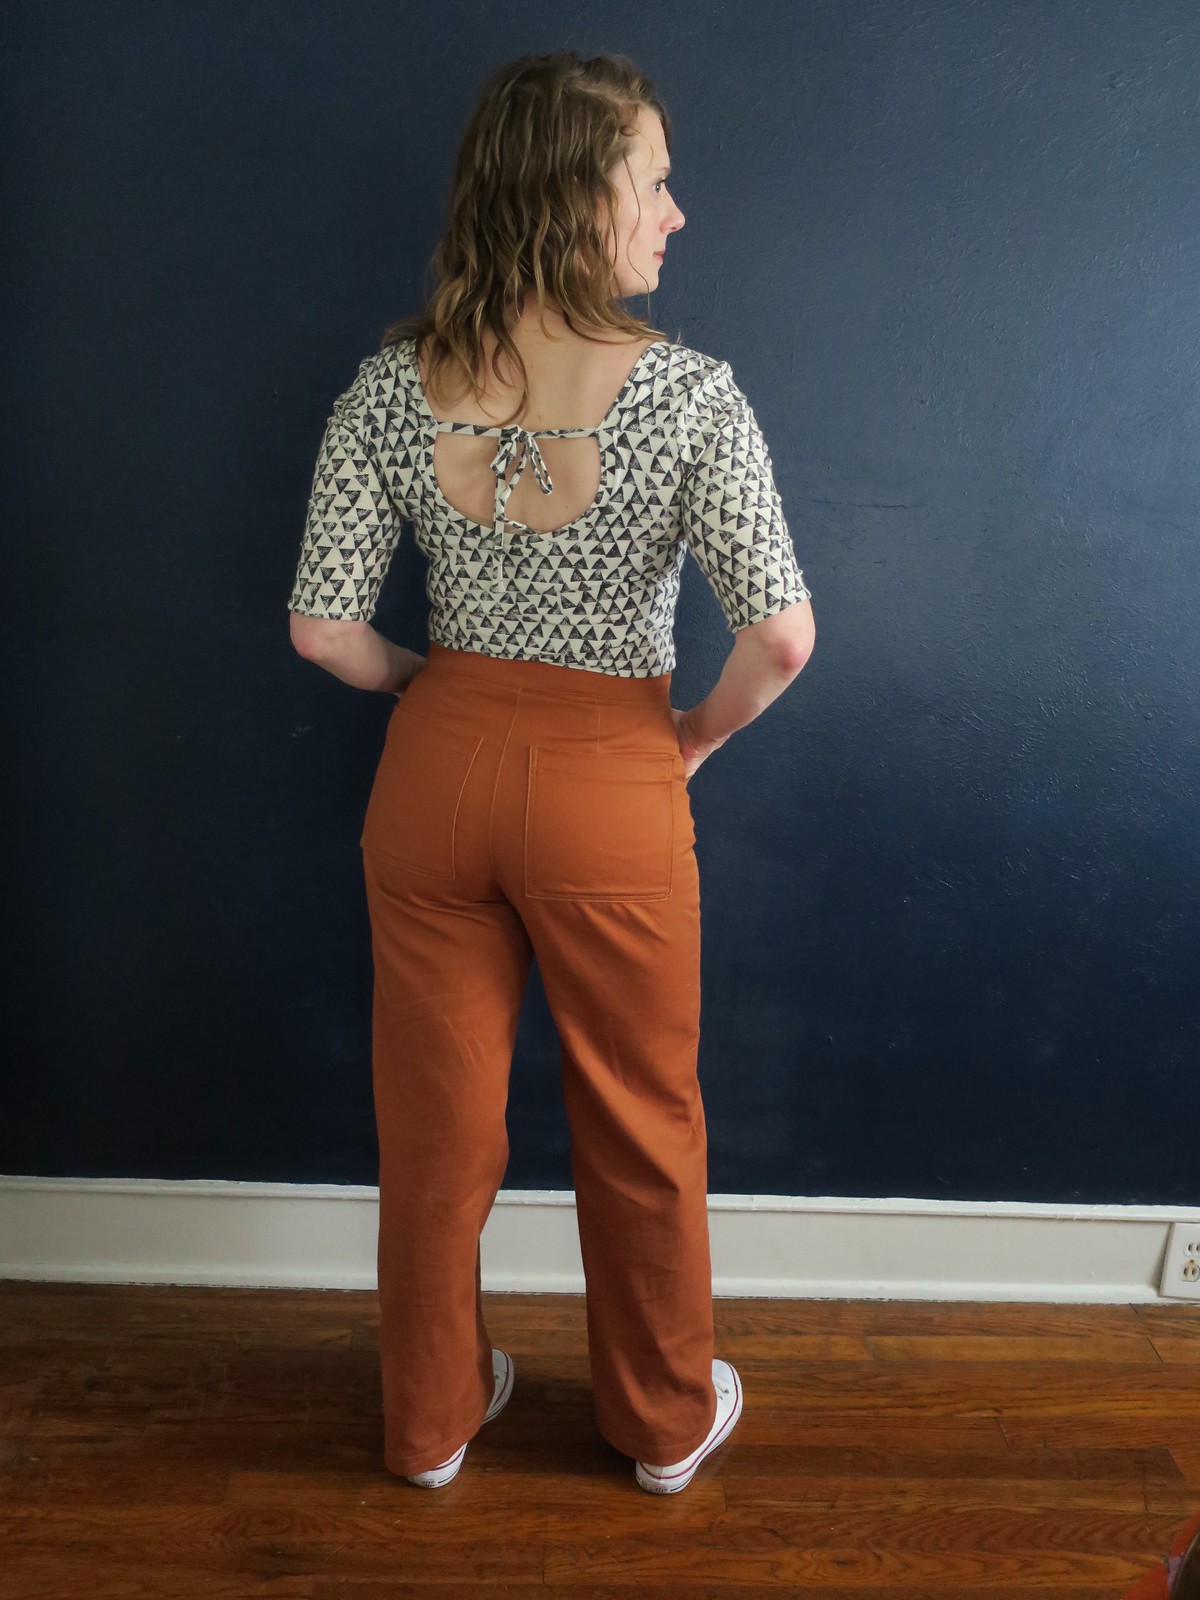
Magic Lander Pants

I'm super proud of the top stitching on these pants. When I got my new Bernina last Fall I really thought it would handle top stitching thread easily, but that was not the case. I now use my triple stitch and it works so well! I can't get enough of top stitching, so I am really happy to have an option that works without the headache of thread nests that come along with proper top stitching thread. I highly recommend trying the triple stitch if your machine has that setting.

Lander pants top stitching

Planning and drafting the bib portion really took some thinking. I started with a triangle shape but that angled straight up to my neck. I pinched enough out of the side to see what the angle should look like and went from there. It was all very intuitive. I did about 5 drafts and muslins before I cam up with this shape and I'm thrilled with the results. I can totally envision having a skirt with this bib attached as well.
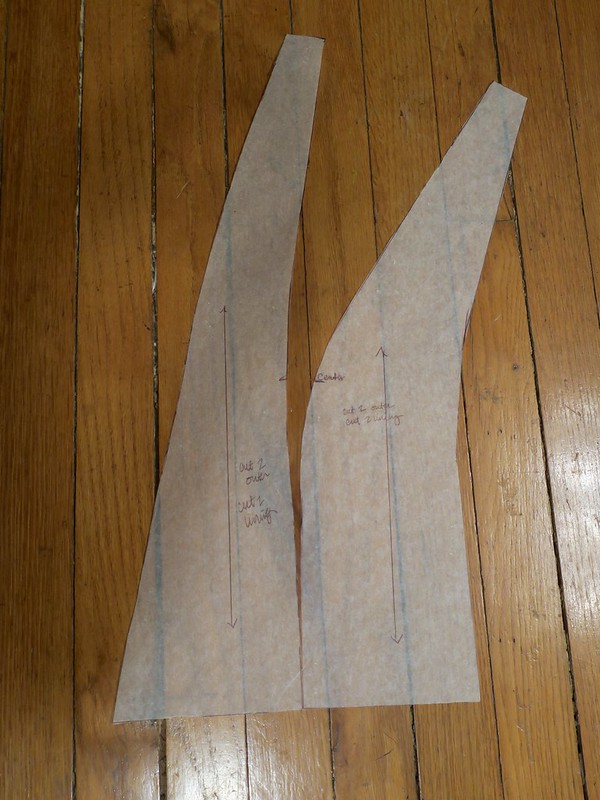
Magic Lander Pants

Lander Pants 

Fabric: Robert Kauffman Ventana Twill in Brick Brown from Fancy Tiger Crafts (3 yards)

Adjustments:
I'm not totally sure now where these end up on the Lander pattern size wise. I need to retrace my pattern pieces with my new pants adjustments and see.
Cut 4 at front waist and 6 at back waist, tapering out to an 8 at the hips
Took in 1/4" off side seams except at hip
Took 1/2 wedge out of the center back seam where it meets the waistband.
Low butt and Round pubis adjustments
Lowered crotch slightly after putting them all together (next time I will add 1-1.5" to crotch length)
Drafted curved waistband

Measurements: 
34 Bust
26 Waist
38 Hip

I realized this past week that my last three sewing projects have been extremely labor intensive and tedious. I still need to share the other two of those. I think I need a palate cleanser, and now would probably be a good time to work on my plan of sewing more projects with knit fabrics.

Friday, February 1, 2019

Pattern Release: Off Color Tunic

I am so excited to finally be able to share the Off Color Tunic, a brand new pattern from Sew and Tell Patterns  that I was a pattern tester for last Fall.
  Off color tunic

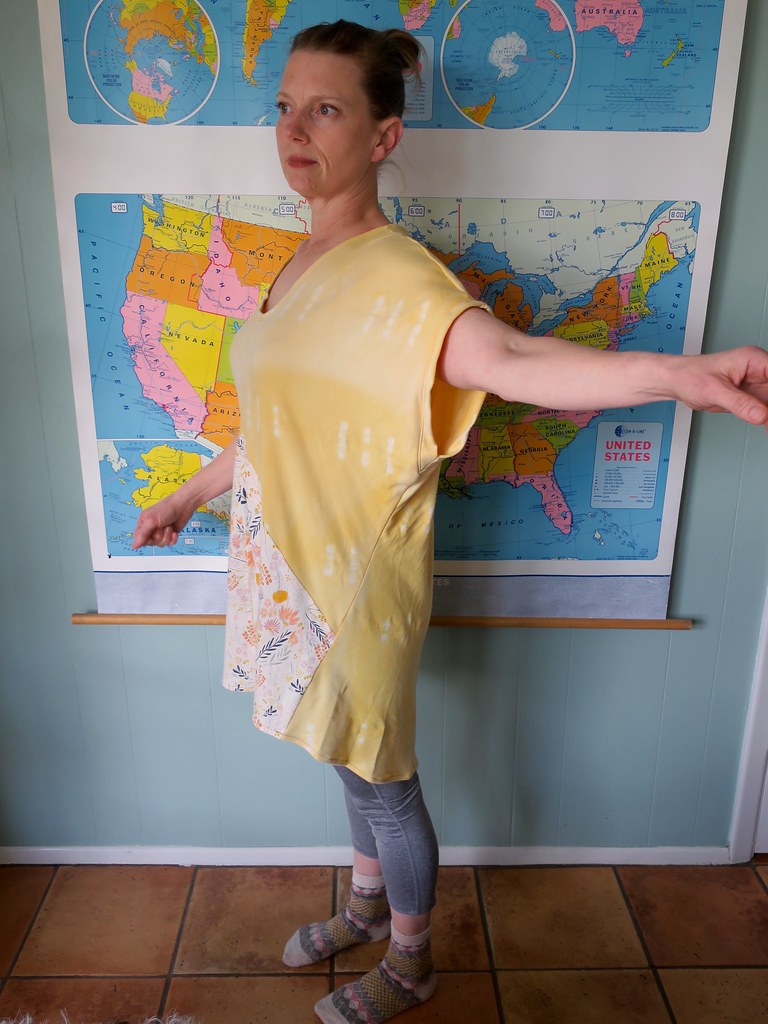
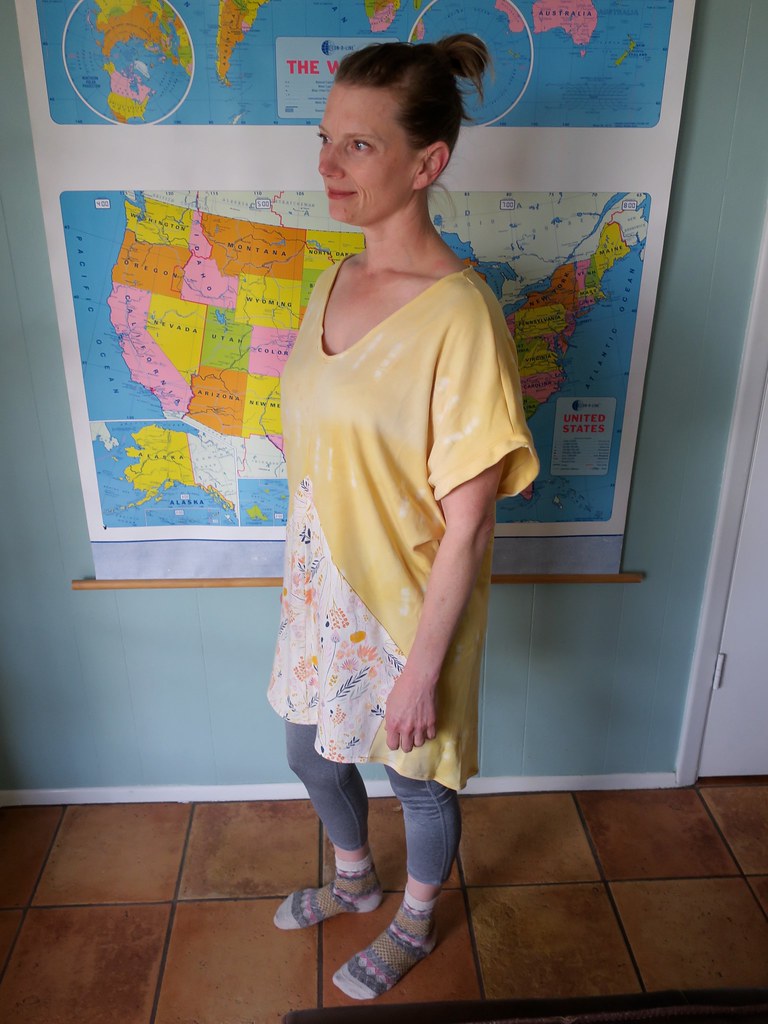
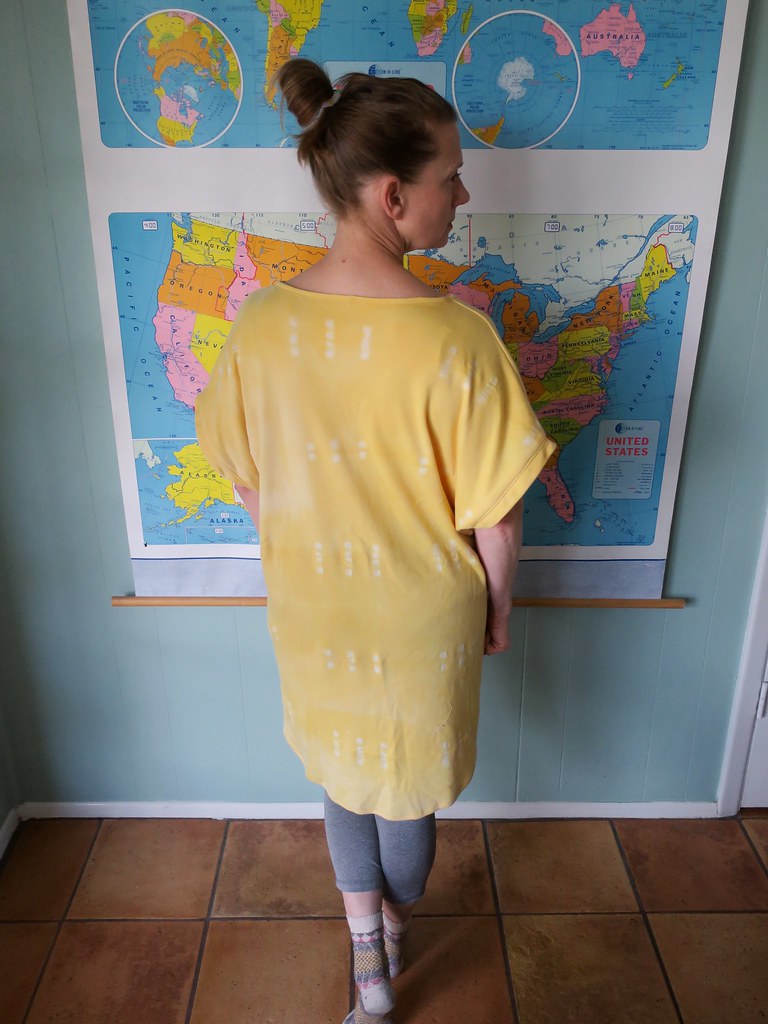
This pattern is written for woven fabrics, but the designer gave me the go ahead to test it out in knits. I used a cotton knit with minimal stretch that I dyed with turmeric (my first try at that) and some leftover Leah Duncan knit from my Plantain Tee.
Off color tunic

Off color tunic

The pattern has a ton of ease. I made the XS and it measures 49" at the bust. That is the smallest size available. For my next version I plan to make a longer dress length in woven fabrics but I think I will take it up at the shoulder seam. You can see above that the armhole is quite wide and if you look straight in you can see my bra. This version is for lounging at home, so that is ok but on a dress I will need to alter that. I also have plans to add pockets to the angled front seams on my dress version.

Off color tunic

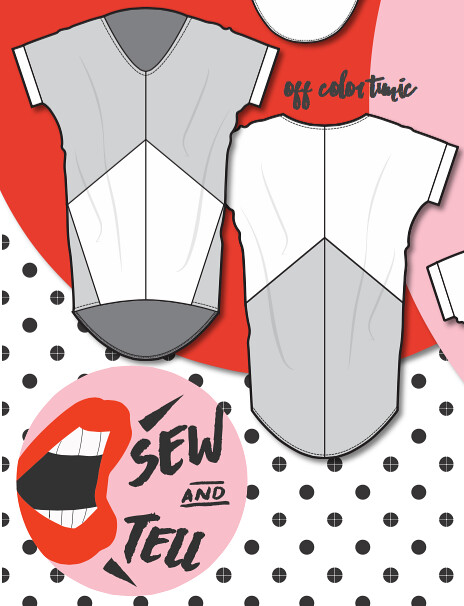
I love the style lines of this pattern. It is a clever design where the back pattern piece wraps around to the front. I like the kimono sleeves with cuffs and the option to do so many variations with color blocking.

Off color tunic

I love the graphics and thought that have been put into the virtual packaging by this designer. I feel like her branding is very strong and it makes the pattern instructions more fun than I am used to. This particular pattern has three versions, allowing you to color block the front only like I did, or the front and back, or to do a solid tunic.

Off color tunic

Fair warning, this pattern takes up a ton of paper, 56 pages to be exact. I think it could have saved a lot of space by having the solid back and front options cut on the fold. Regrettably I re-printed the final draft to see what changes were made. Lengthen and shorten lines were added, a feature which I am happy to see but I don't think anything was changed in the drafting. I do plan to lengthen my next version and while I'm sure the lines will be helpful there is nothing in the instructions about how to do so across all the angled pieces. I will definitely have to experiment with that. I would consider this tunic an intermediate pattern even though the style lines are pretty simple.

Jen has offered a 20% discount off of her new patterns from February 1-7 with the code MINDFULMAKER20

Tuesday, December 4, 2018

My Deer and Doe Melilot

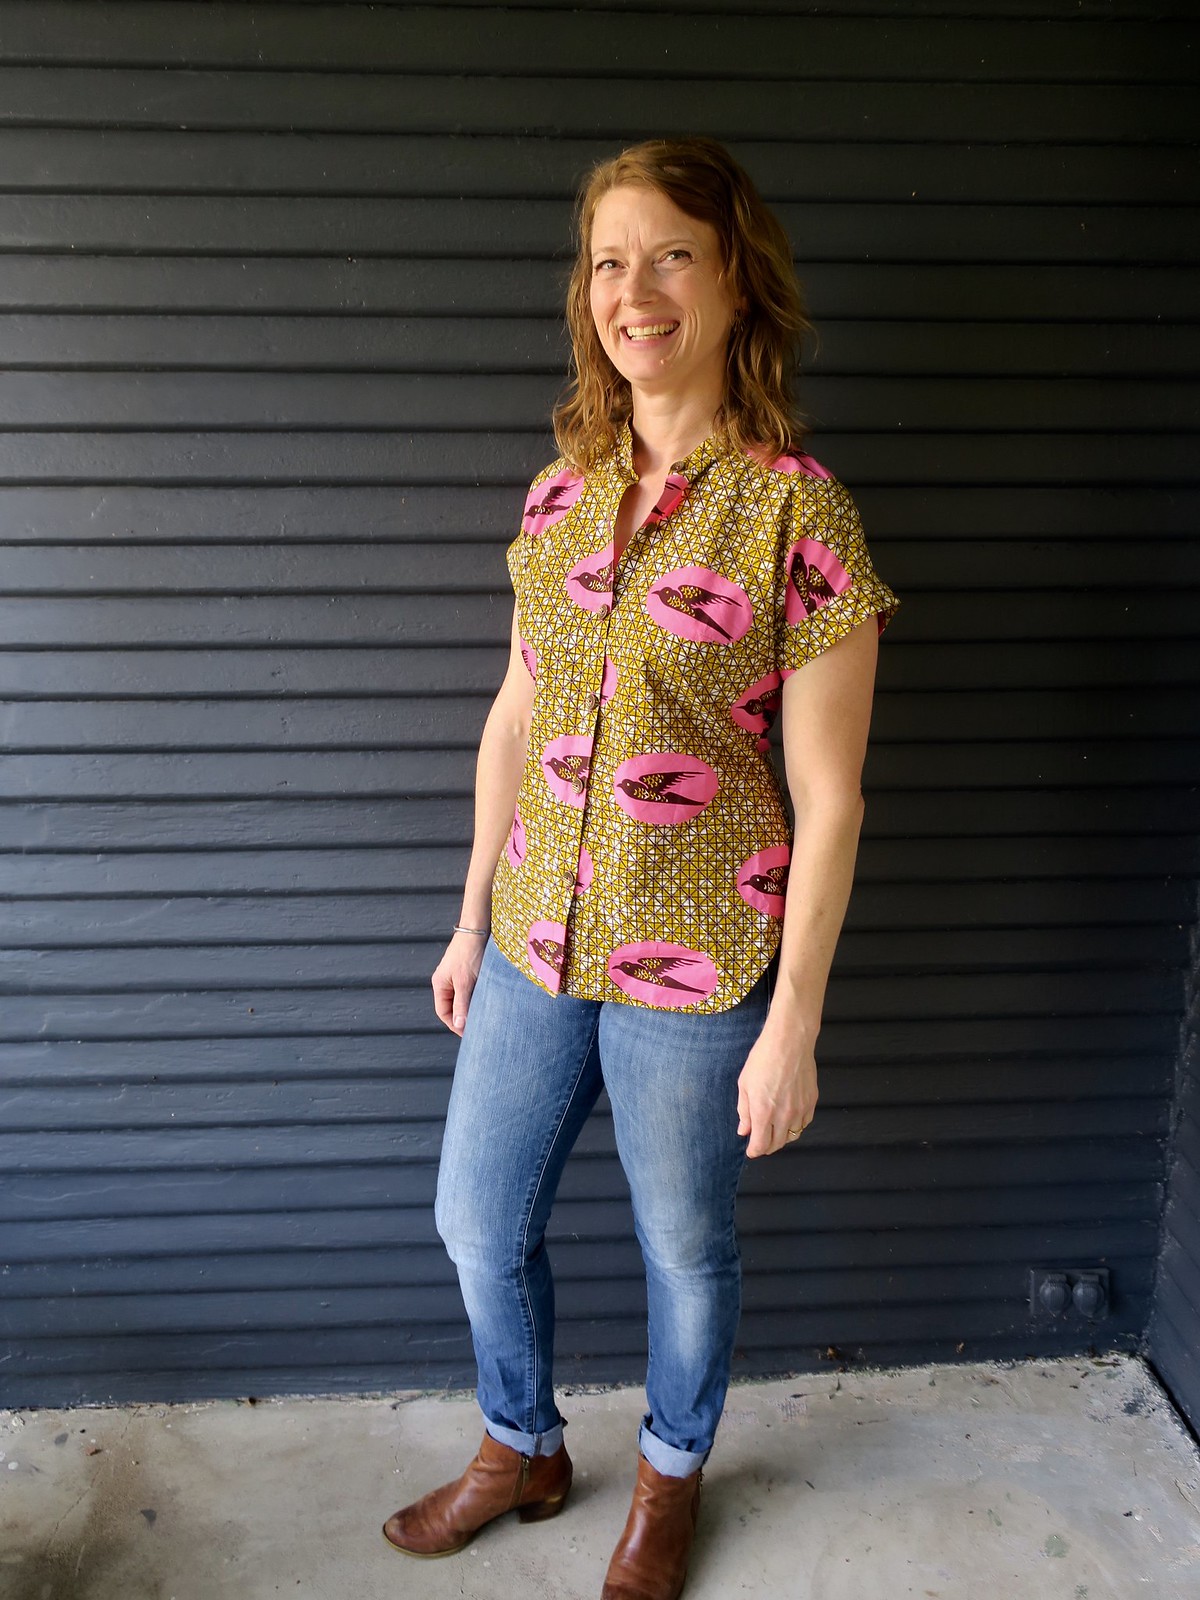
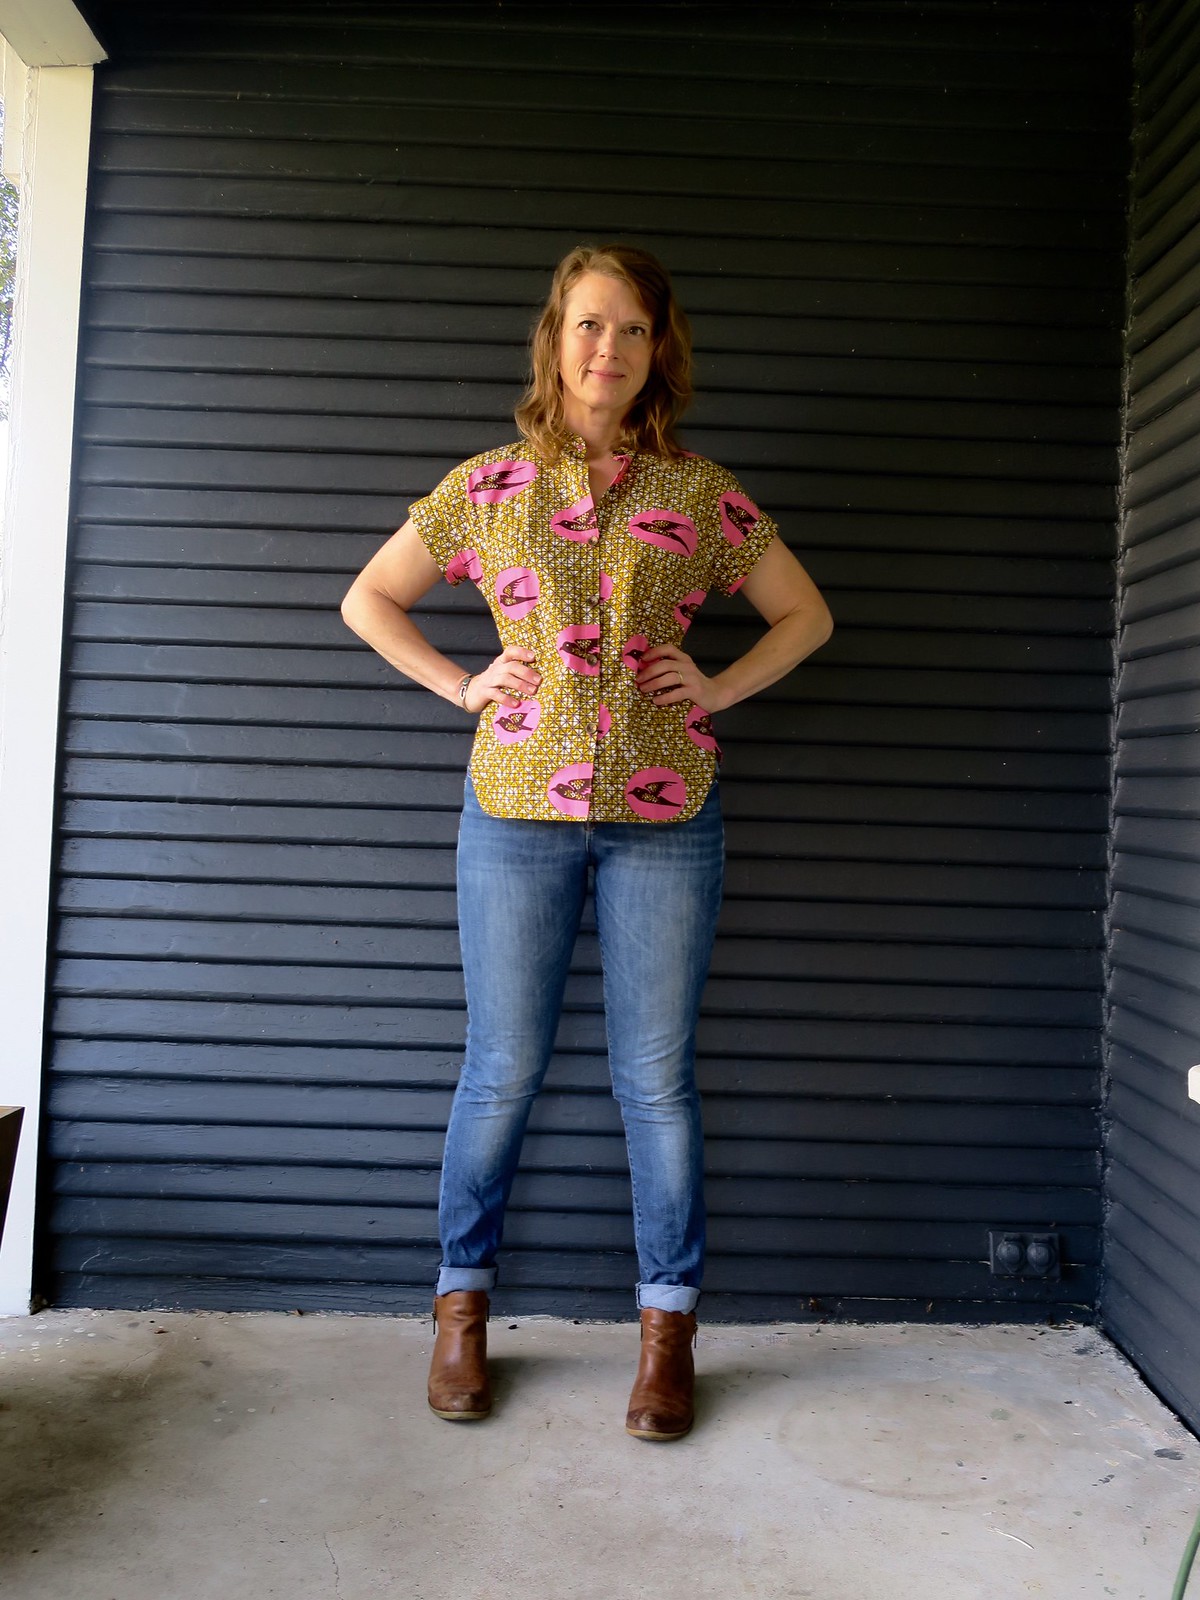
This pattern (the Deer and Doe Melilot) and I went on a long fitting journey. I honestly don't even remember when it started, but it took me four muslin fittings and quite a few months to get it finished. I can see from my photo roll that I purchased this African Wax print at Golden D'or in Dallas back in April. It took me a while to settle on this pattern for it though.
  Melilot button down

I am so glad that I persevered because I just love this shirt, the fit is great and I am already making another version with long sleeves.

Melilot button down

I had a major sway back to fix with the original draft of this pattern. For my first muslin I tried doing the alteration that I used in my Colette Aster. You can see the details of that adjustment here. It didn't work. I had come up with the idea to use fish eye darts in the back to assist with fitting. They had worked so well with my McCalls 6649 button-down. For my second muslin I went back to the original back pattern piece and only added the darts, that wasn't enough. So for my third take I took a wedge out of the center back by slashing through the waistline and pivoting the pattern piece. This took some length off the side seam in the back but more importantly added ease through the hips and butt. THEN I added in those lovely fish eye darts that I borrowed from McCalls 6649 and voila, the fit is great. I'm still not sure I'm doing any of these adjustments "properly" but I'm doing what works for my body and its the best I've figured out so far.

Melilot button down

Melilot button down

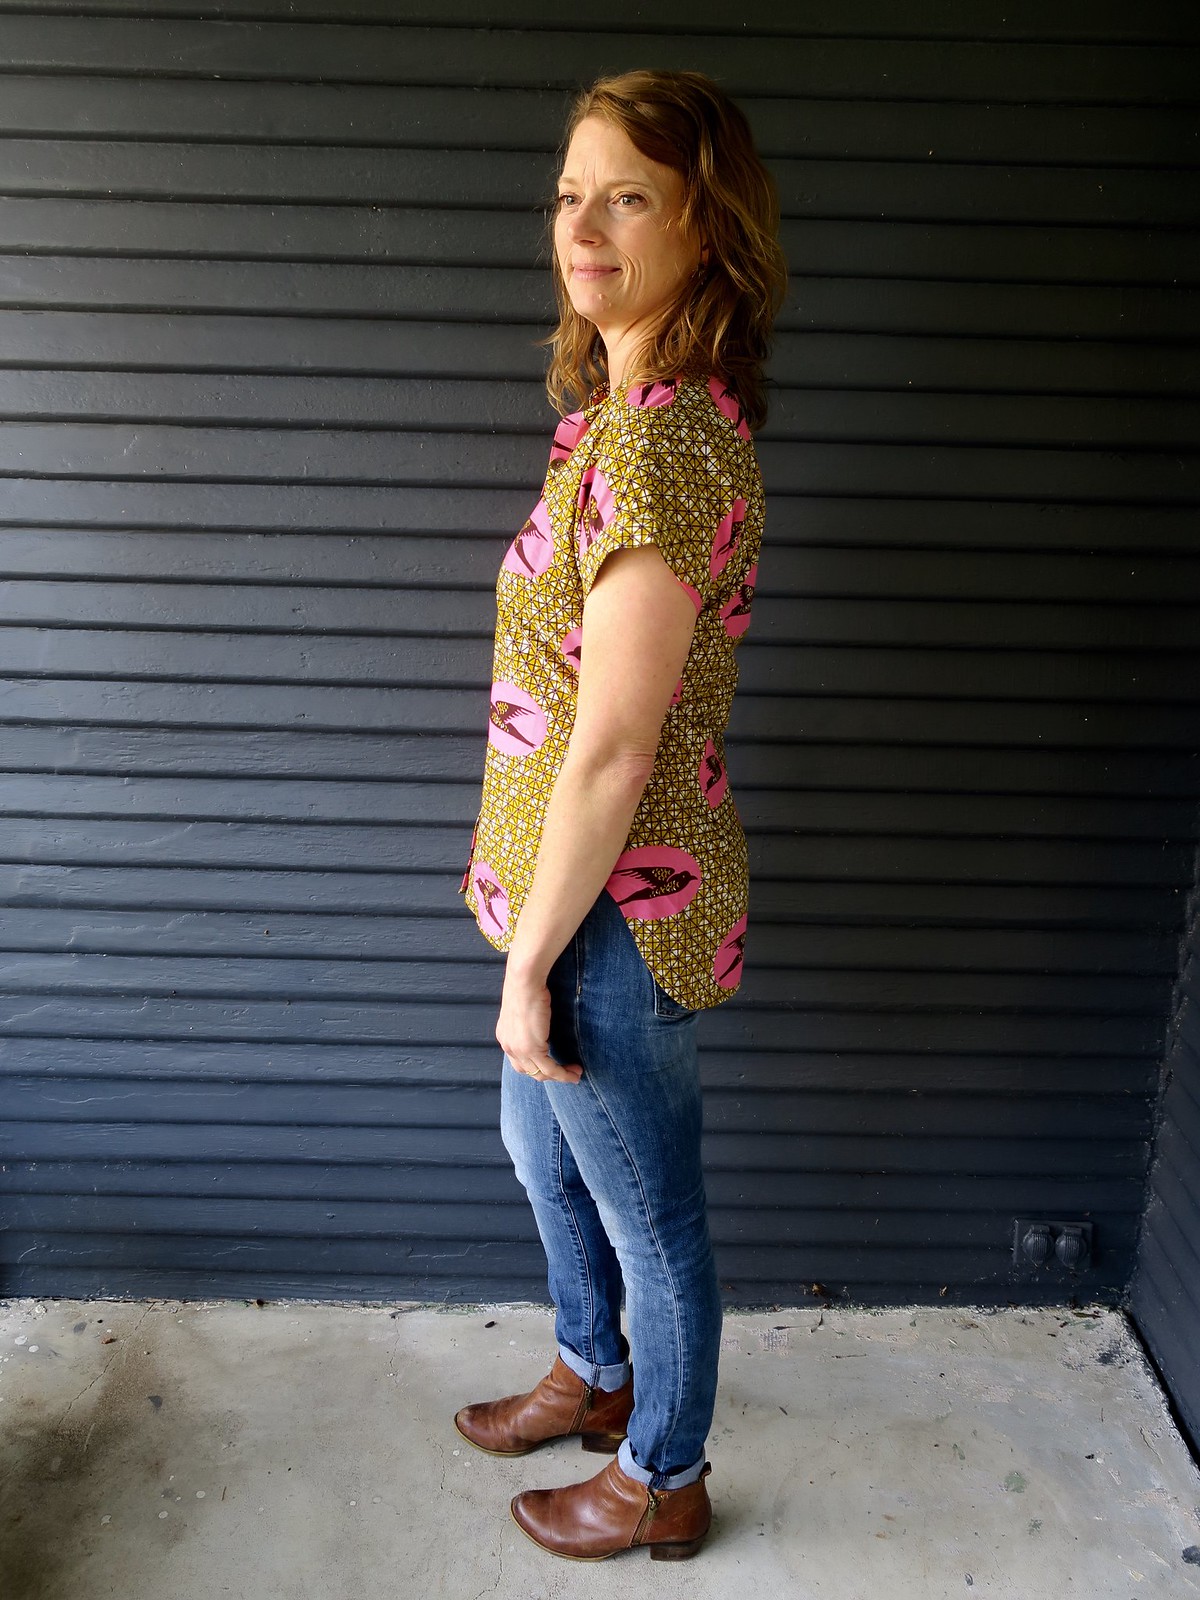
I so love that dipped hem!
And those kimono sleeves are making me swoon.

Melilot button down

I got those awesome textured brass buttons at Super Textiles in Dallas. I think they are perfect with this fabric.

Melilot button down

At first I wasn't sure about this fabric because it is quilting cotton weight and quite stiff. I just loved the print so much that I couldn't not use it. I don't mind the structure of it as much as I thought I would and I'm sure it will soften up with subsequent washing and wearing.

Melilot in the wild
Melilot in the wild under my favorite tree at the Fort Worth Botanic Gardens, the Palo Verde

Melilot Button Down:
View B minus the pockets
Size 38
Alterations: Shortened at shoulder seams, sway back adjustment and added fish eye darts

I am a big fan of Deer and Doe patterns and this is my second make. I have made the Belladonne dress but never got around to blogging it (I should do that its really cute!) and I own the Fumeterre skirt but have yet to make it. I am realizing more and more that once I have a pattern fitted to my liking, making more versions of that pattern makes so much more sense than always moving on to the next thing. Don't get me wrong, I won't ever stop buying new patterns completely but my stash is huge and I can often find what I need out of a pattern that I already own. I am such a slow maker that I will never be the first to make and share a new pattern, and that is ok with me.

Here is a little video I made explaining the pattern alterations. I hope it makes sense!

Saturday, November 24, 2018

Look How Happy

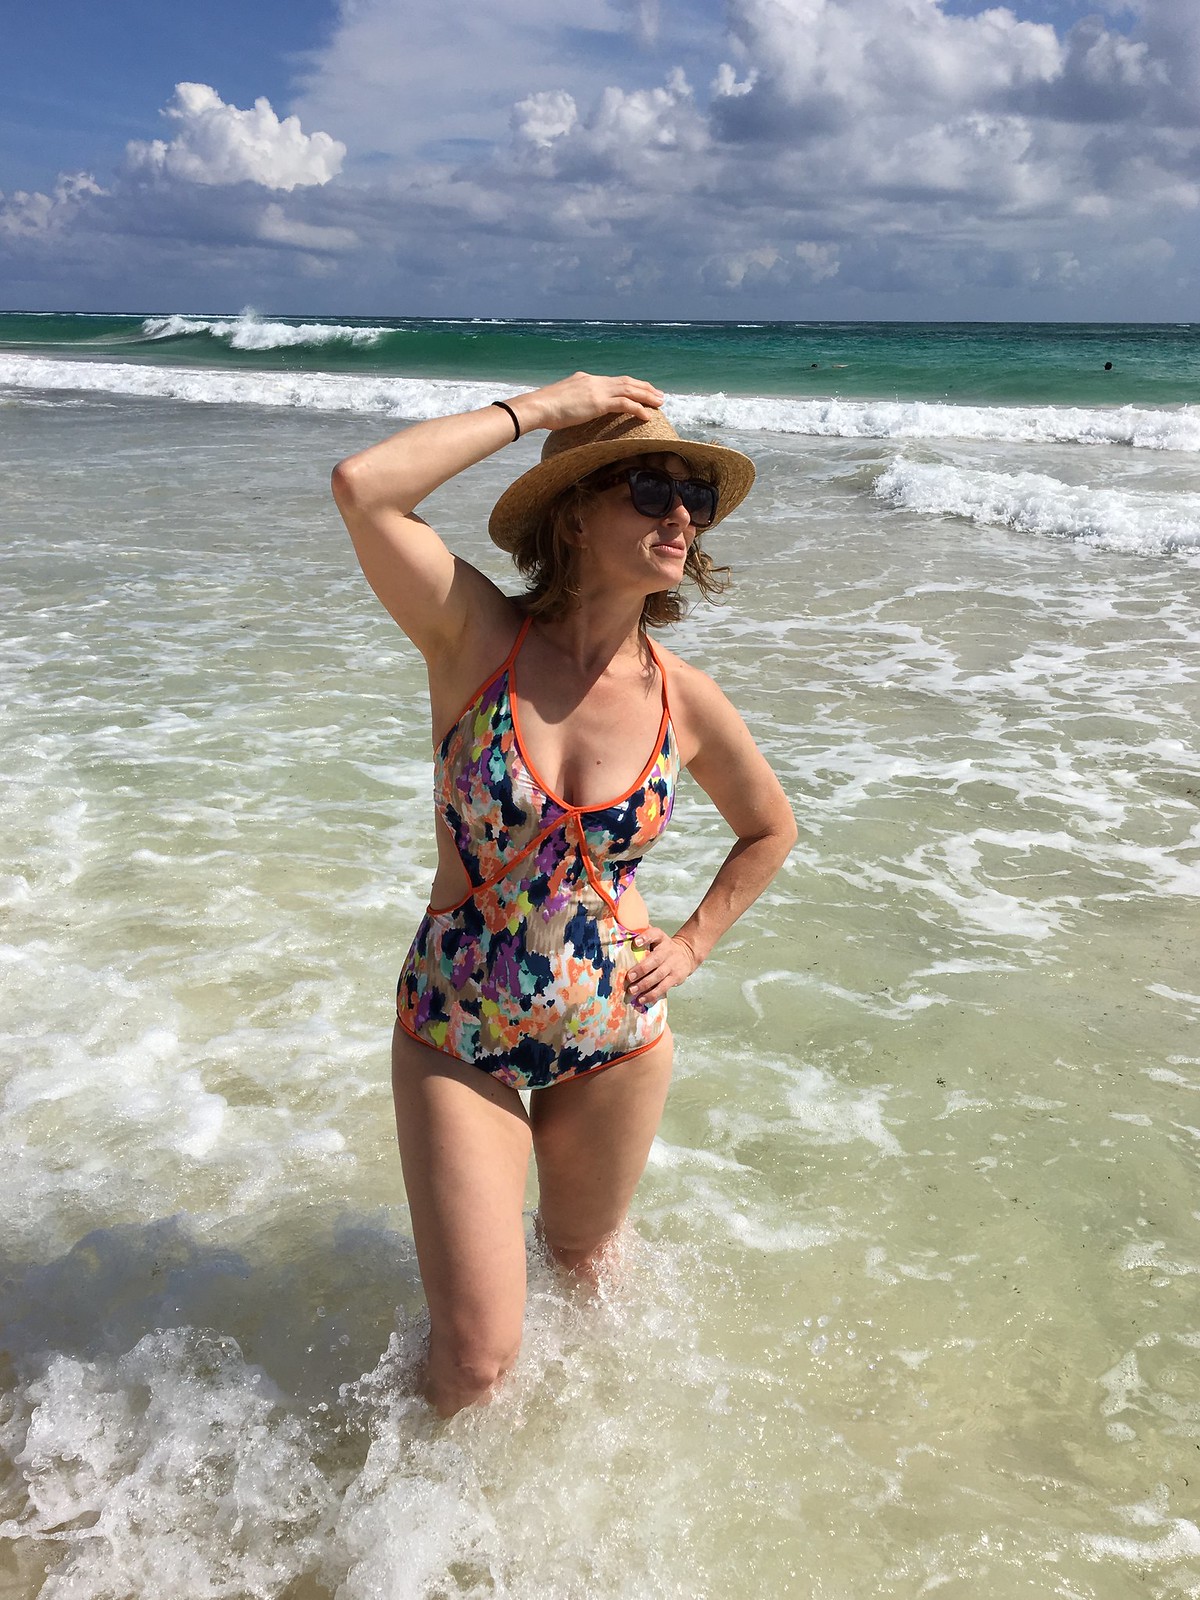
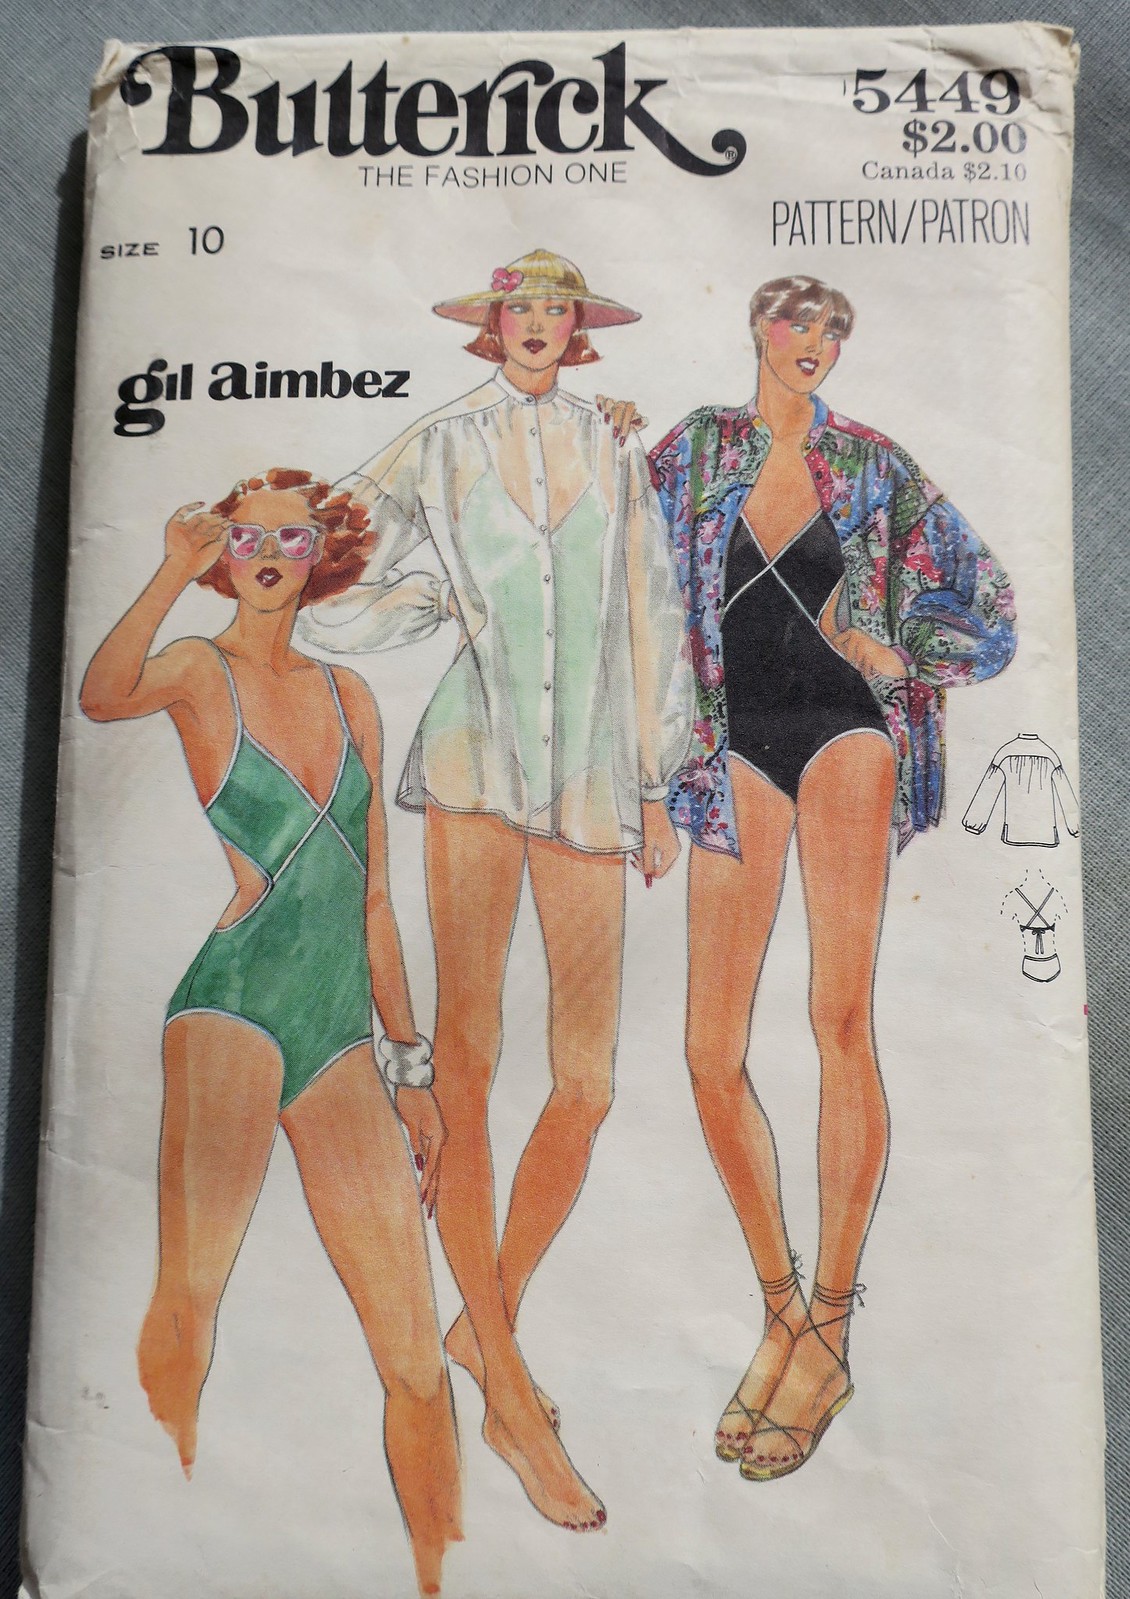
The prompt for Bpsewvwenber over on Instagram today was "Craziest Pattern". That got me thinking about some of the more complex things that I have sewn. Aside from my Sophie swimsuit, I would say that this vintage Butterick 5449 swimsuit pattern would be one of the more complicated things I have made. I pulled it out and looked back at the photos that Frank took of me on my 40th birthday in Tulum. I can't believe now that I was too chicken to post these, so I am remedying that today, three years later.

Butterick 5449

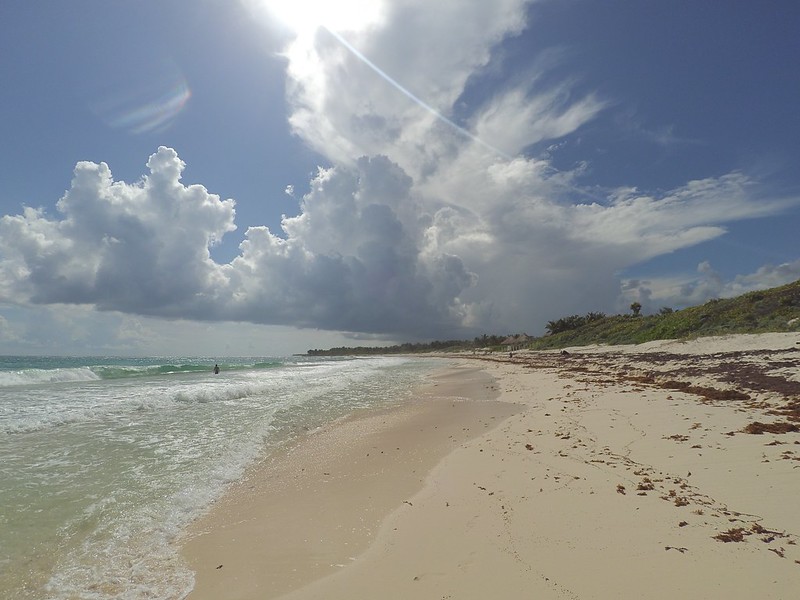
This suit is adorable and I'm super proud of its construction. I look happy as can be here, and I was. These were taken at Xcacel Beach, our favorite beach on that first trip to Tulum. We went twice and took our friends back the next trip we made. Sadly this beach is now closed and being developed with hotels. It was a turtle sanctuary and it was one of the most beautiful beaches I have ever been to.

Butterick 5449

Butterick 5449

Butterick 5449

Xcacel beach

Butterick 5449

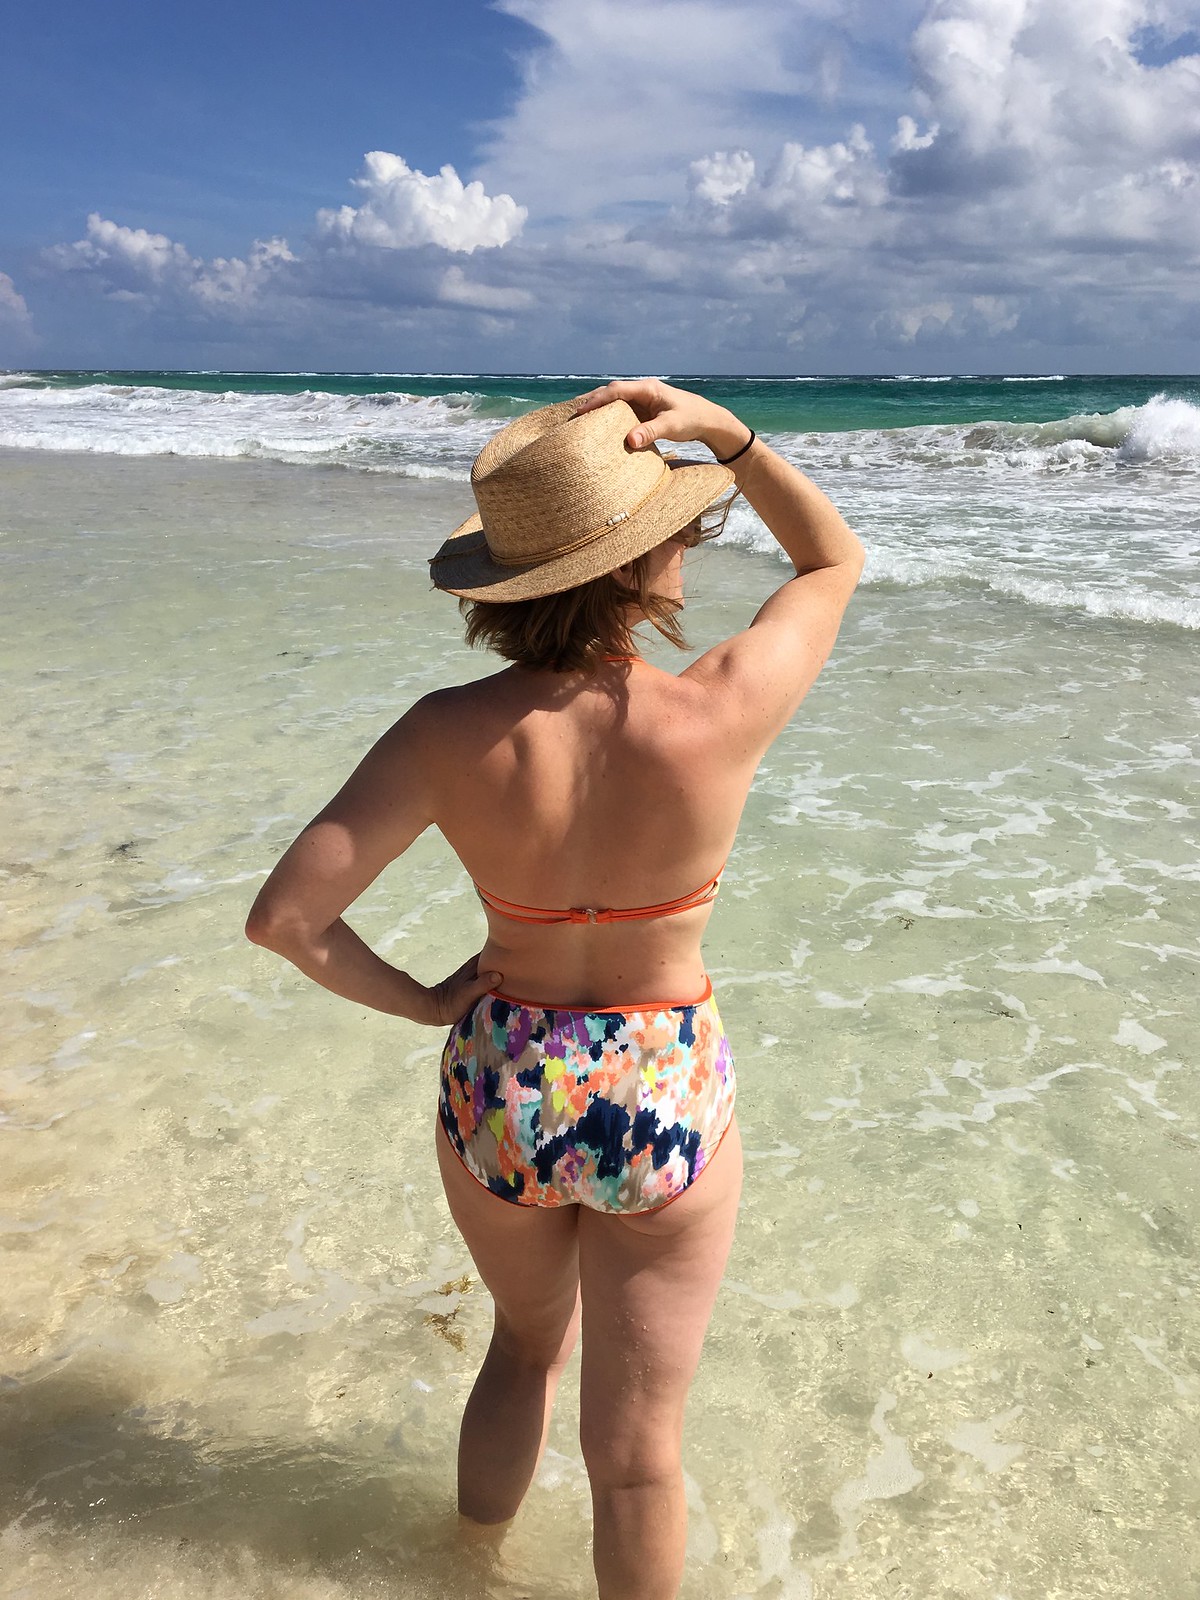
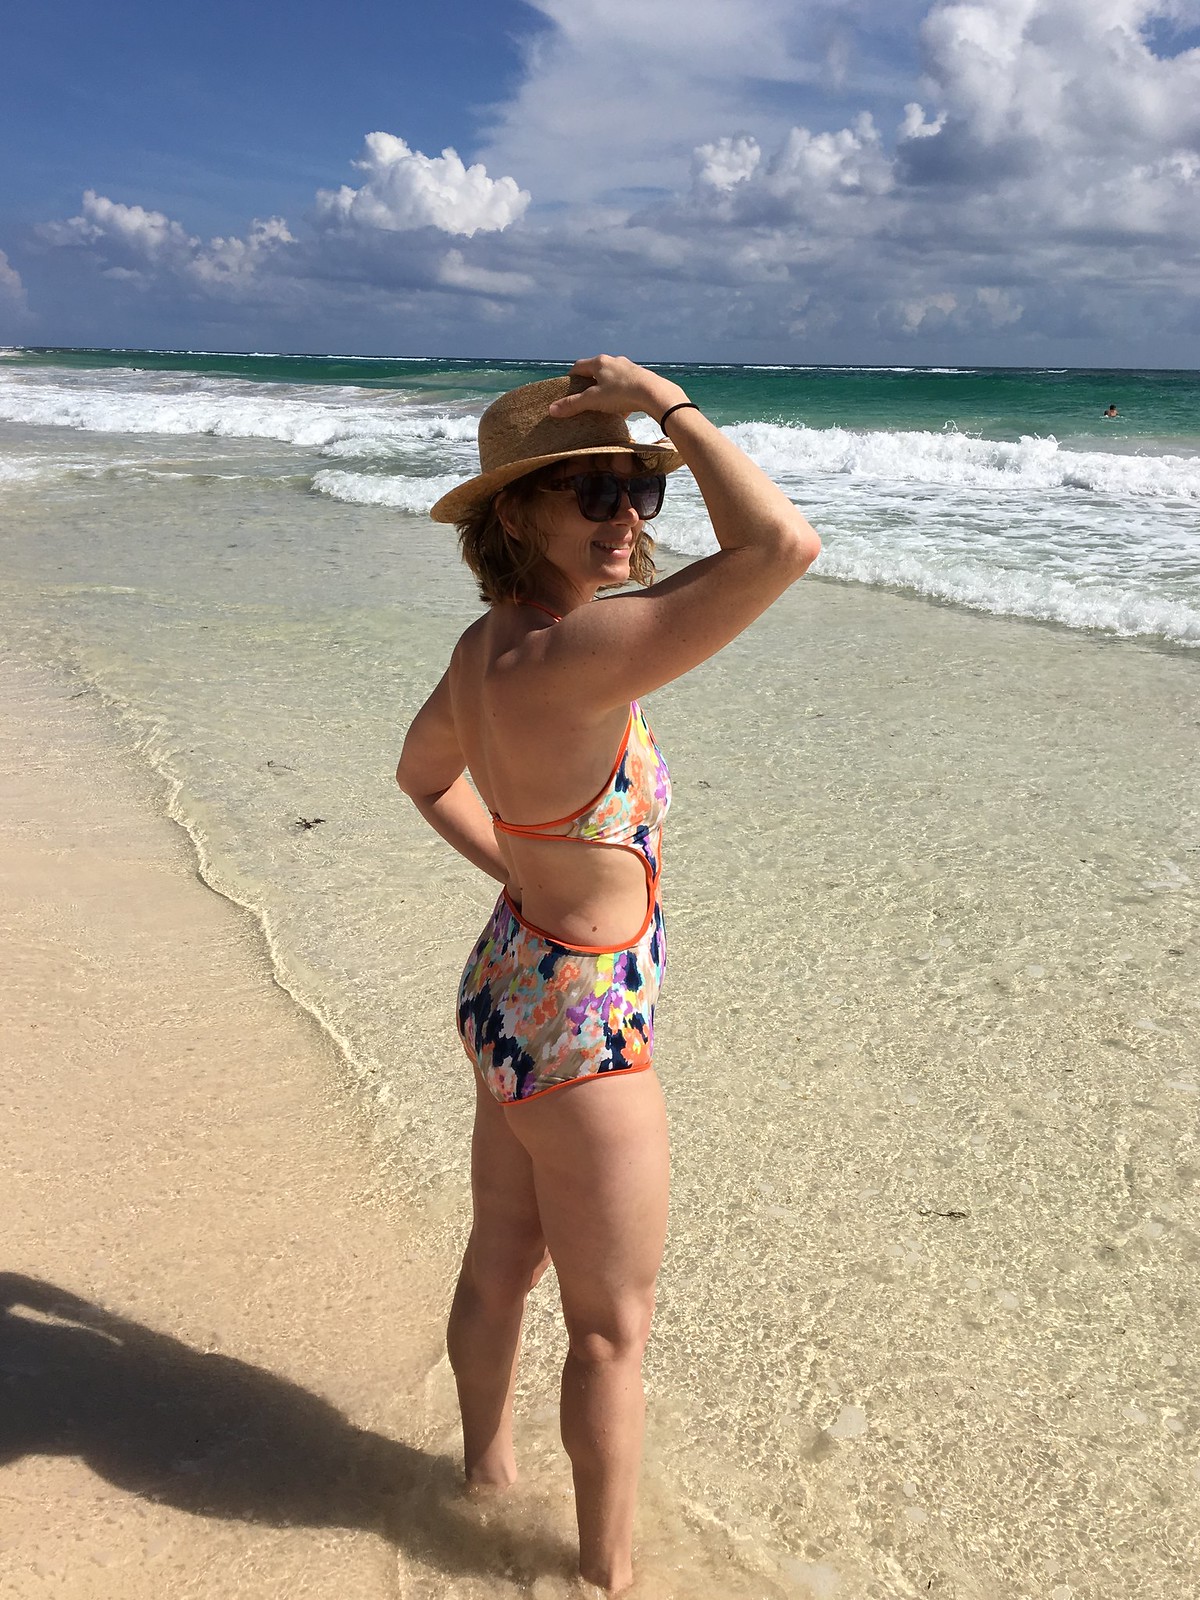
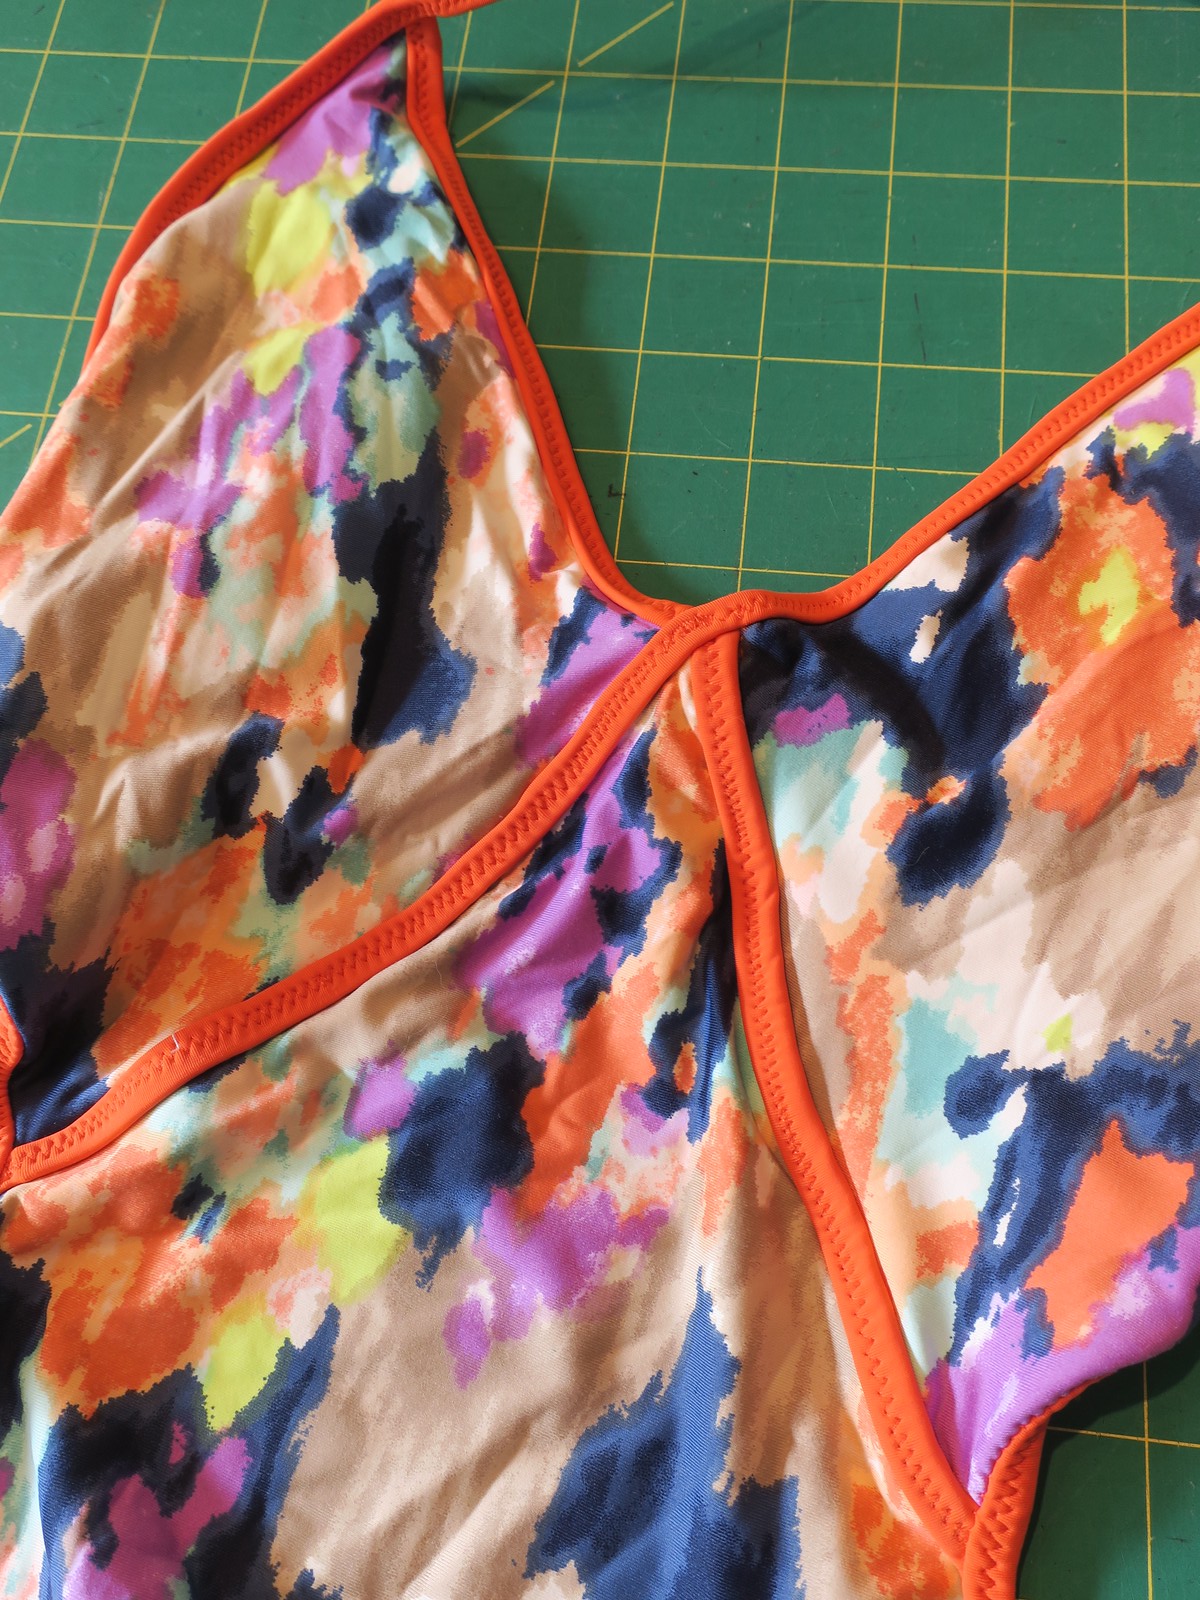
I made a muslin of this suit and altered both the pattern pieces and the construction somewhat. Obviously swim fabric today is much stretchier than in the 70s, so I sized the bottoms down quite a bit. I fully lined it as well, the pattern instructions only have you line the crotch. The pattern calls for bias binding around all the edges. I opted for swim elastic wrapped in nylon/spandex swim fabric, which I learned from this tutorial on Tuesday Stitches. I love this way of finishing the edges of swimsuits, I think it looks nice and clean and gives a pop of contrast.

Butterick 5449

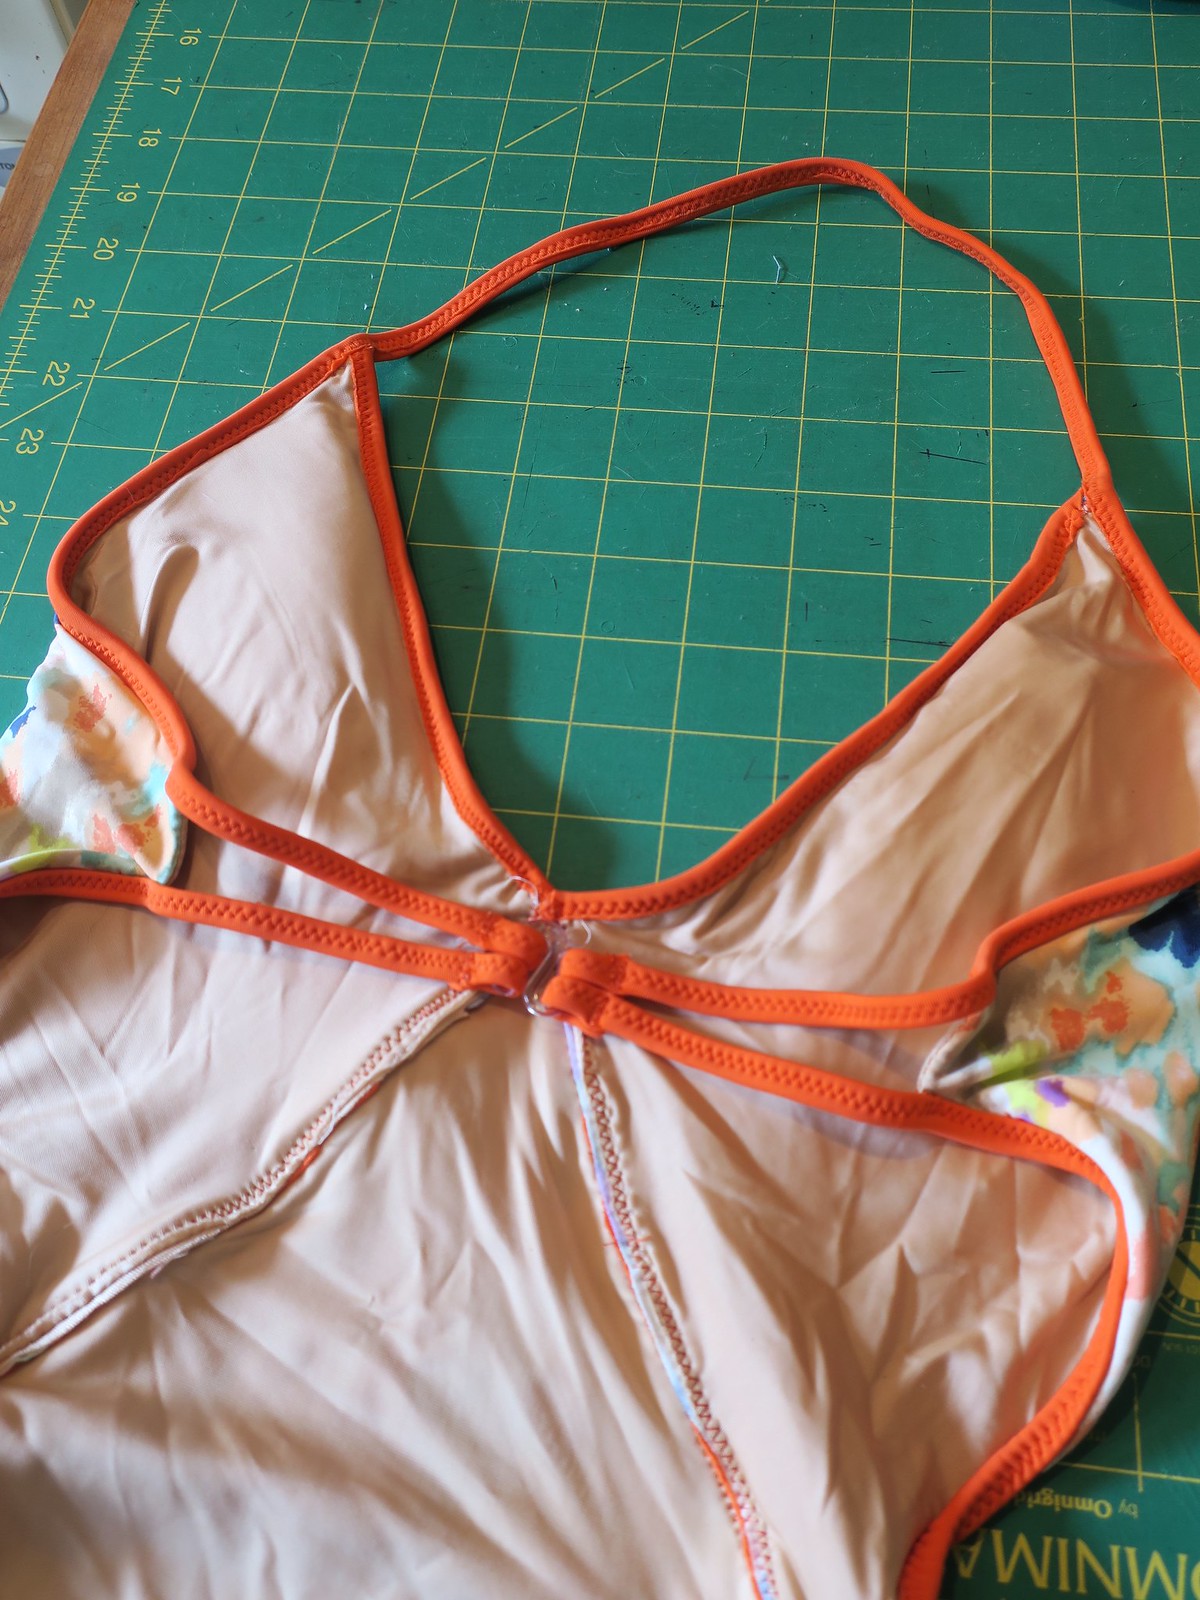
I also altered the way the straps connect. The pattern has the neck halter ties go through loops on the back and tie at the middle back. I opted for a fixed halter and a bikini hook at the back. Next time I would make the halter part adjustable, but otherwise I love the way this looks and works.

Butterick 5449

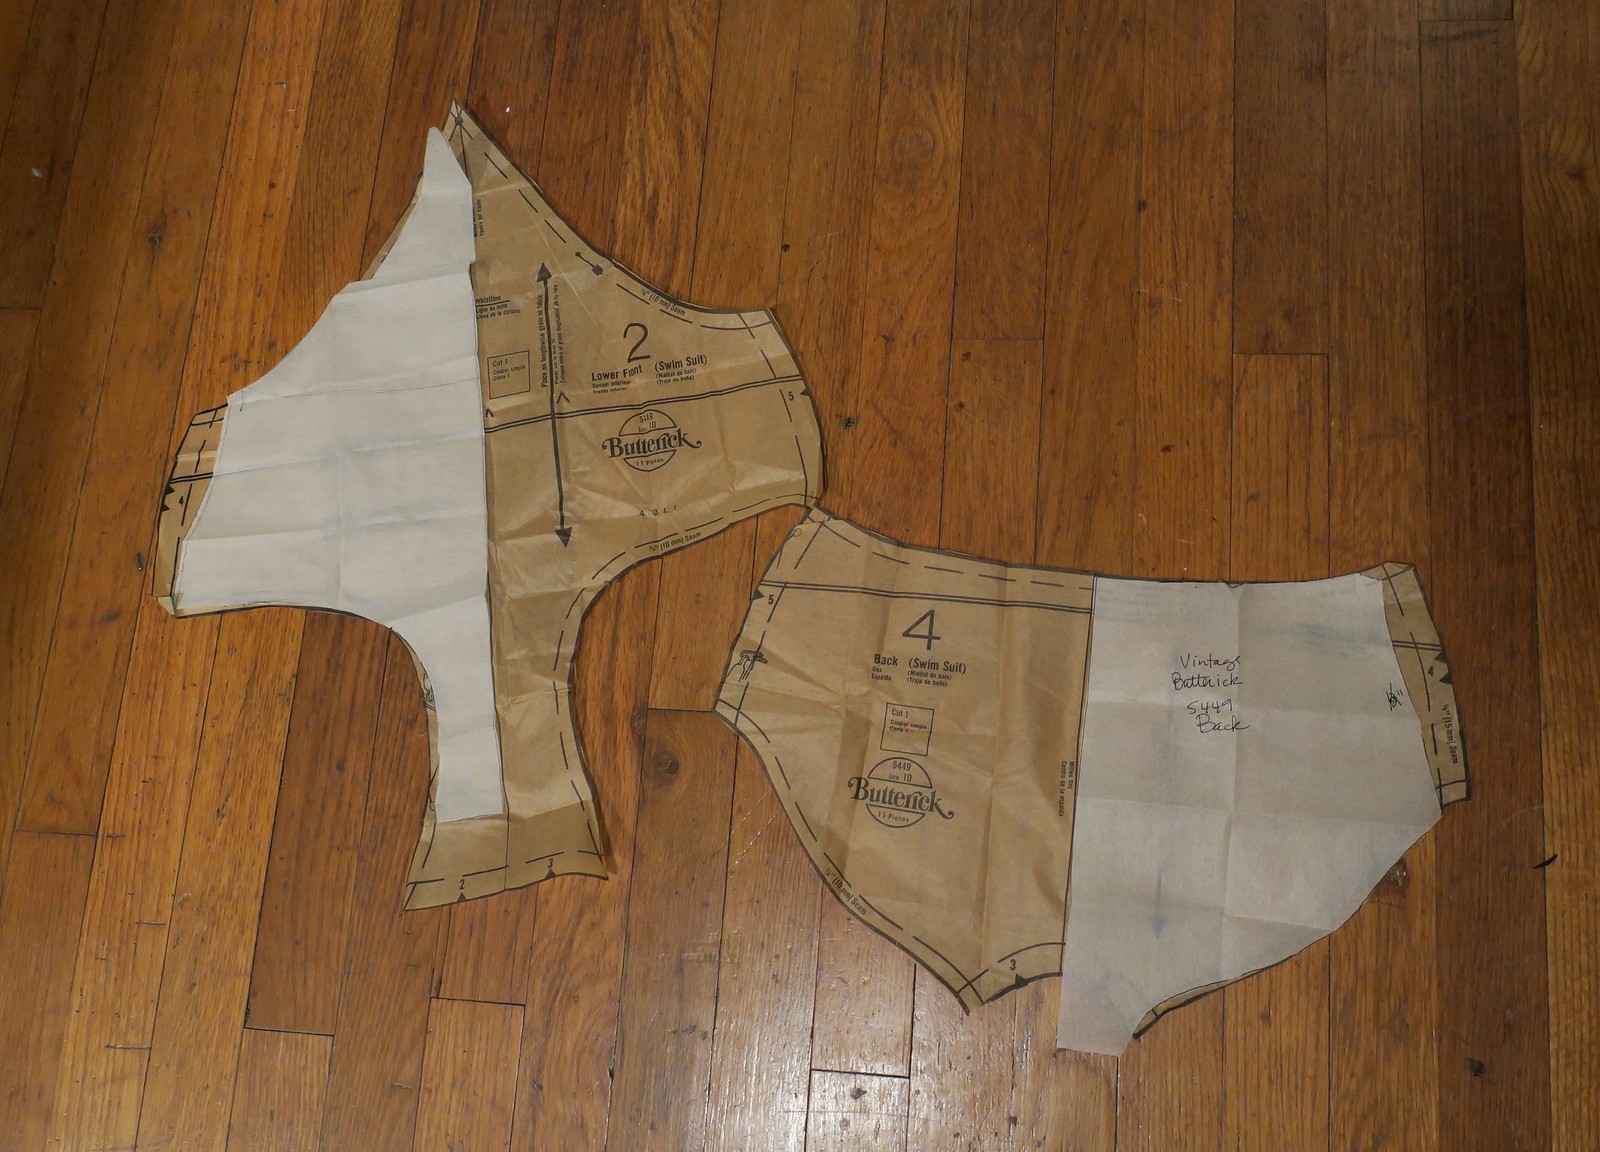
You can see here how I altered the bottom pattern pieces. I took a good amount off the side seams, and changed the way the crotch seam connect. I used a bikini bottom pattern that I had perviously altered from the Papercut Soma Swimsuit to help with the alterations on this suit. With the binding style that I used, you do not turn the edges of your swimsuit under, so I took that into account when changing the pattern pieces. Unfortunately the suit is a tiny but small in the bust and pulls down. That could be partially remedied with halter ties, but I think I need to alter it a bit more for coverage next time. Right after these photos were taken on the beach I got pushed down by a wave and the whole top got pulled down!

Butterick 5449

I am so glad that Bpsewvember inspired me to finally share this gorgeous swimsuit!