
This is one of my last two unblogged projects from 2017. I actually finished this Colette Aster back in October but procrastinated sewing the buttonholes until I was able to use my mom's fancy Bernina in early November. And then I procrastinated taking photos, and then I procrastinated blogging. Oh well, I am here now. "Slow maker" is my new moniker and I am living up to it well!
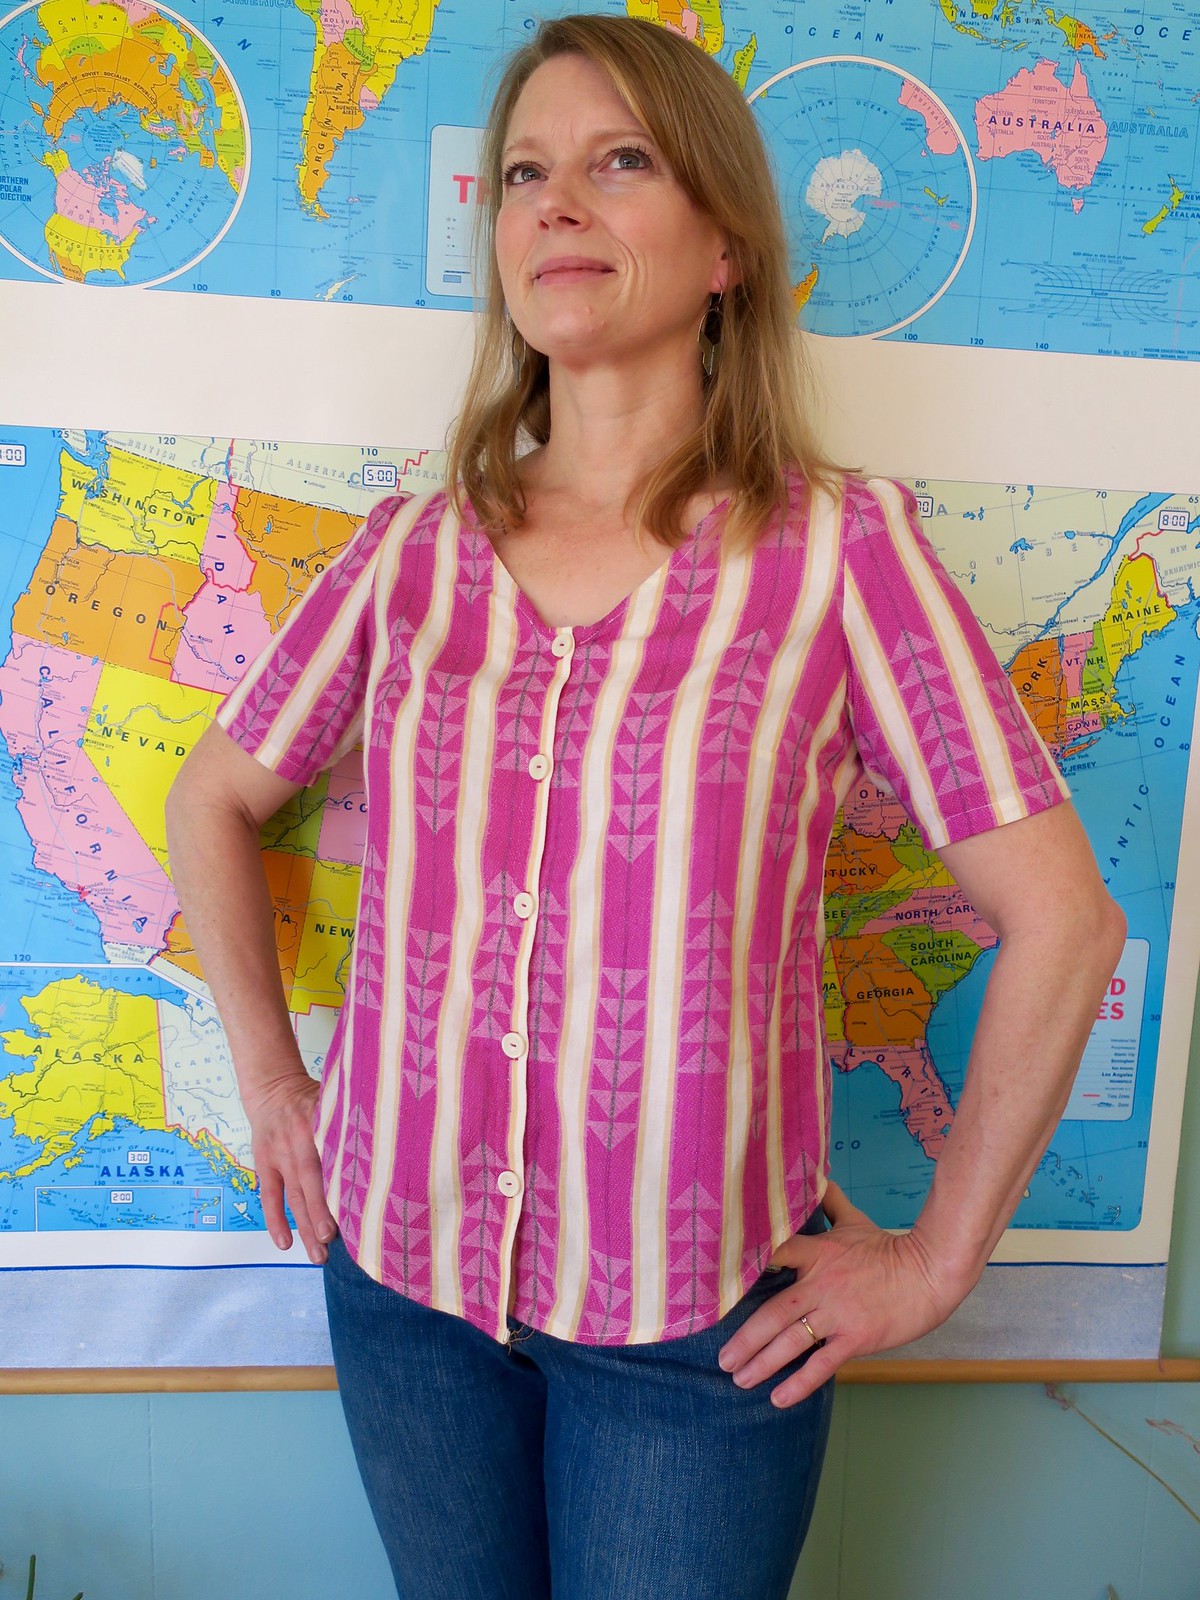
I have become a person who loves the color pink. Mostly brick, adobe, brownish shades of pink but I do love this pop of color from this gorgeous Loominous fabric from Anna Maria Horner. I have been a long time fan girl of Anna and her fabrics and this line is even more wearable for me than most of her designs.
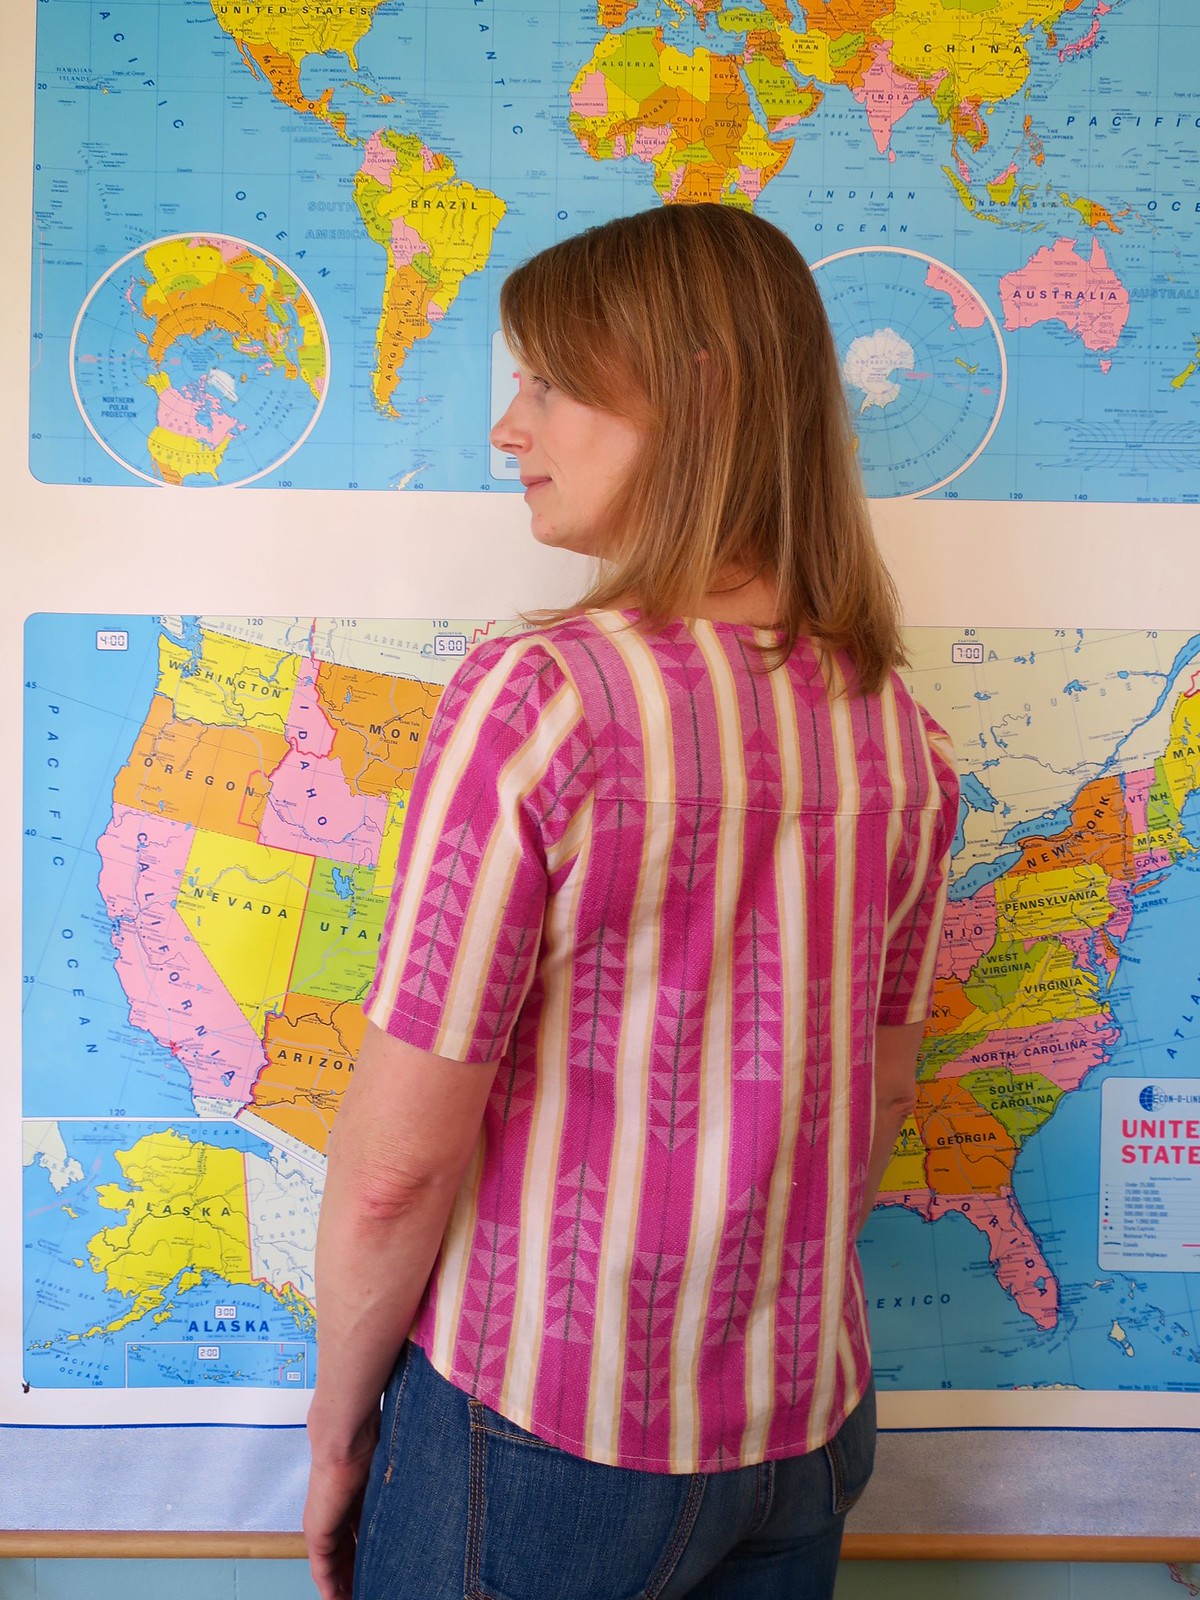
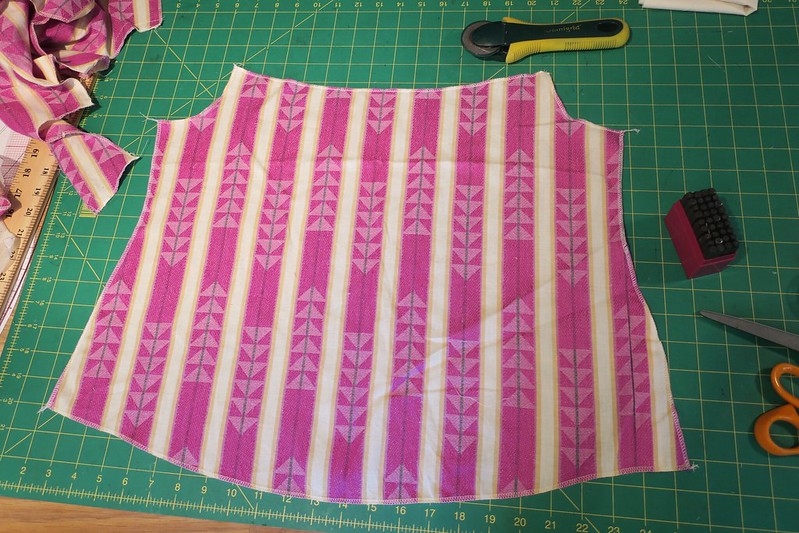
I did not create a muslin for this top, my bad. I put the pattern together as drafted, and it was baggy, gapey and all kinds of ugly from the back. I should have known better, as I always need a sway back adjustment. Luckily, the editing that I had to do to fix my issues made the back pattern piece smaller than the original, allowing me to recut the back from the already cut pattern piece. I think I achieved a really great fit and after my initial befuddlement that made me very happy.
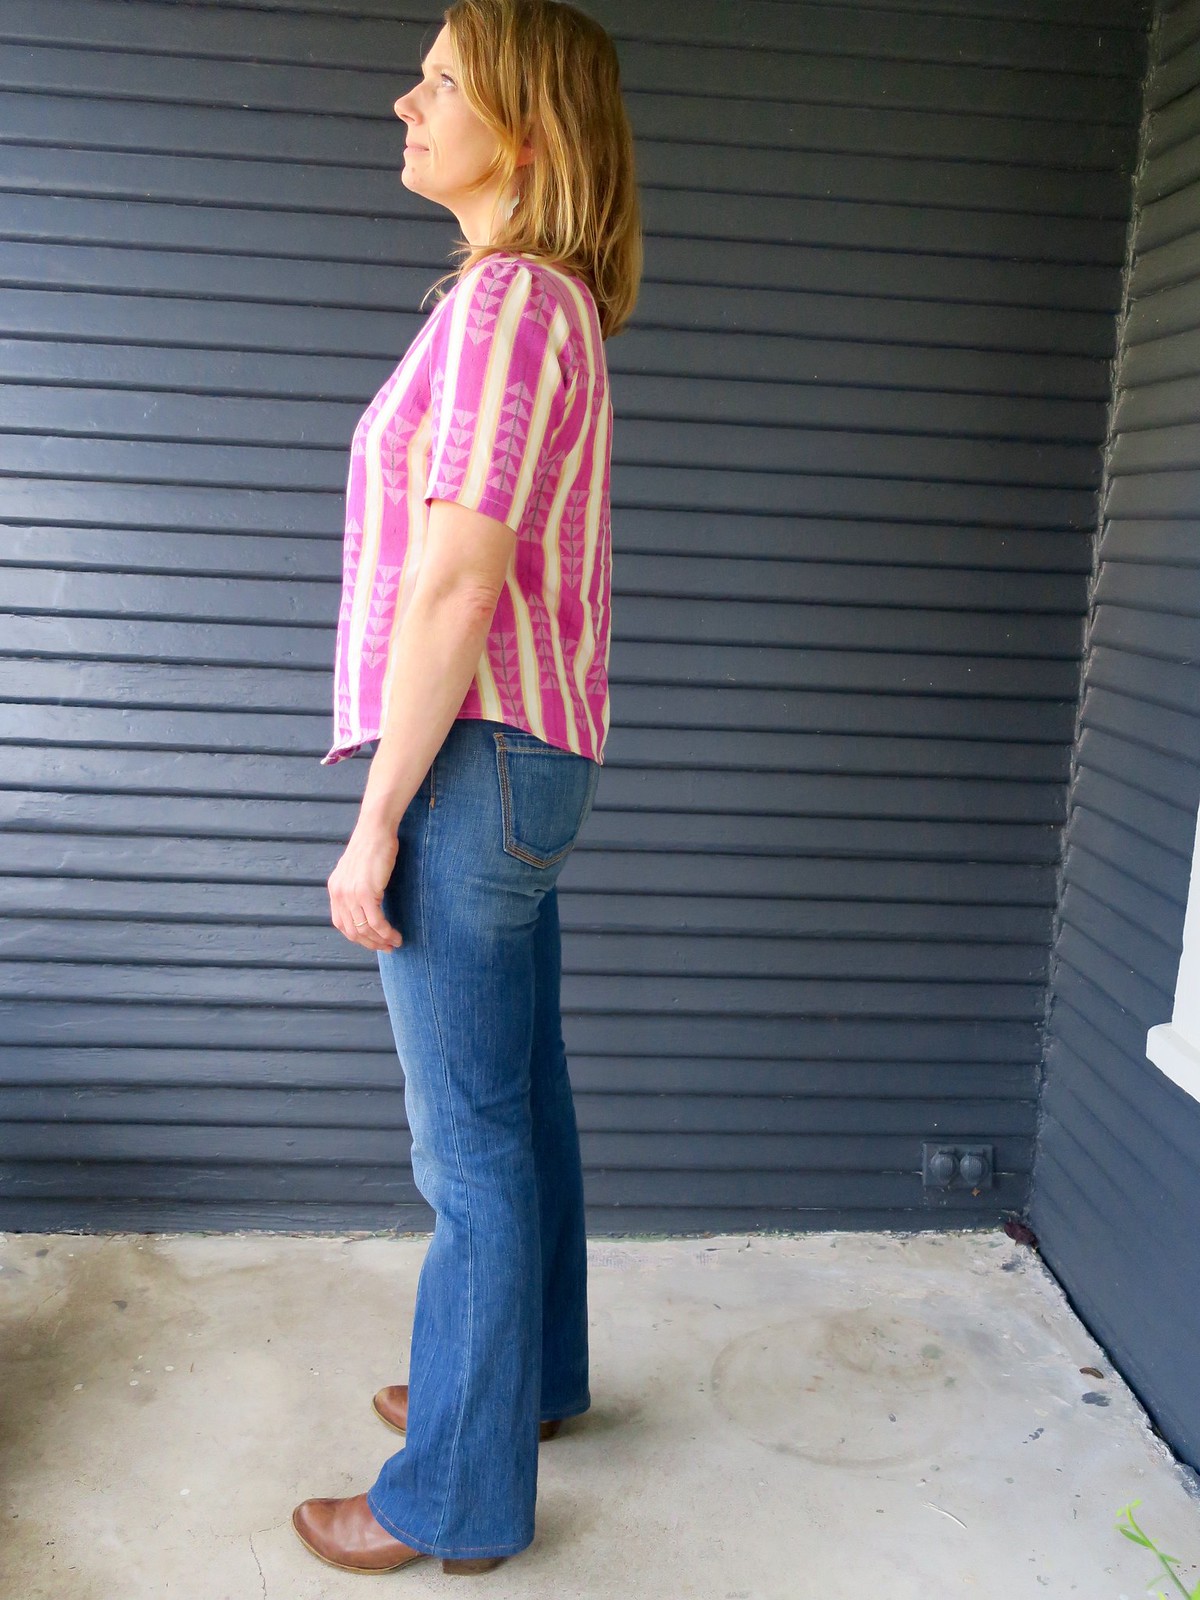
I do find the sleeves to be a bit tight, and while I like the look of the slim fit I think my biceps need a tiny bit more room next time. There is plenty of room across the back, shoulders and chest, so it isn't that I chose the wrong size. This is version 1 in size 2 by the way.
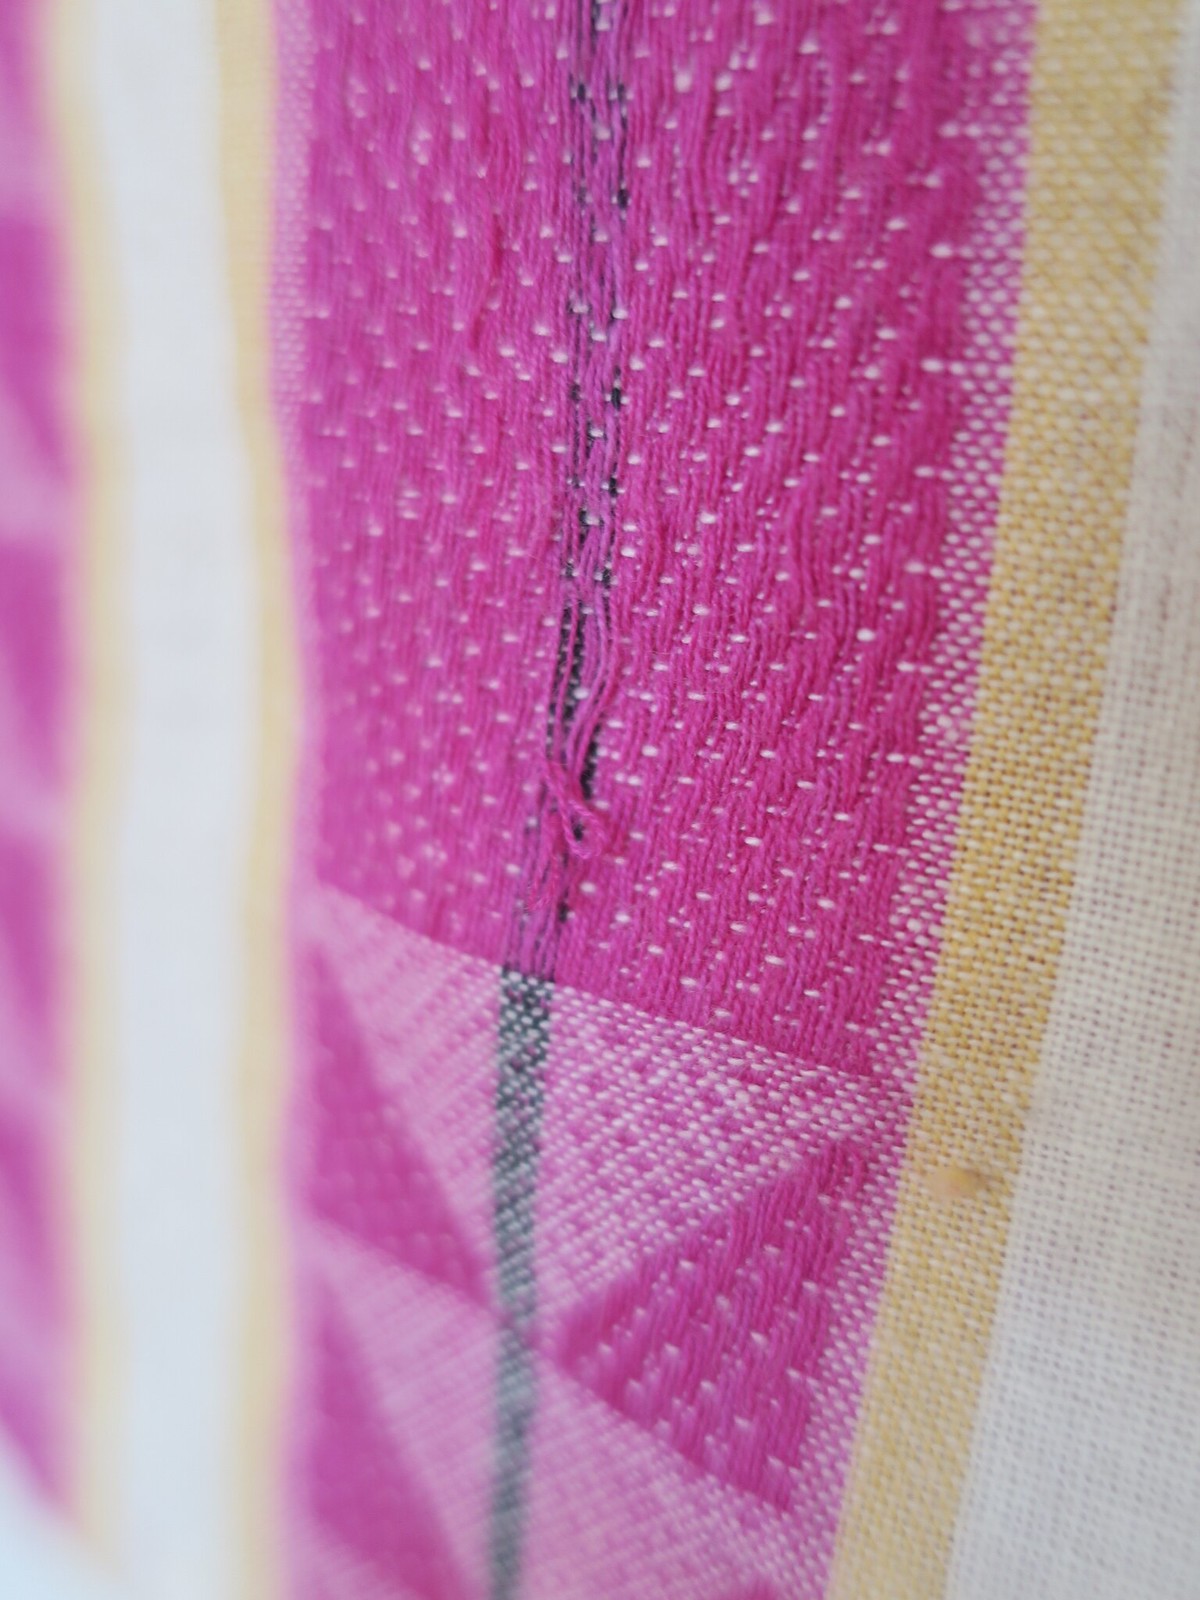
I figured out too late that I used the wrong side of this fabric. It is a very loose weave and I am not sure how it will hold up over time. I will have to be careful with this blouse.
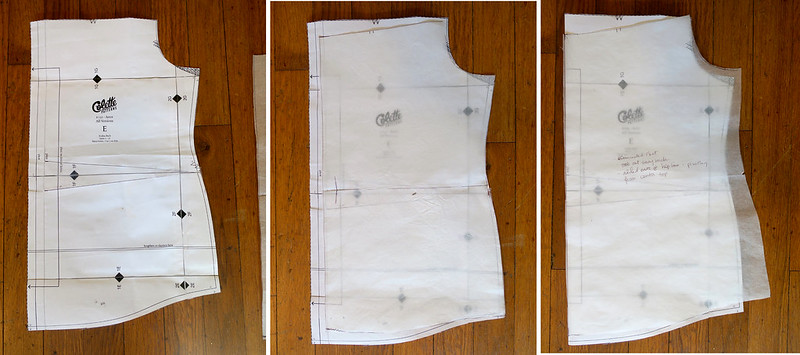 |
| 1. Original Pattern piece 2. Second draft with pleat eliminated and swayback removed 3. Final result with ease added in at hips. |
Here is the evolution of my pattern alterations. It took some thinking and research to figure this out because I had only ever done swayback adjustments on garments with a waist seam. The original pattern piece is on the left. I eliminated the pleat because there was way too much volume for my taste. Then I cut a wedge out at the waist line for the sway back adjustment. Finally I had to add ease back into the hip by pivoting at the center back. You can see that my final back pattern piece ended up with a curve at the top where it meets the yoke. I'm not sure if this is the "correct" way to do a swayback adjustment on a blouse but it worked for me and I am pleased with the result.
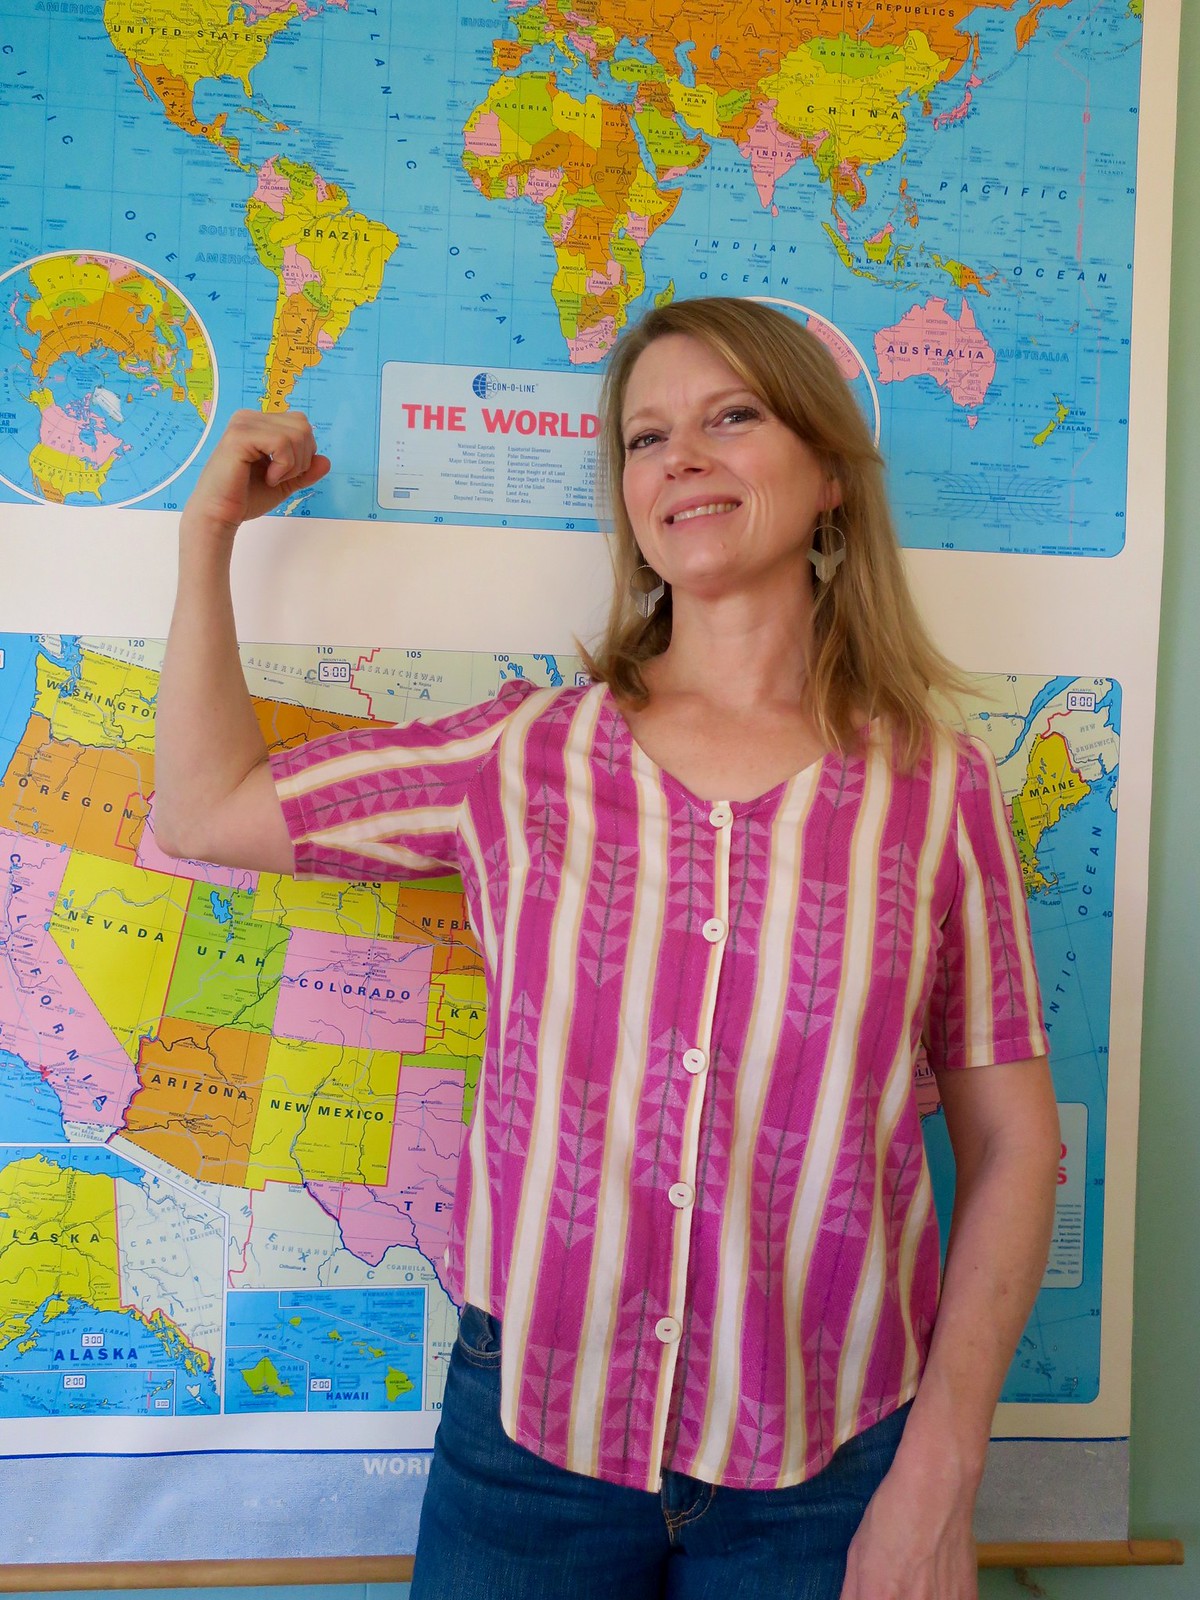
As simple as this pattern is, I had always been drawn to its style lines. I do plan to make the other two versions at some point now that I have the fit down. I would recommend this pattern for someone as an introduction to sewing a button down blouse. I think it has just the right balance of simplicity, modernity and classic lines for my taste.


