
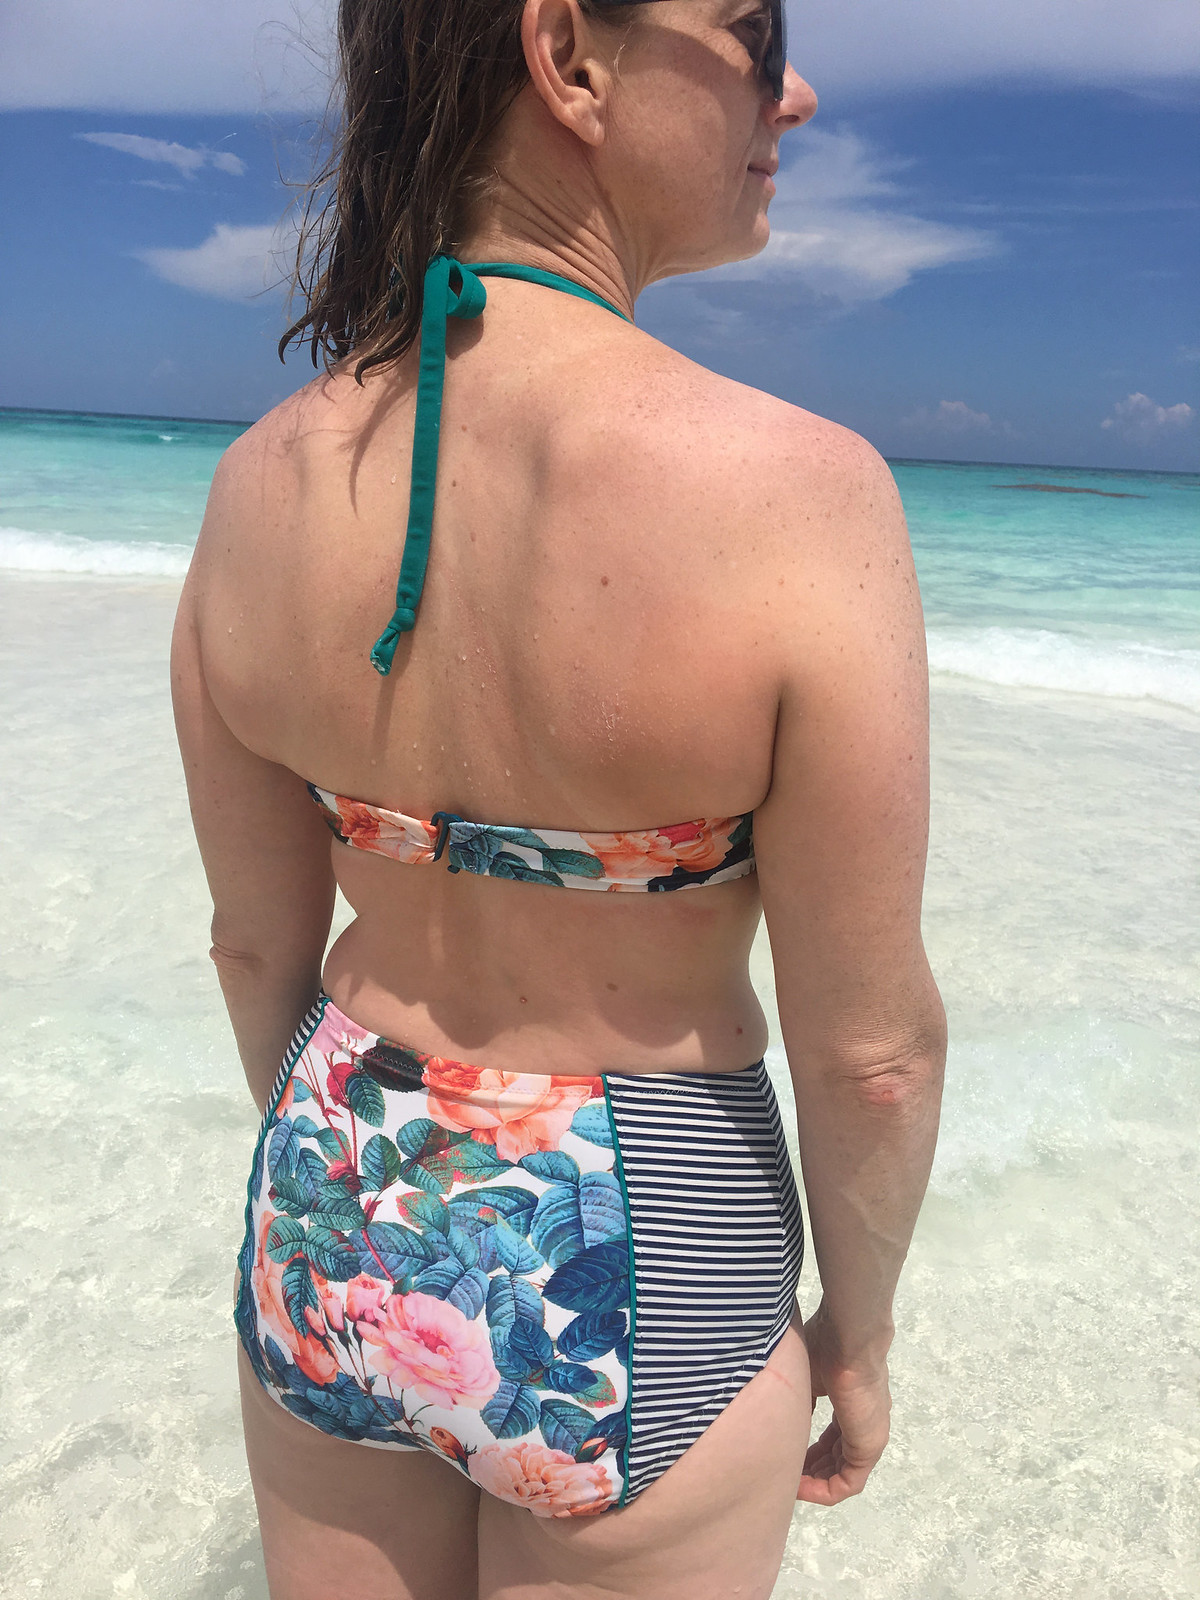
When I made my Sophie Swimsuit I had so much fun picking out fabrics. There are endless options for mixing patterns and/or solids to come up with your own custom suit. I opted to add piping to the bottoms and thought I would show you how I did it. My piping is pretty subtle but you could really make it a stand out with a color that contrasts your main fabrics.
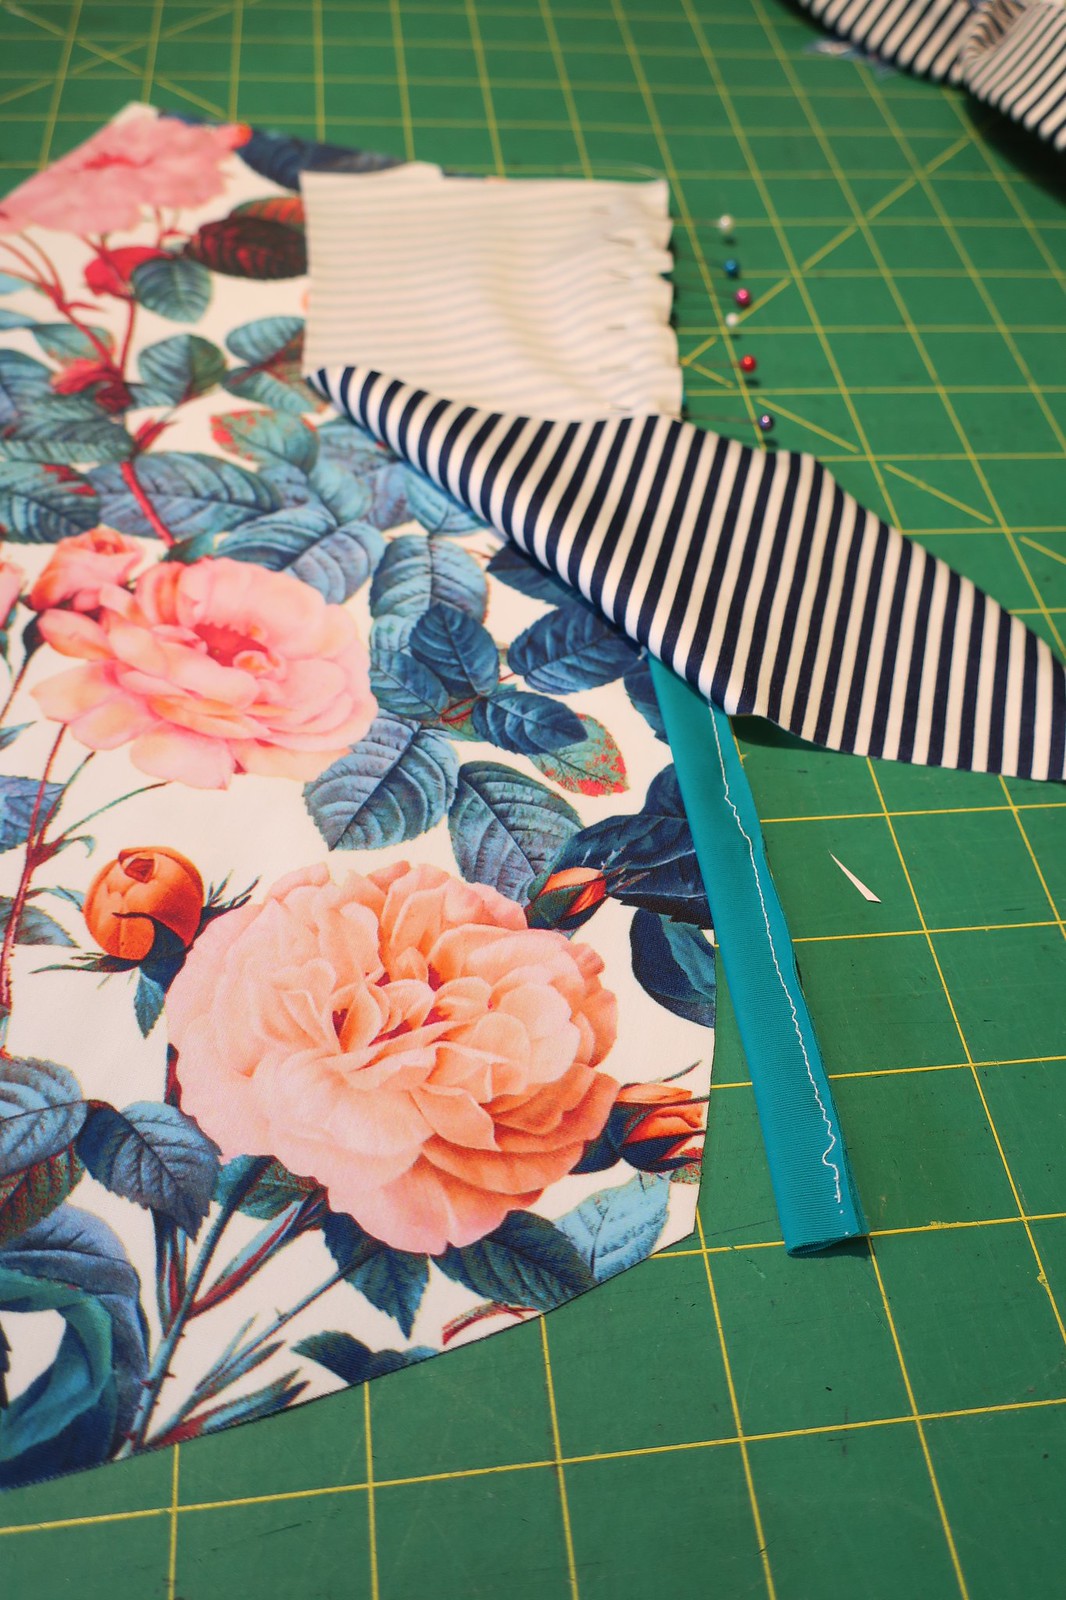
My piping was made from a 1" wide strip of swim fabric. I folded it with wrong sides together and basted close to the raw edge. This part will be trimmed off later.
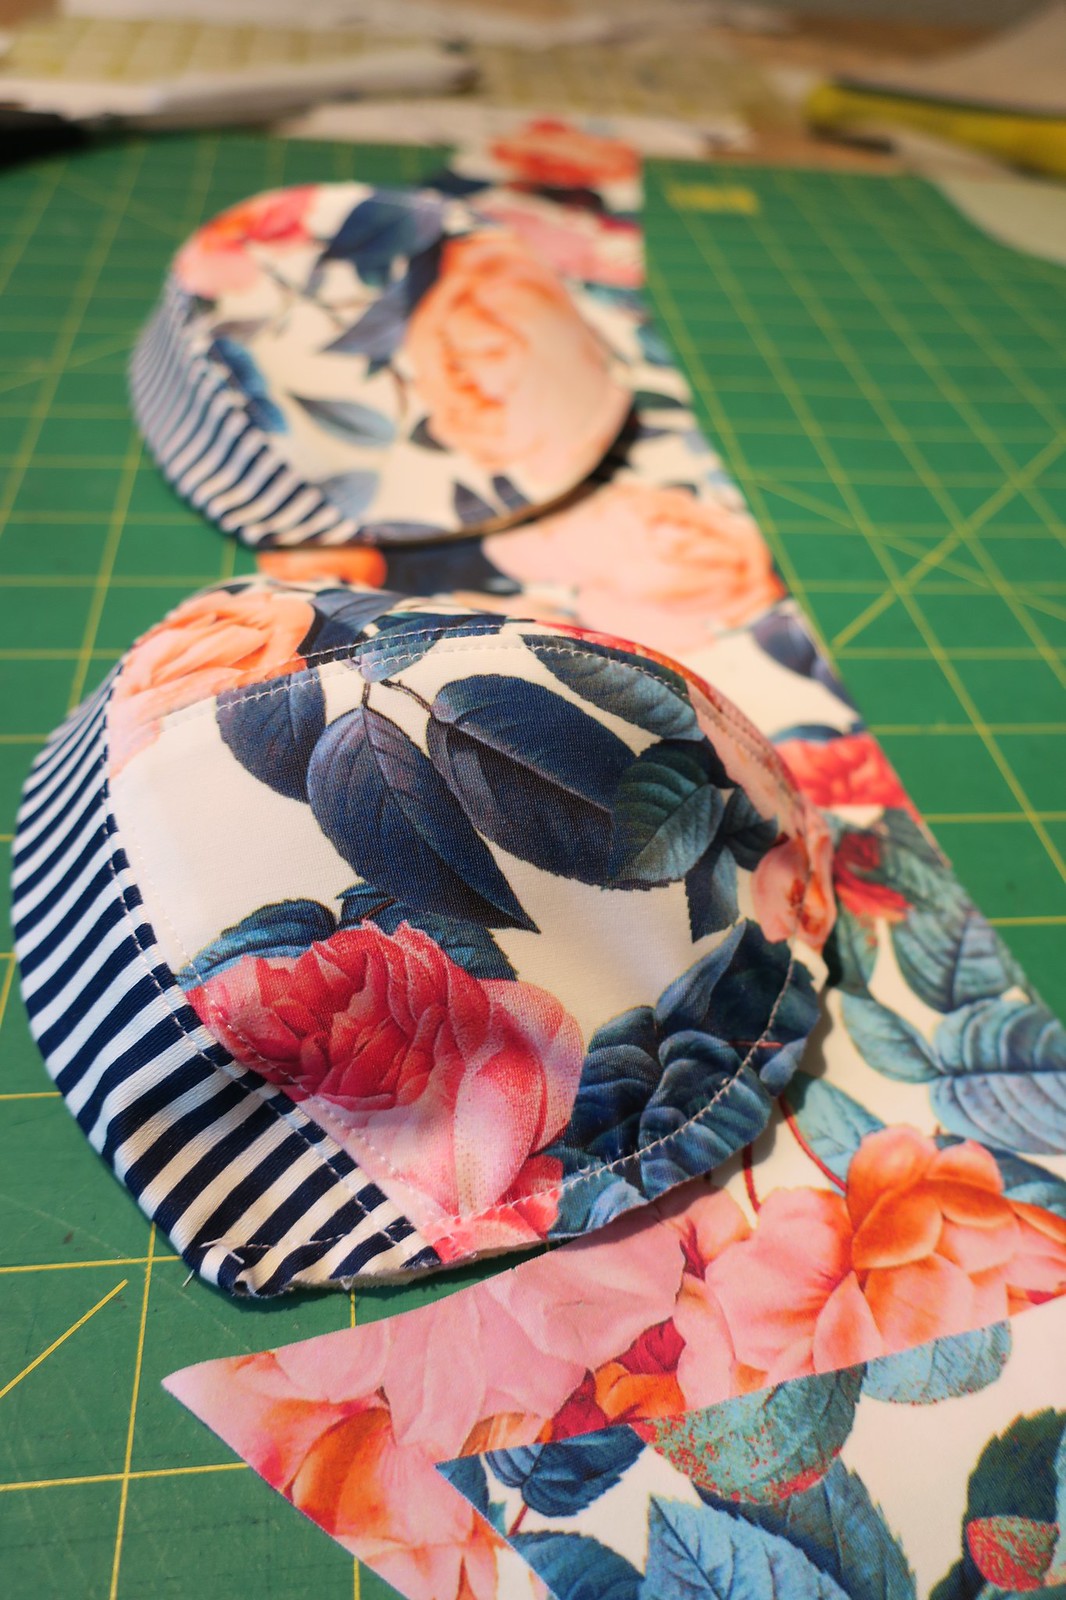
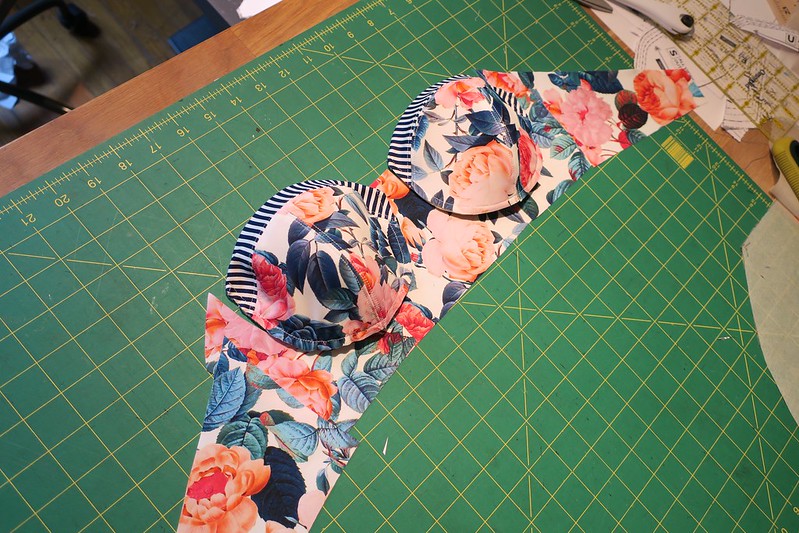
I sandwiched the piping between my center and side panels (both front and back) and used a lot of pins to keep each seam lined up.
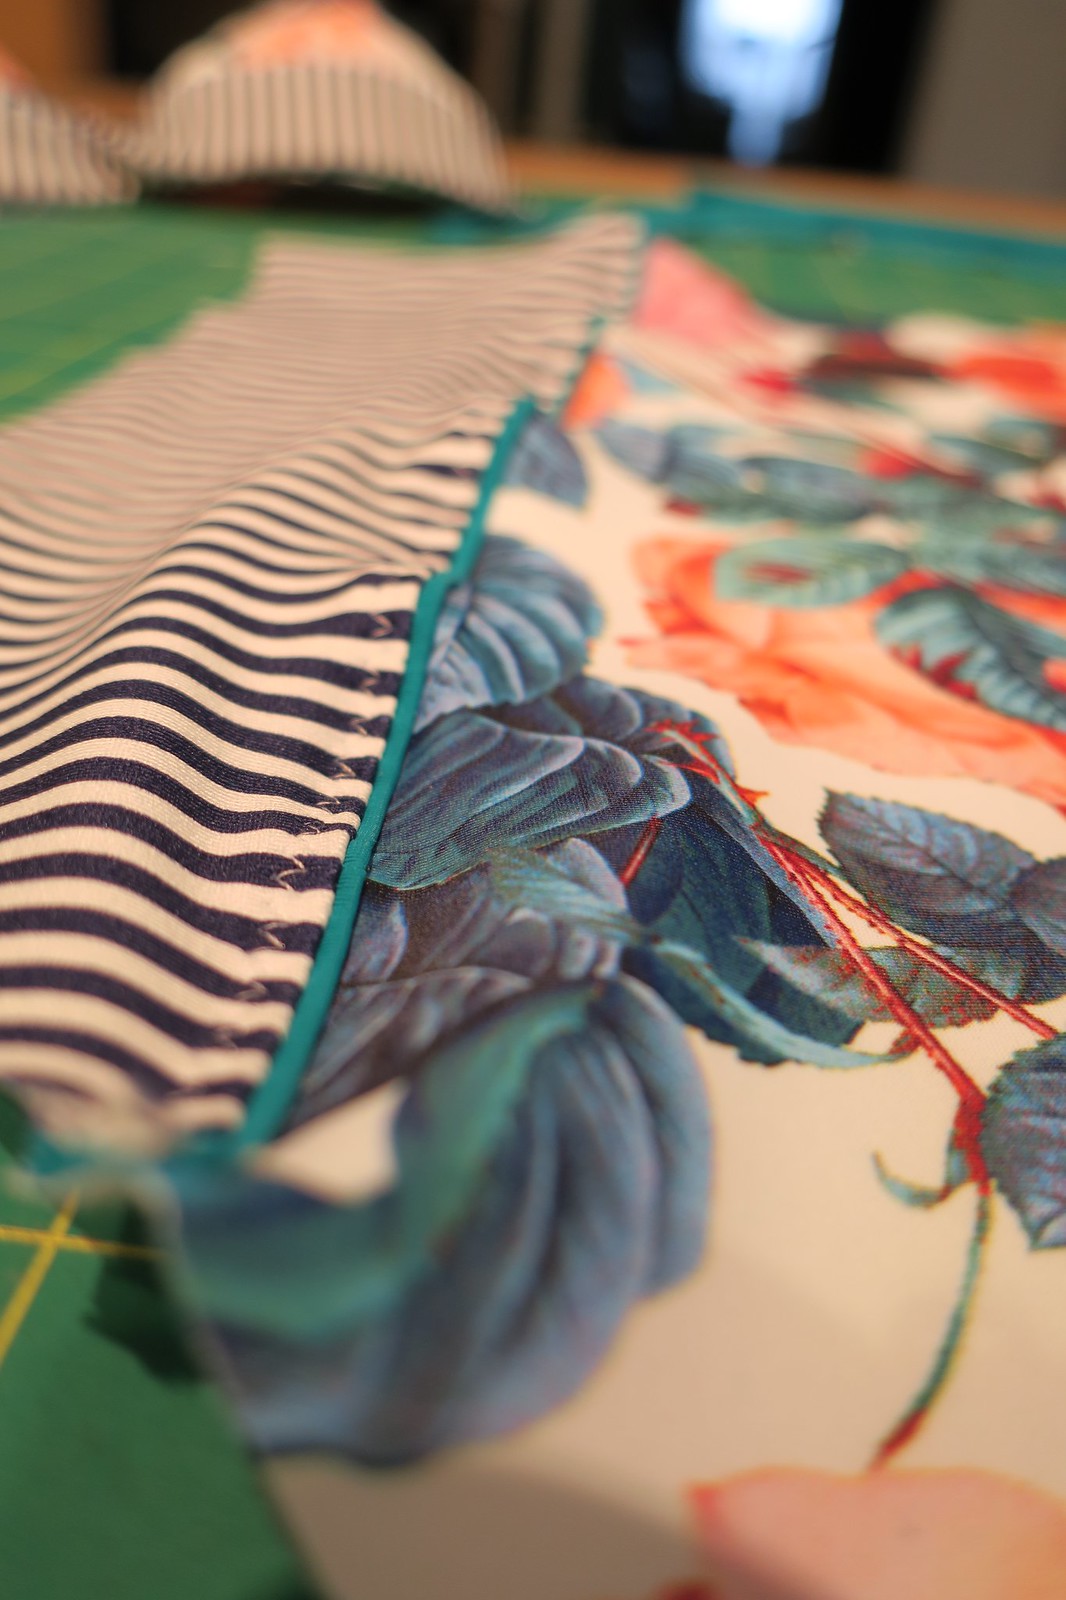
This pattern uses a 3/8" wide seam allowance. You will have to experiment with your zig zag width but the goal is to leave a tiny bit of the piping peaking out of the seam. On my machine I used a 3 width and 1.5 length for my zig zag on the seam. After sewing up each seam I trimmed the piping and side panels closer to the seam to reduce bulk.
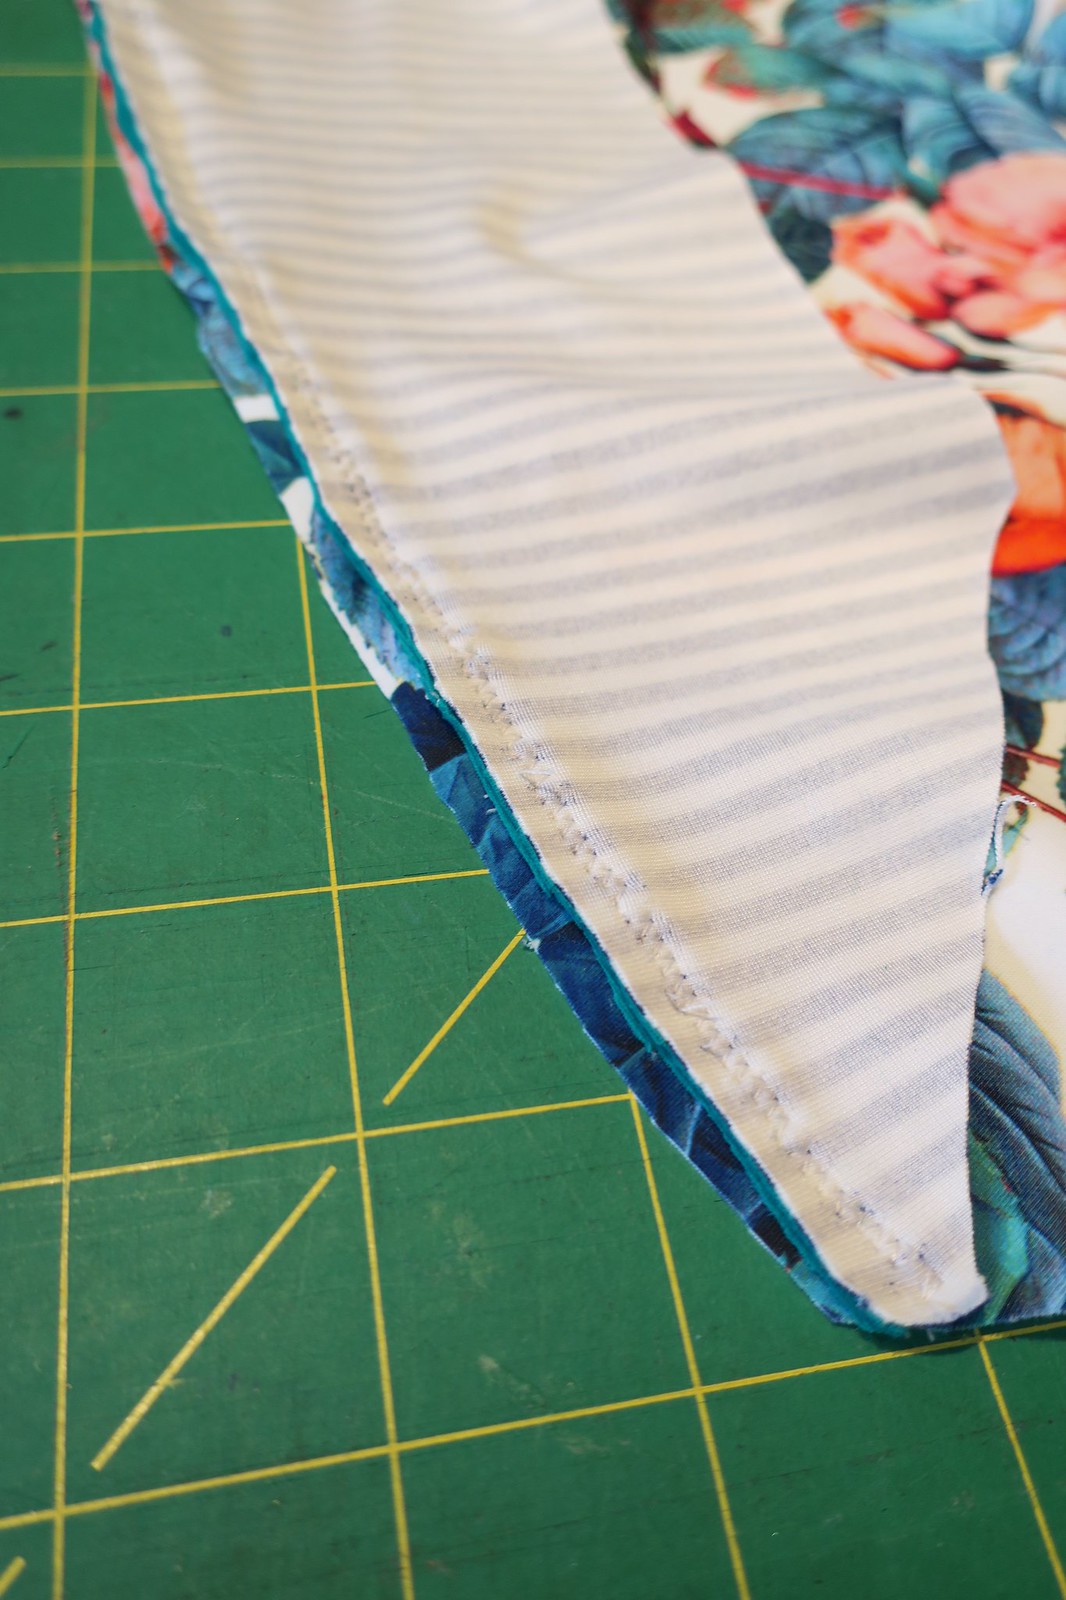
I finished each of these seams by turning the seam allowance towards the side seams and topstitching with another zig zag. The seams came out a bit wavy but that is not a problem when the suit is being worn.

If you haven't tried this pattern yet I highly recommend it. It was intimidating at first, but if you take your time and follow the instructions carefully the suit comes together perfectly. I found it to be a challenging project that left me with a great sense of accomplishment.
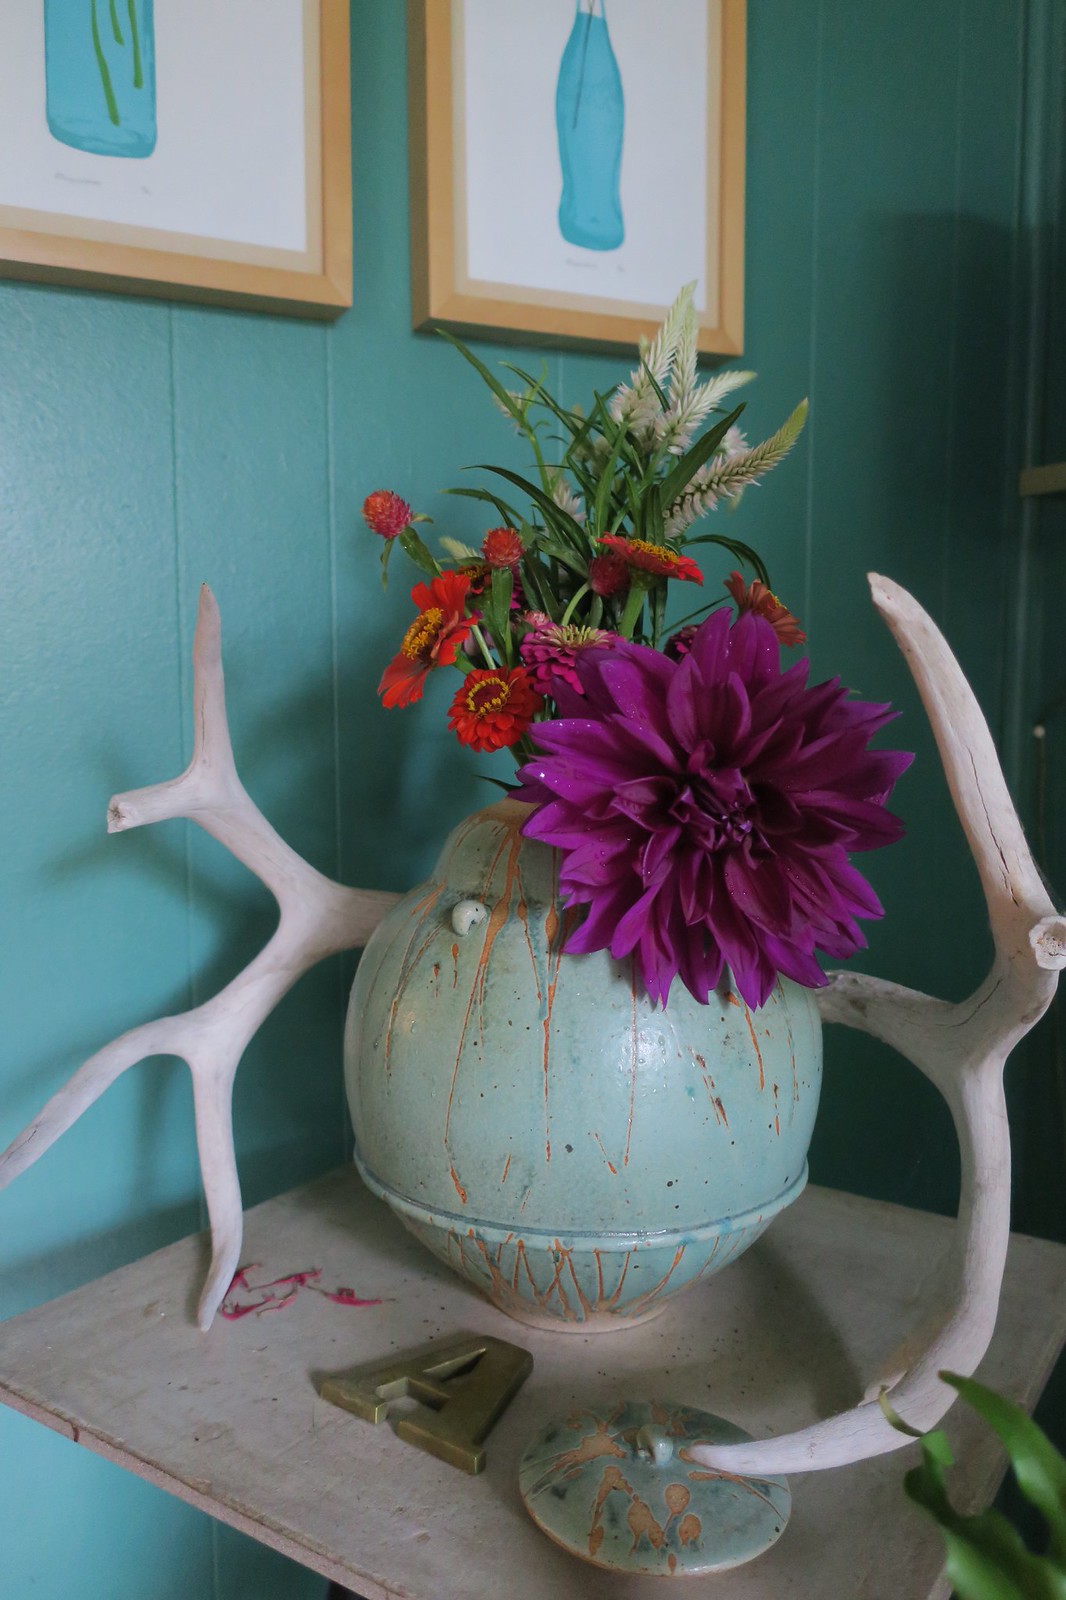 |
| My garden has been happy this Summer! Can you believe I grew that Dahlia?! |


