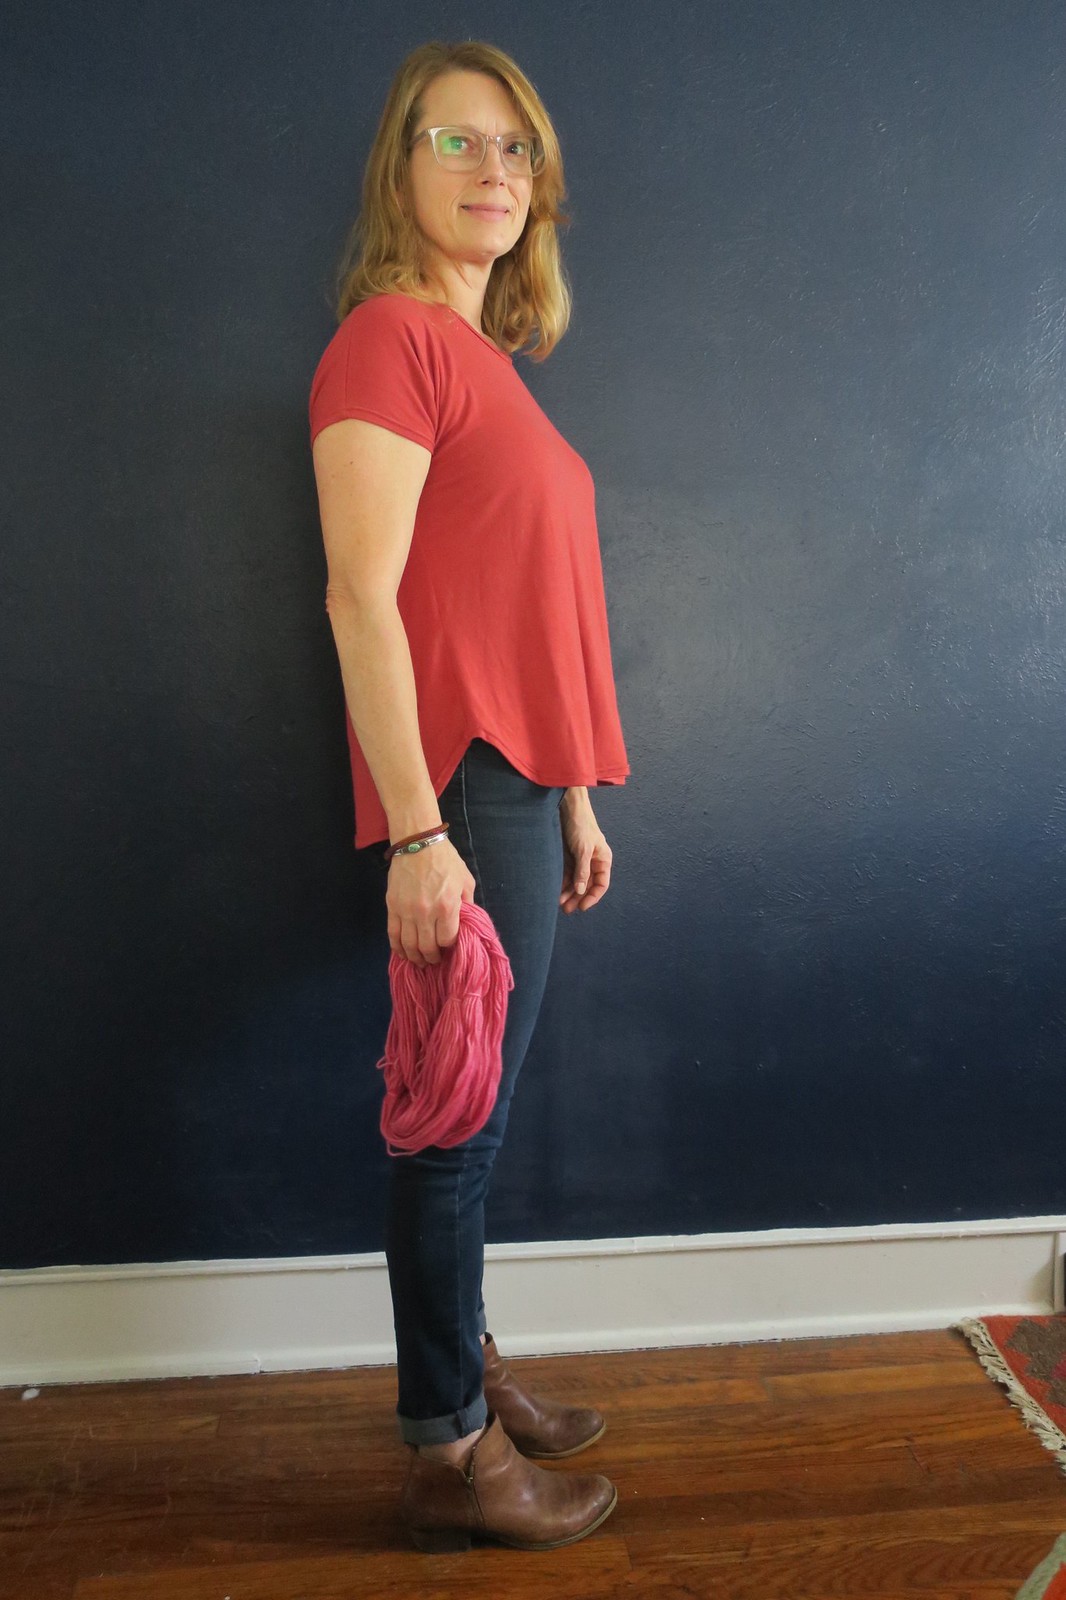
Saturday, February 10, 2018

Saltbox Tee, Twenty Seven Years in the Making

There is so much more to this blog post than this pattern, this fabric or this make. I have a story to tell about my oldest friend and the 27 years of friendship that lie behind this handmade tee.
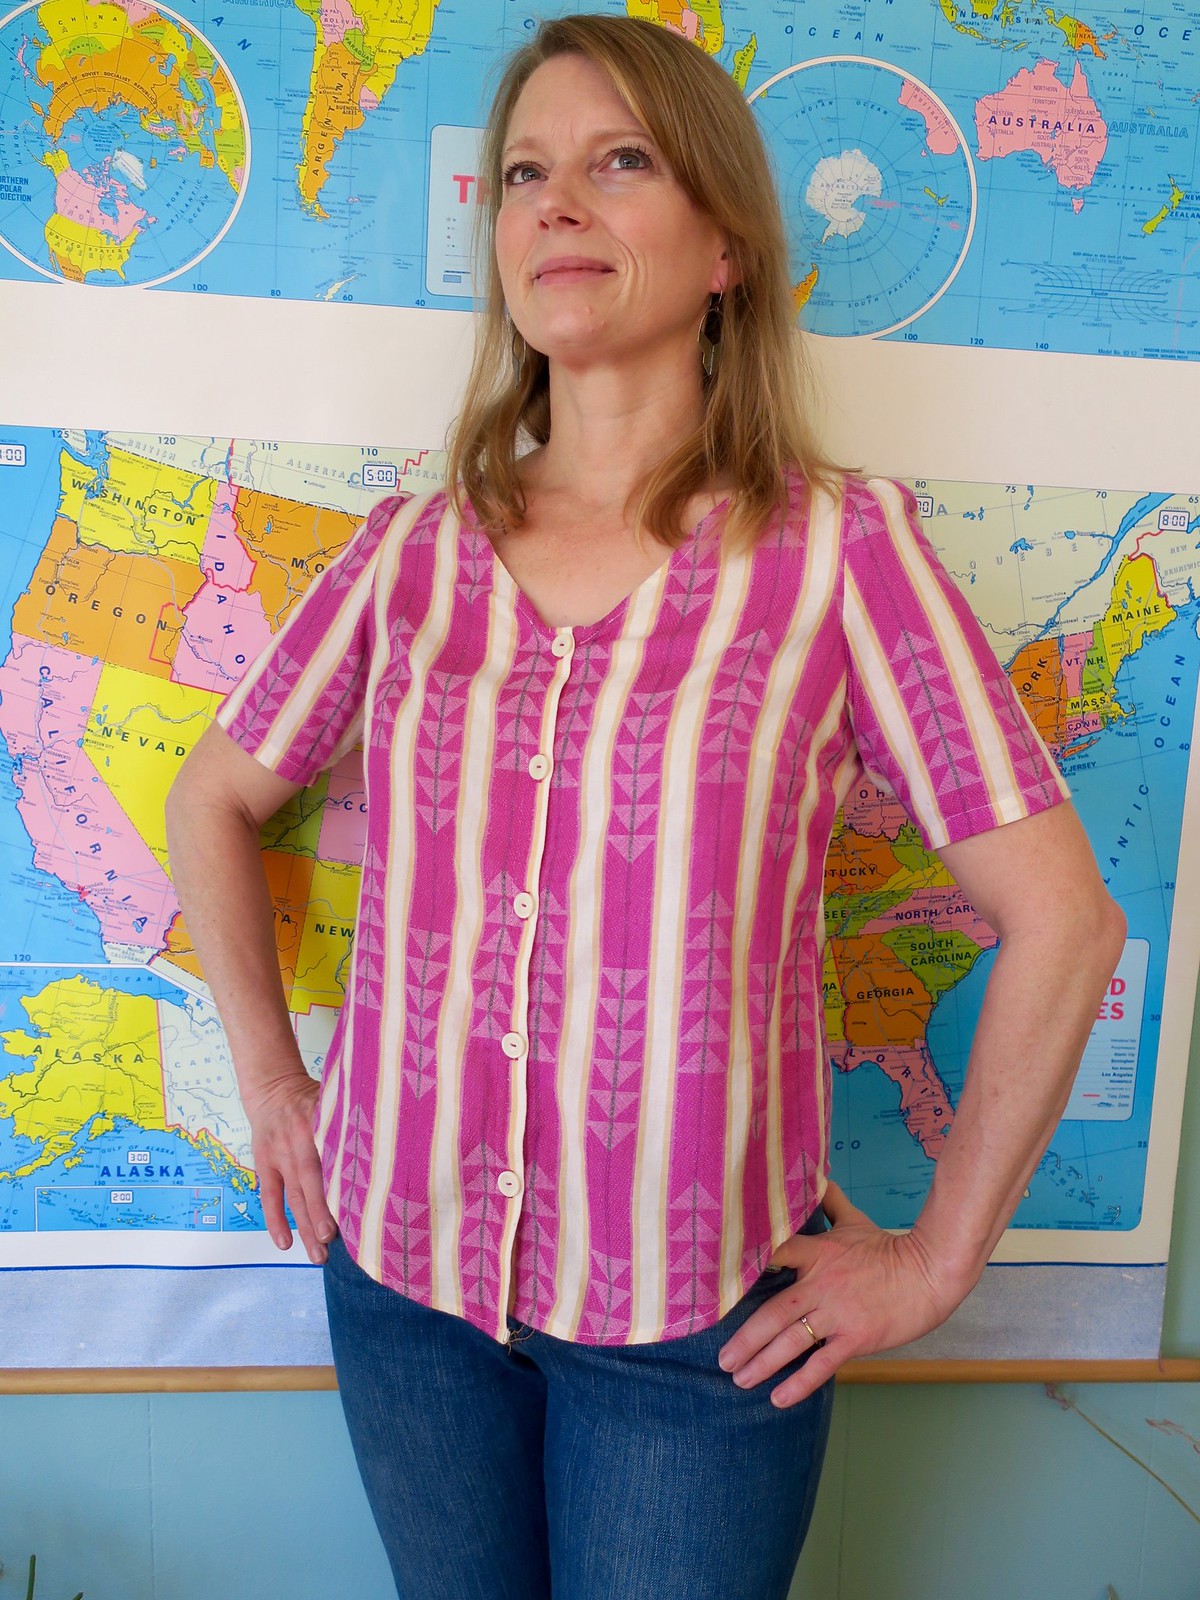
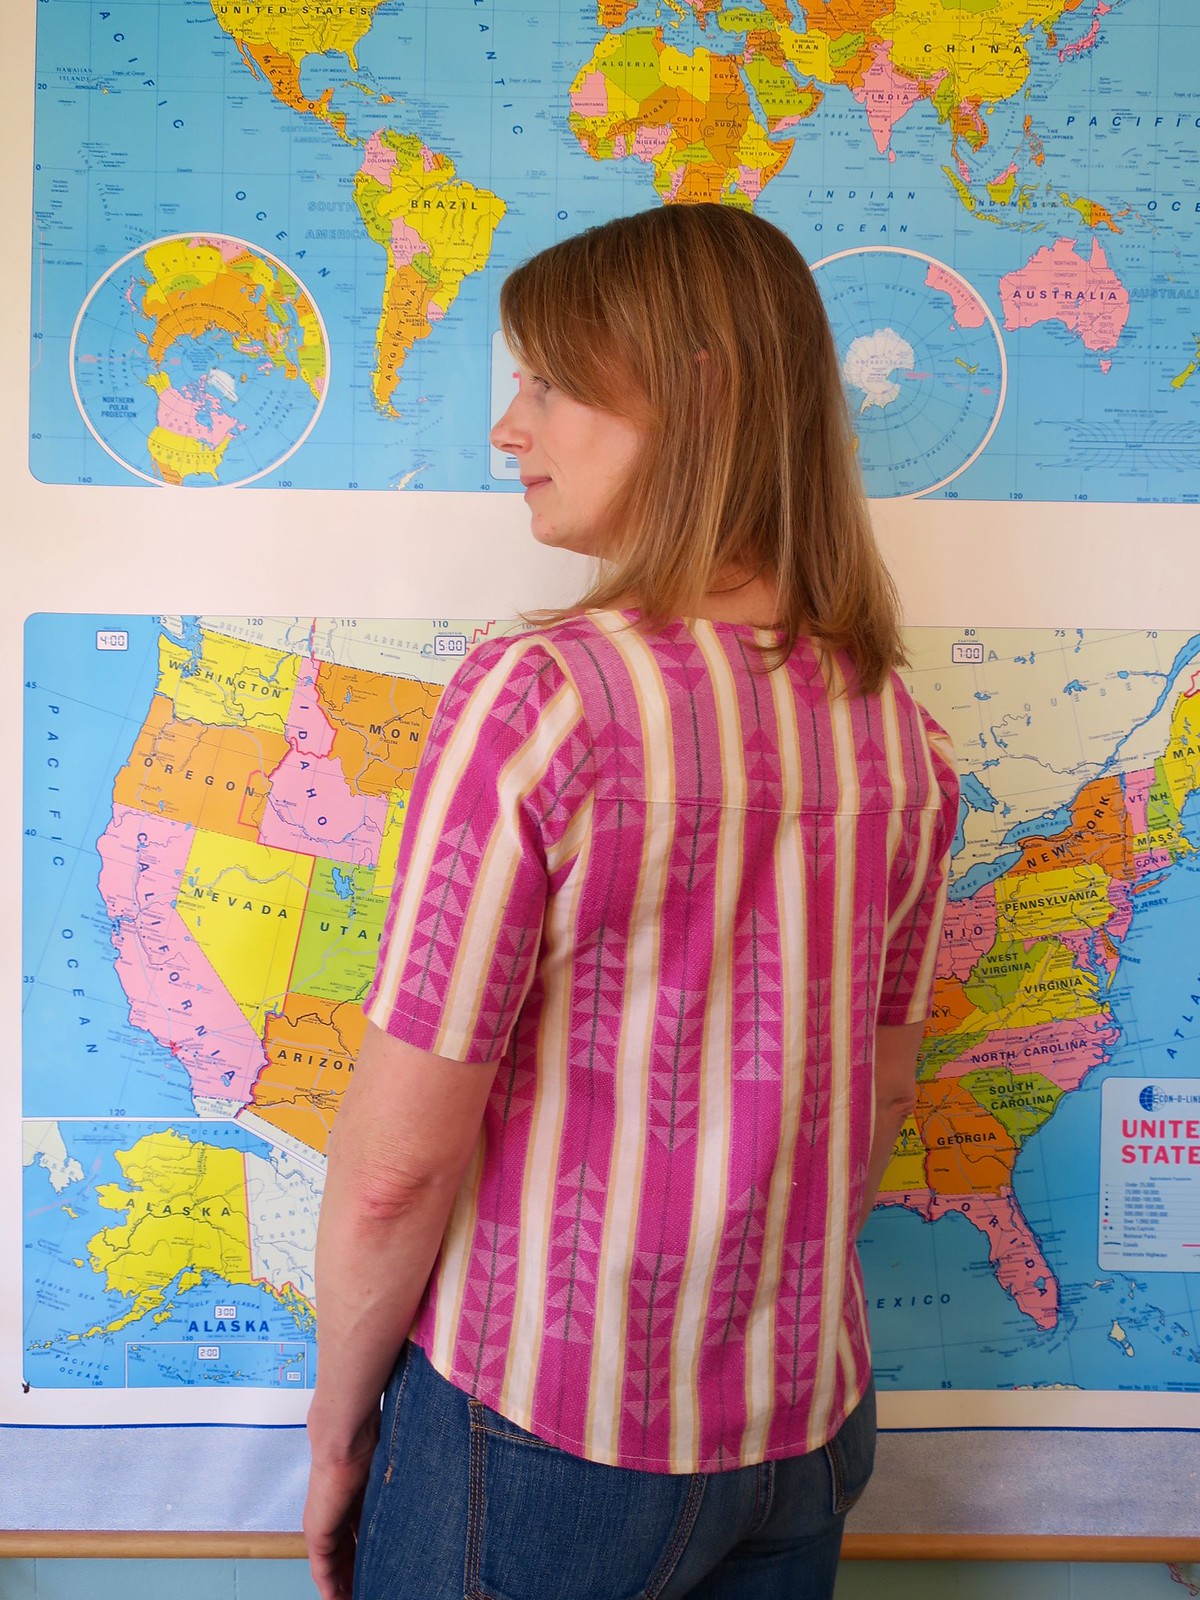
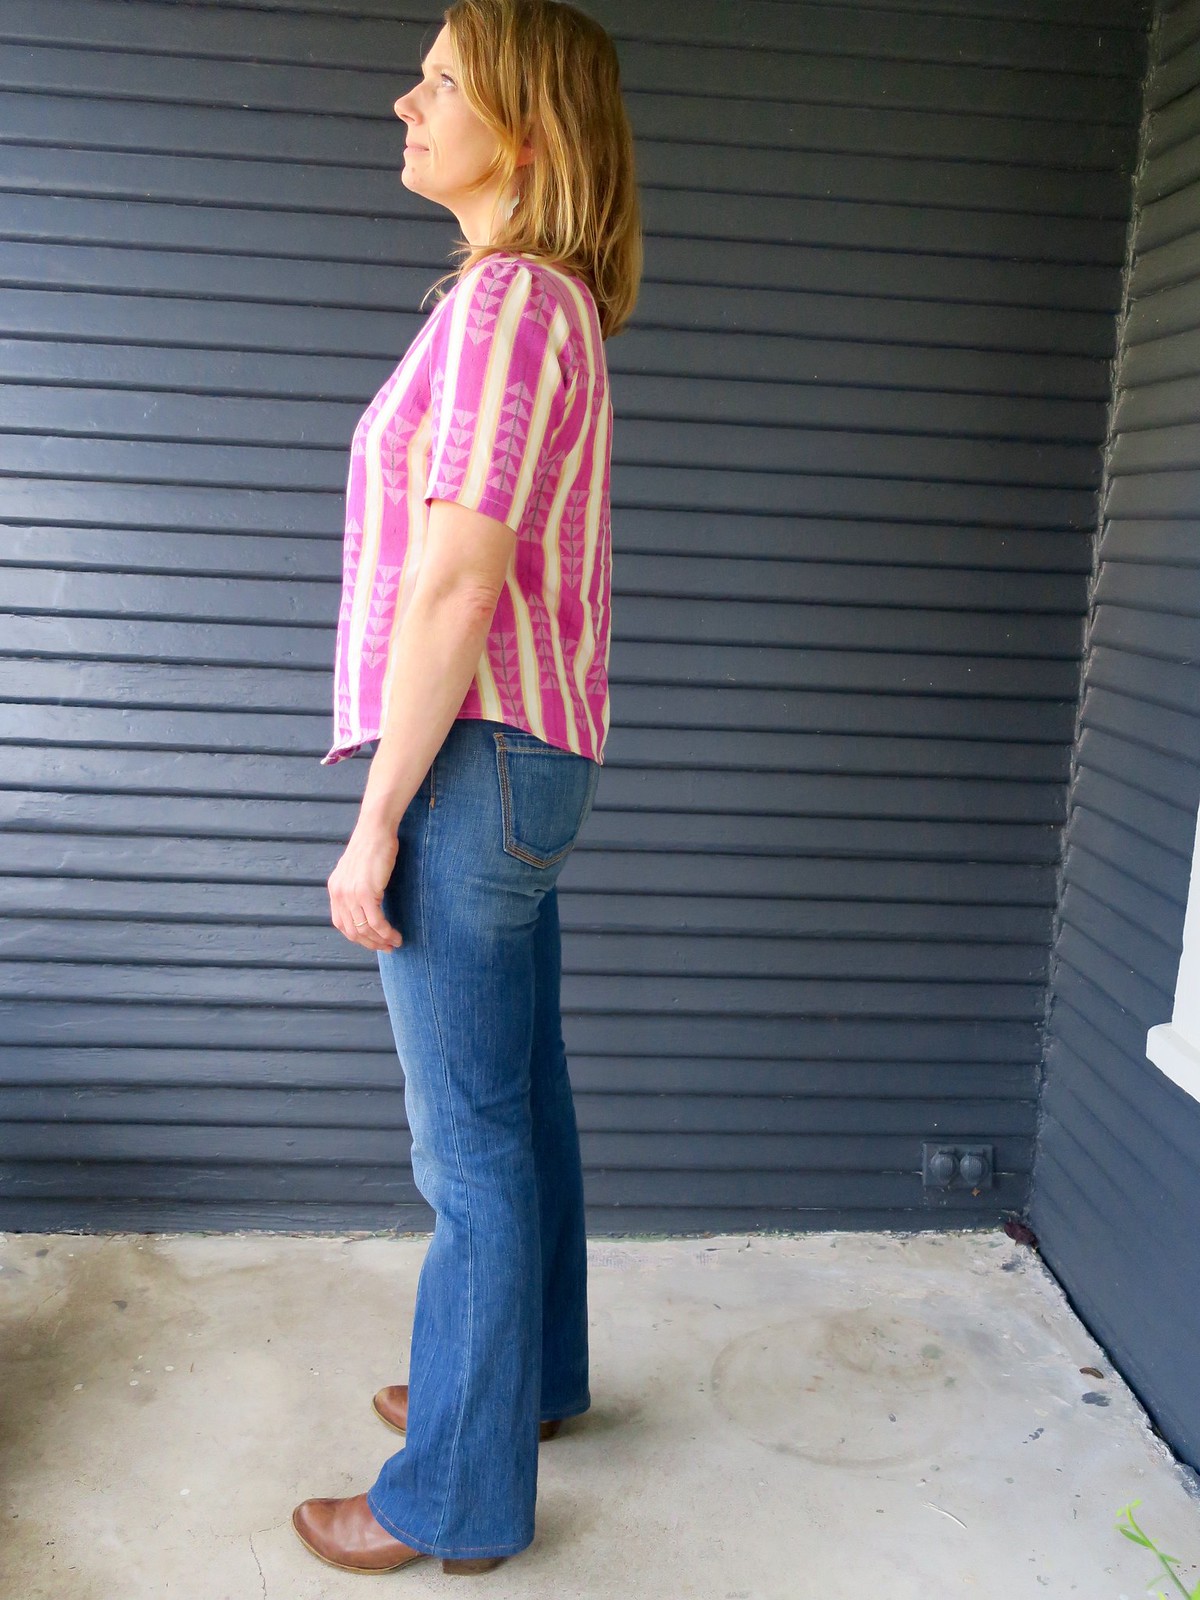
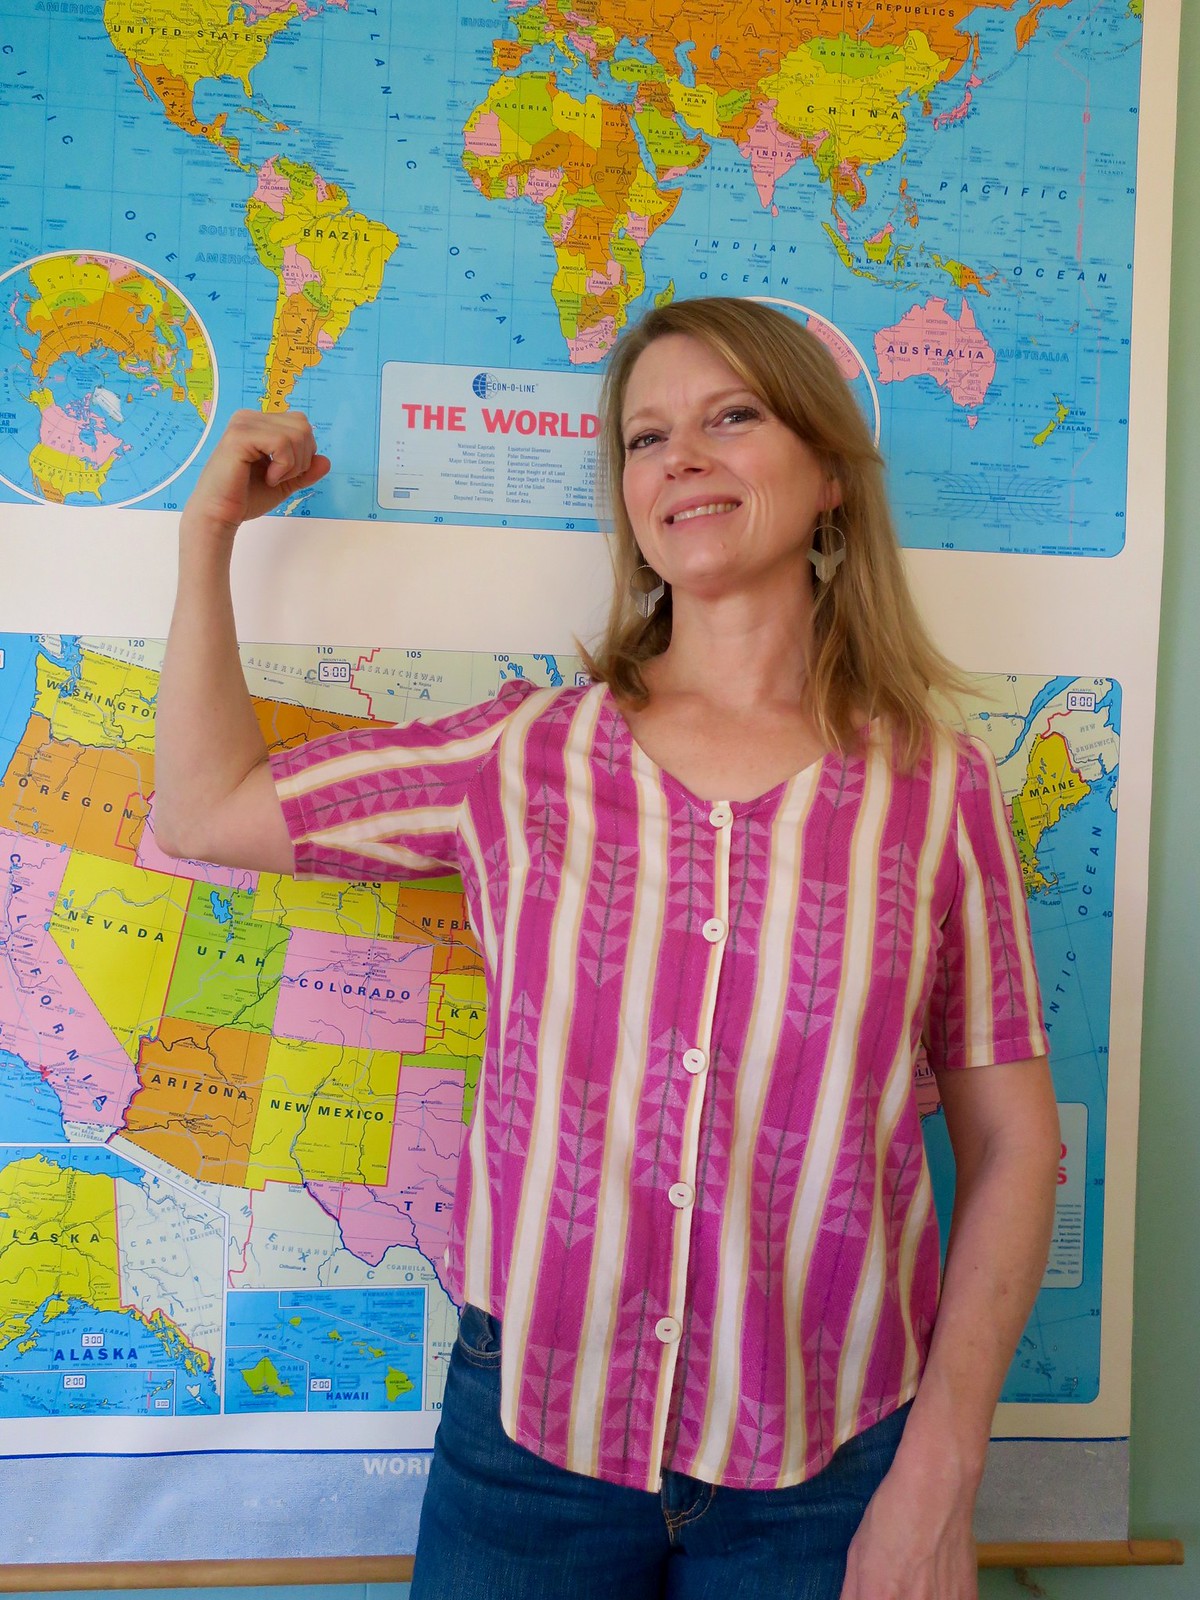
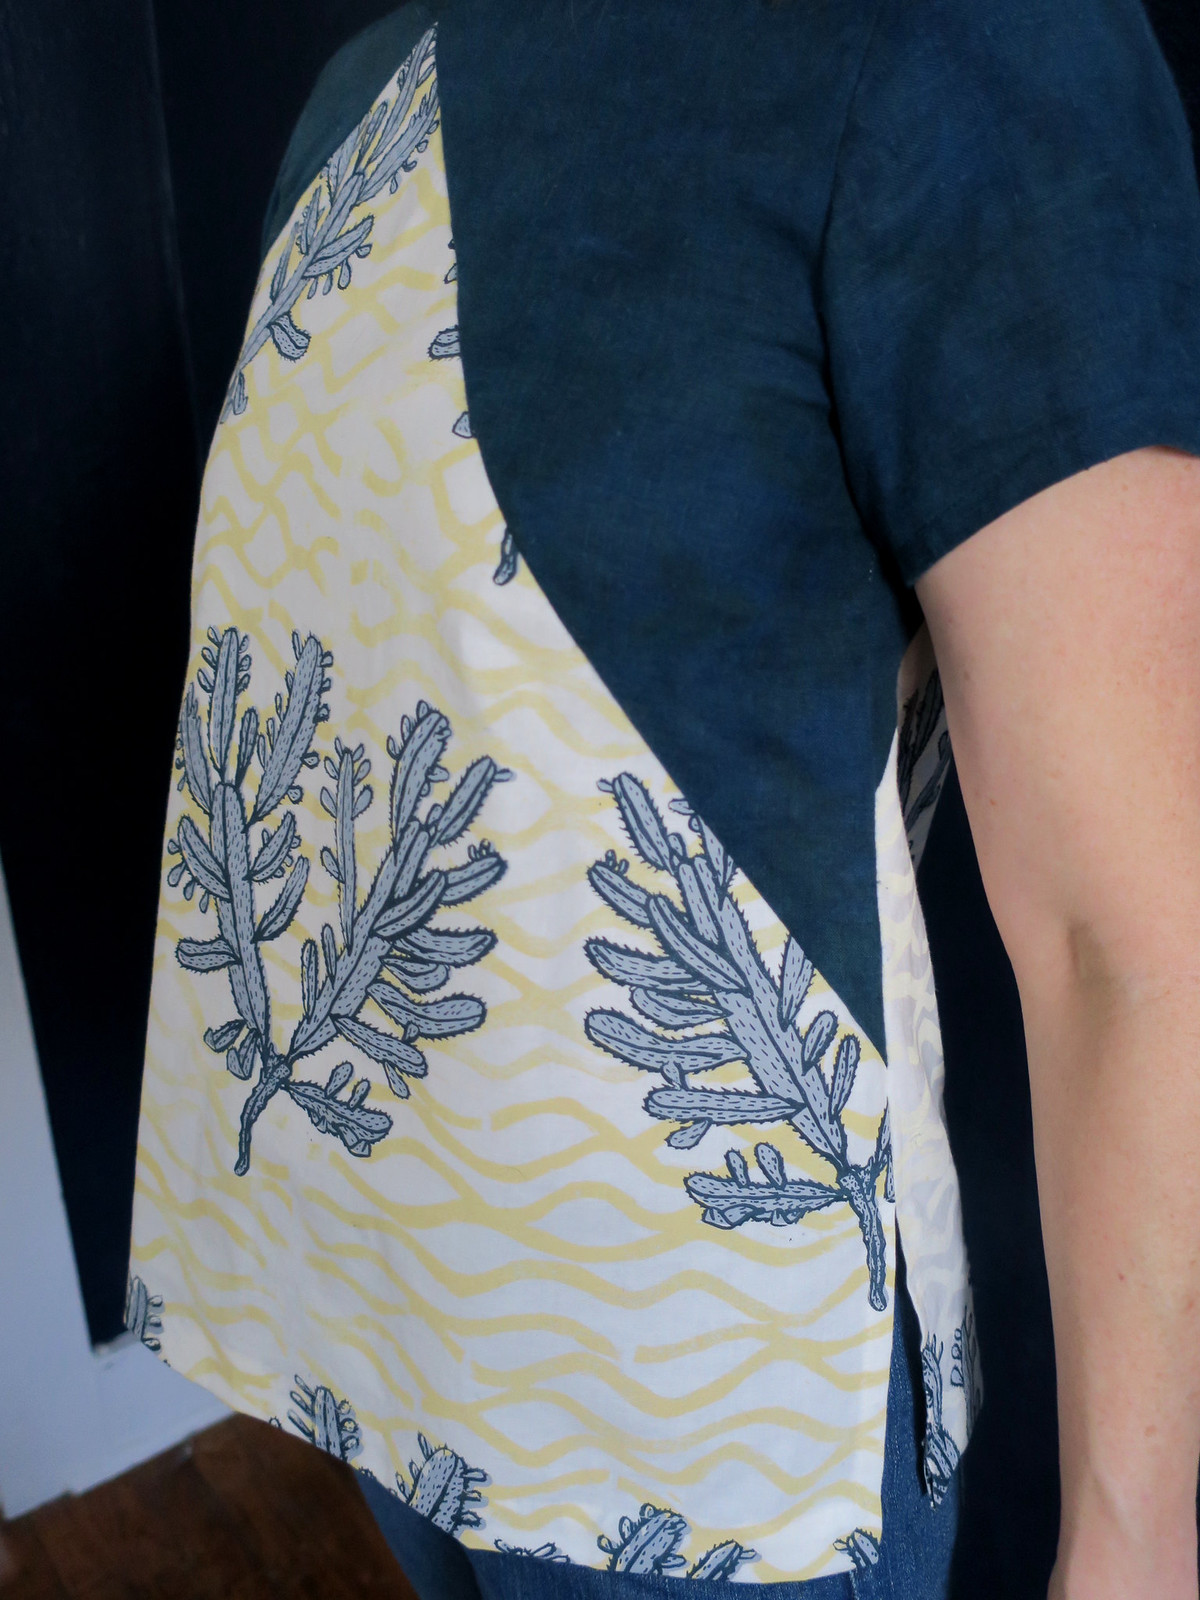
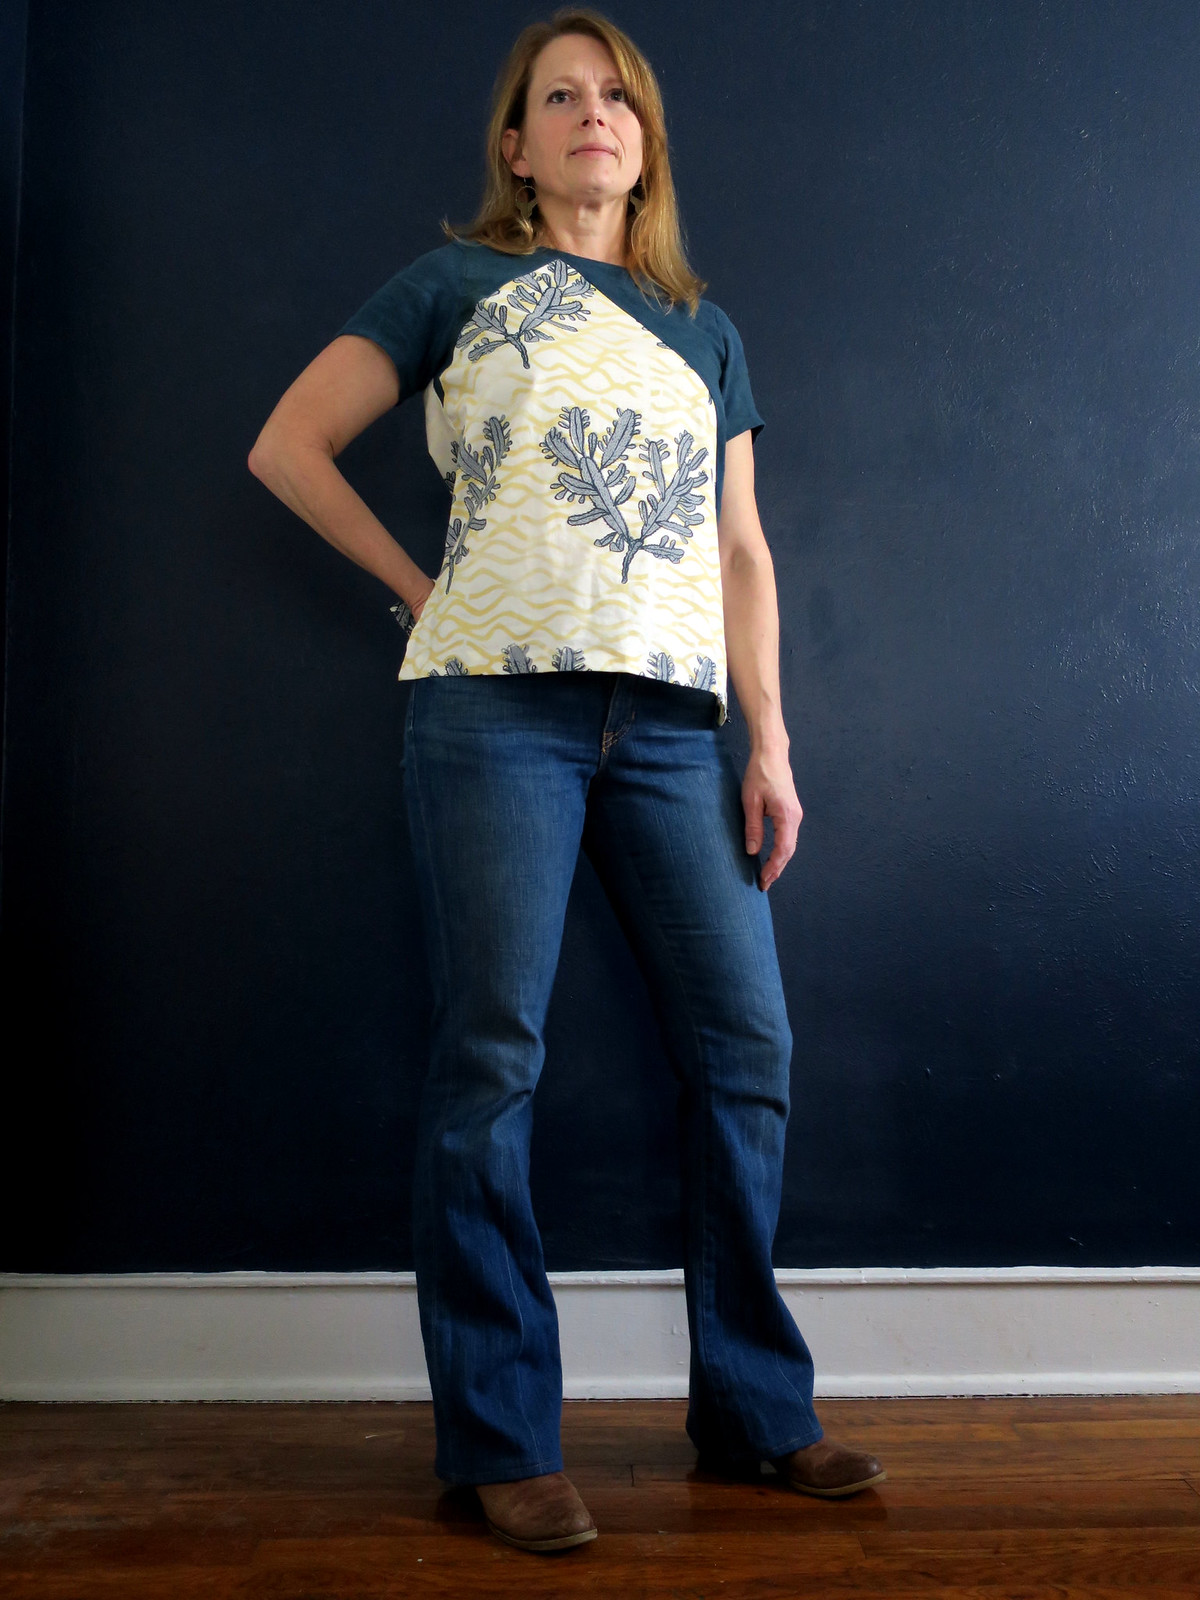
  Handprinted Saltbox Tee

In the seventh grade I started a new school. Picture me, super shy, super awkward and the new kid in a tiny, country middle school. The Forty some odd kids in my class had mostly been in school together since kindergarten. It was hard. I met Gretchen Schermerhorn that year. It was 1986 to be exact. She was popular, but different than most kids in that she was interested in art. She was always nice to me, but it wasn't until the summer after 9th grade (1990) that I got up the courage to call her and invite her over to my house. I asked her if she wanted to come over and make purses, and she did. My mom had a craft and sewing room above our garage and we took full advantage of the space and her materials. We painted with acrylics and 3-D fabric paint and glued together envelope purses with ribbon for straps. I will leave those to your imagination, though I do have one or two still. Those purses were our first handmade bond, a tradition that carries on to this day.
Handprinted Saltbox Tee

Gretchen and I remained close friends and graduated both high school and college together. We took watercolor, metals and ceramics classes together and were roommates in college. I majored in metals and she went into printmaking, ultimately pursuing an MFA in the field. Gretchen is a working artist and teacher, in printmaking, paper making and bookmaking. She works at Pyramid Atlantic in Silver Spring, Maryland.
Handprinted Saltbox Tee

Clearly I have brushed over the intervening years since college, but the point is, that our handmade bond continues. G gives the best gifts, always something unique and often handmade (by her or other artists). We have continued to make things for each other and together. When I saw her post a video on Instagram of herself printing on fabric I was, of course, intrigued. My interest was met with an offer, if I would make her a top with her fabric I could have some for myself as well. Yes, of course I said yes. This has to be the most special fabric that I have ever sewn with or worn. It was designed and printed by my life long friend and she trusted me to sew with it. I felt honored.
Handprinted Saltbox Tee

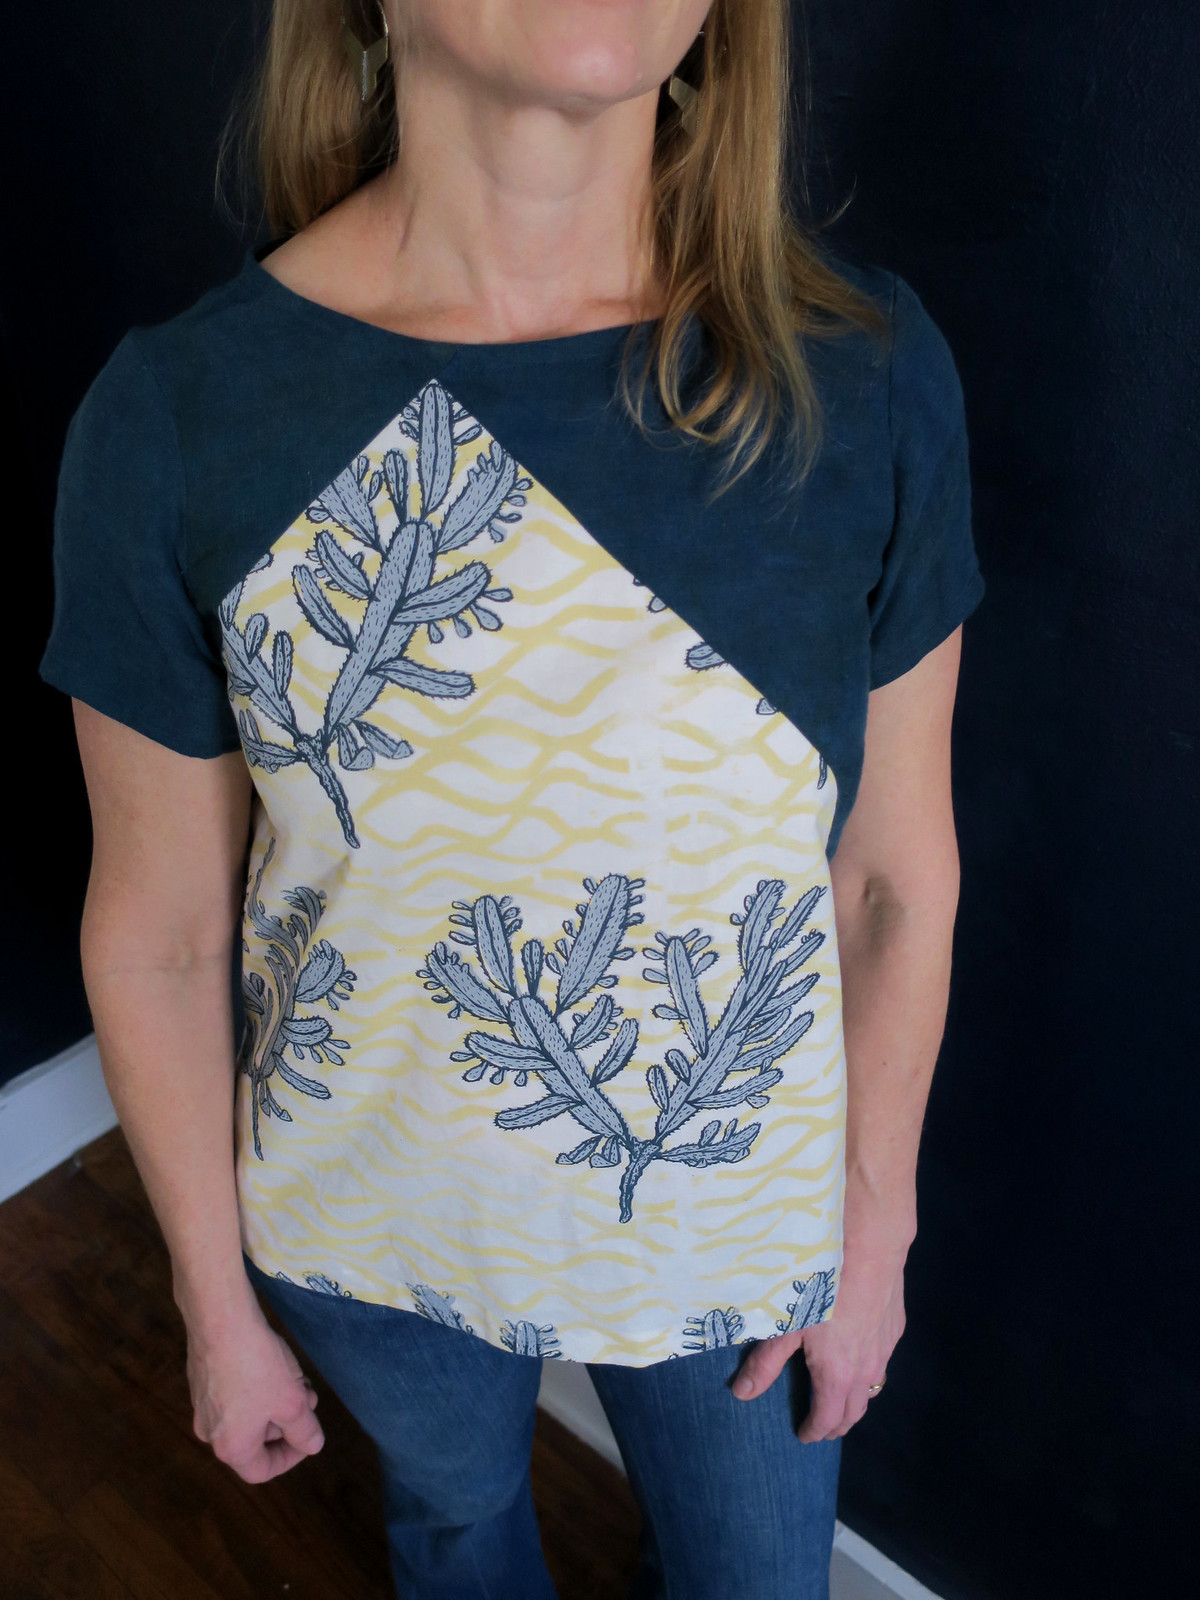
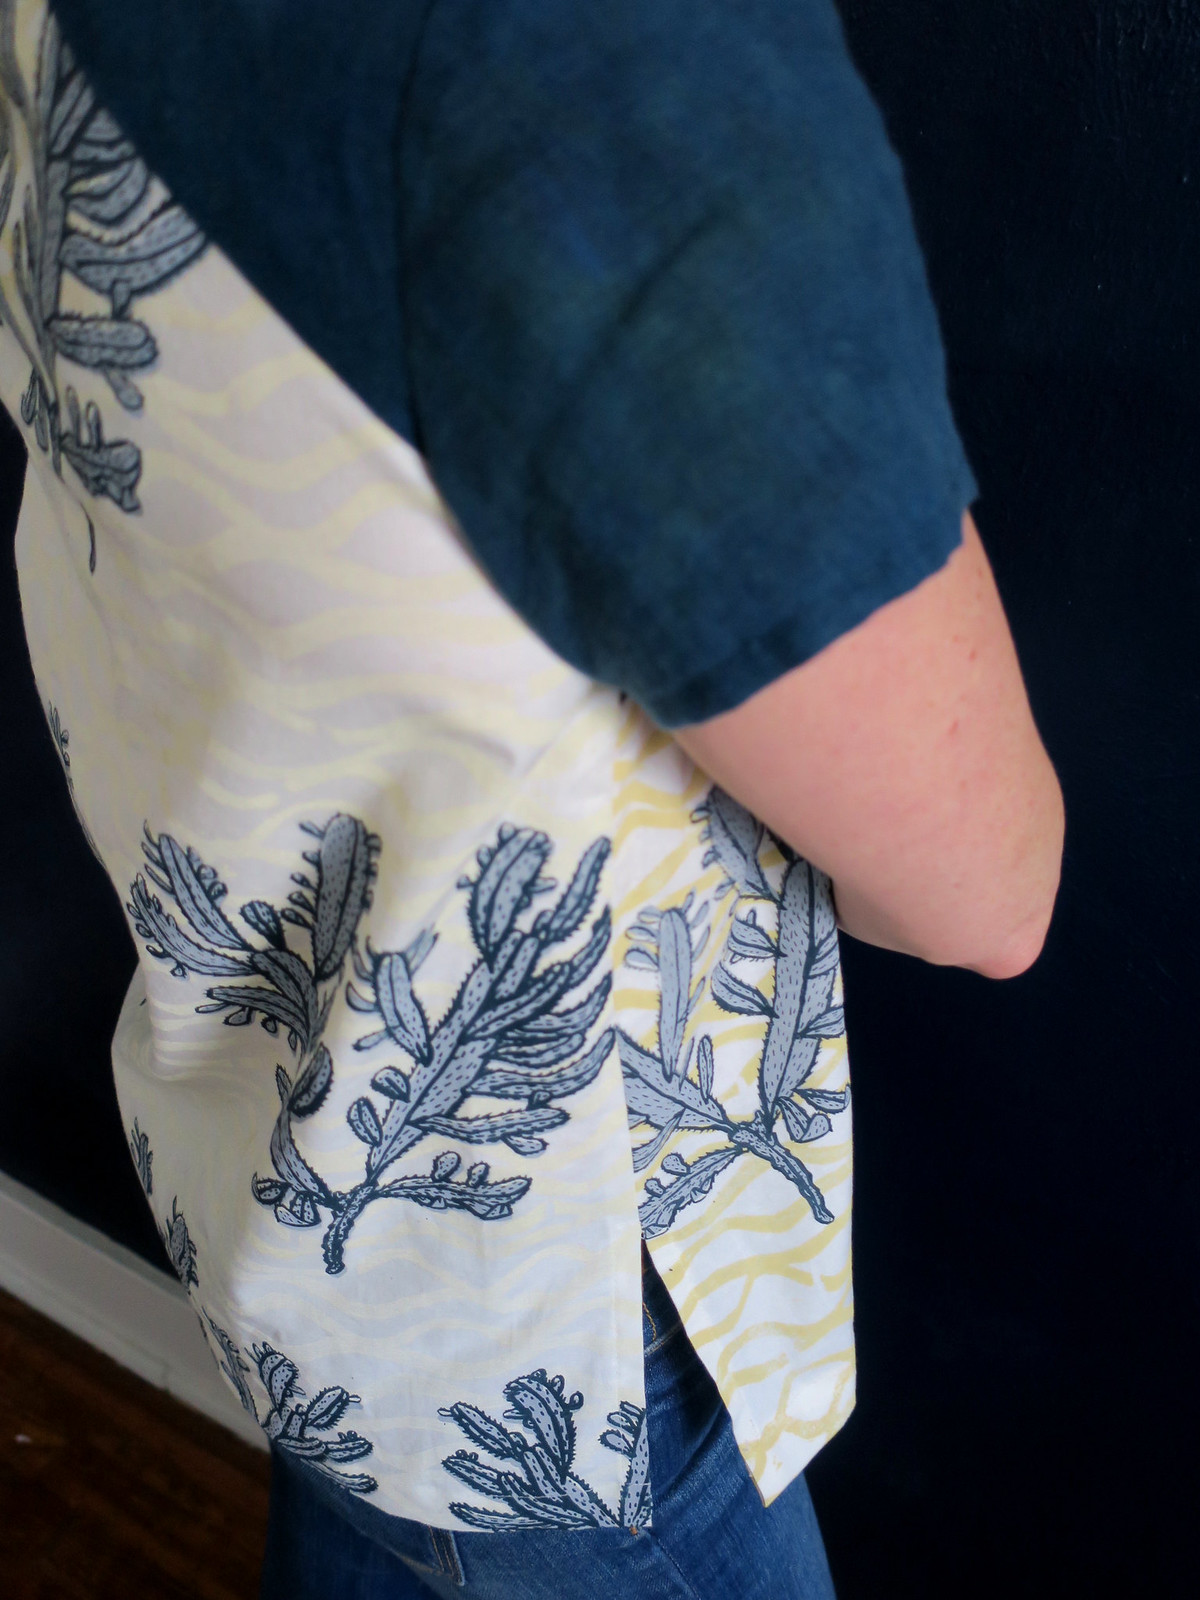
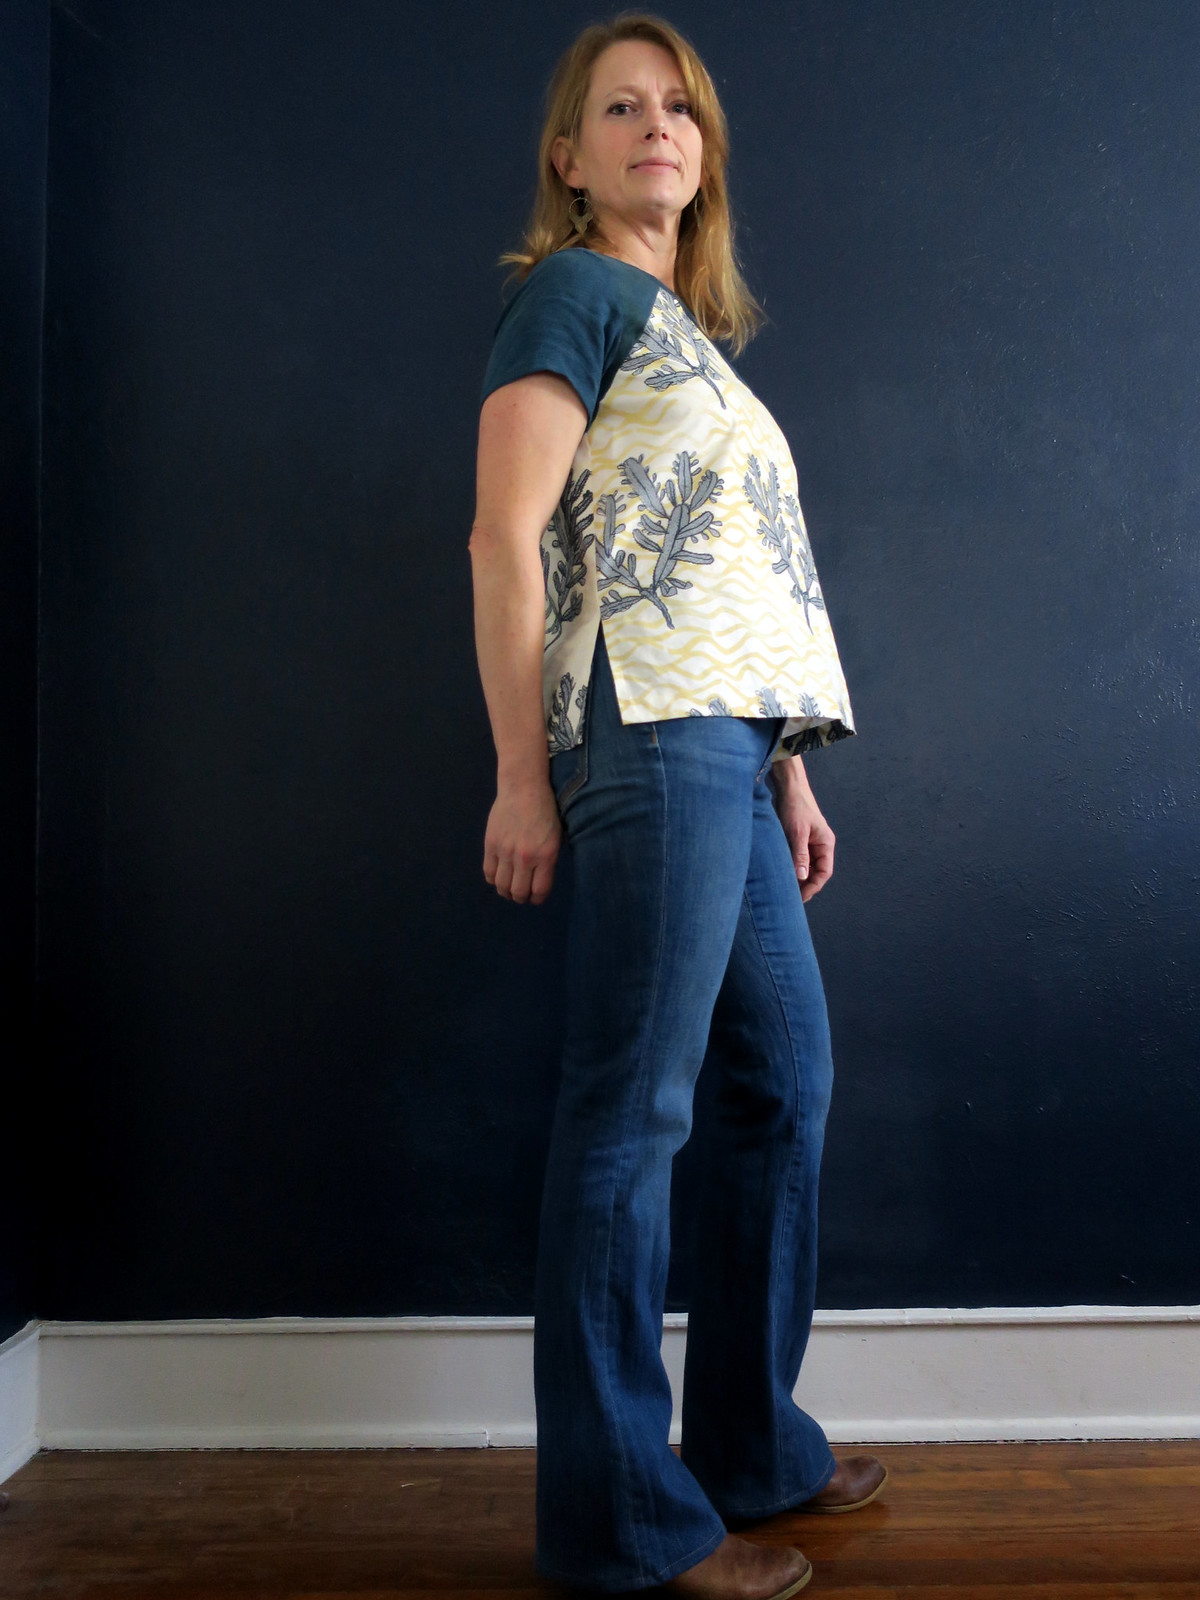
Gretchen picked the Saltbox tee by BluePrints for Sewing. I made the size C/D for myself. I love the details and structure of this top. The forward shoulder seam gives the appearance of a yoke, and the simple side vents lend a really nice fit. I was skeptical about the instructions for attaching the sleeves, but they really did ease in nicely. The contrast fabric is thrifted linen that I indigo dyed. It started a light mustard yellow, so it has a bit of green in with the indigo blue. This top is an excellent pattern for highlighting special prints, or even pattern mixing could be fun. This was my first time using a pattern from Blueprints for Sewing but it won't be my last.

Taylor the pattern designer says:

Blueprints for Sewing patterns are simple, flattering, comfortable, and classic with an artistic edge. They emphasize functionality and simplicity and feature thoughtful embellishments and adaptable cuts. Each pattern takes its inspiration from an architectural style.


I find all that to be true and it fits well with my personal aesthetic. I loved all the nods to architectural blueprints in the pattern layout. 
Handprinted Saltbox Tee

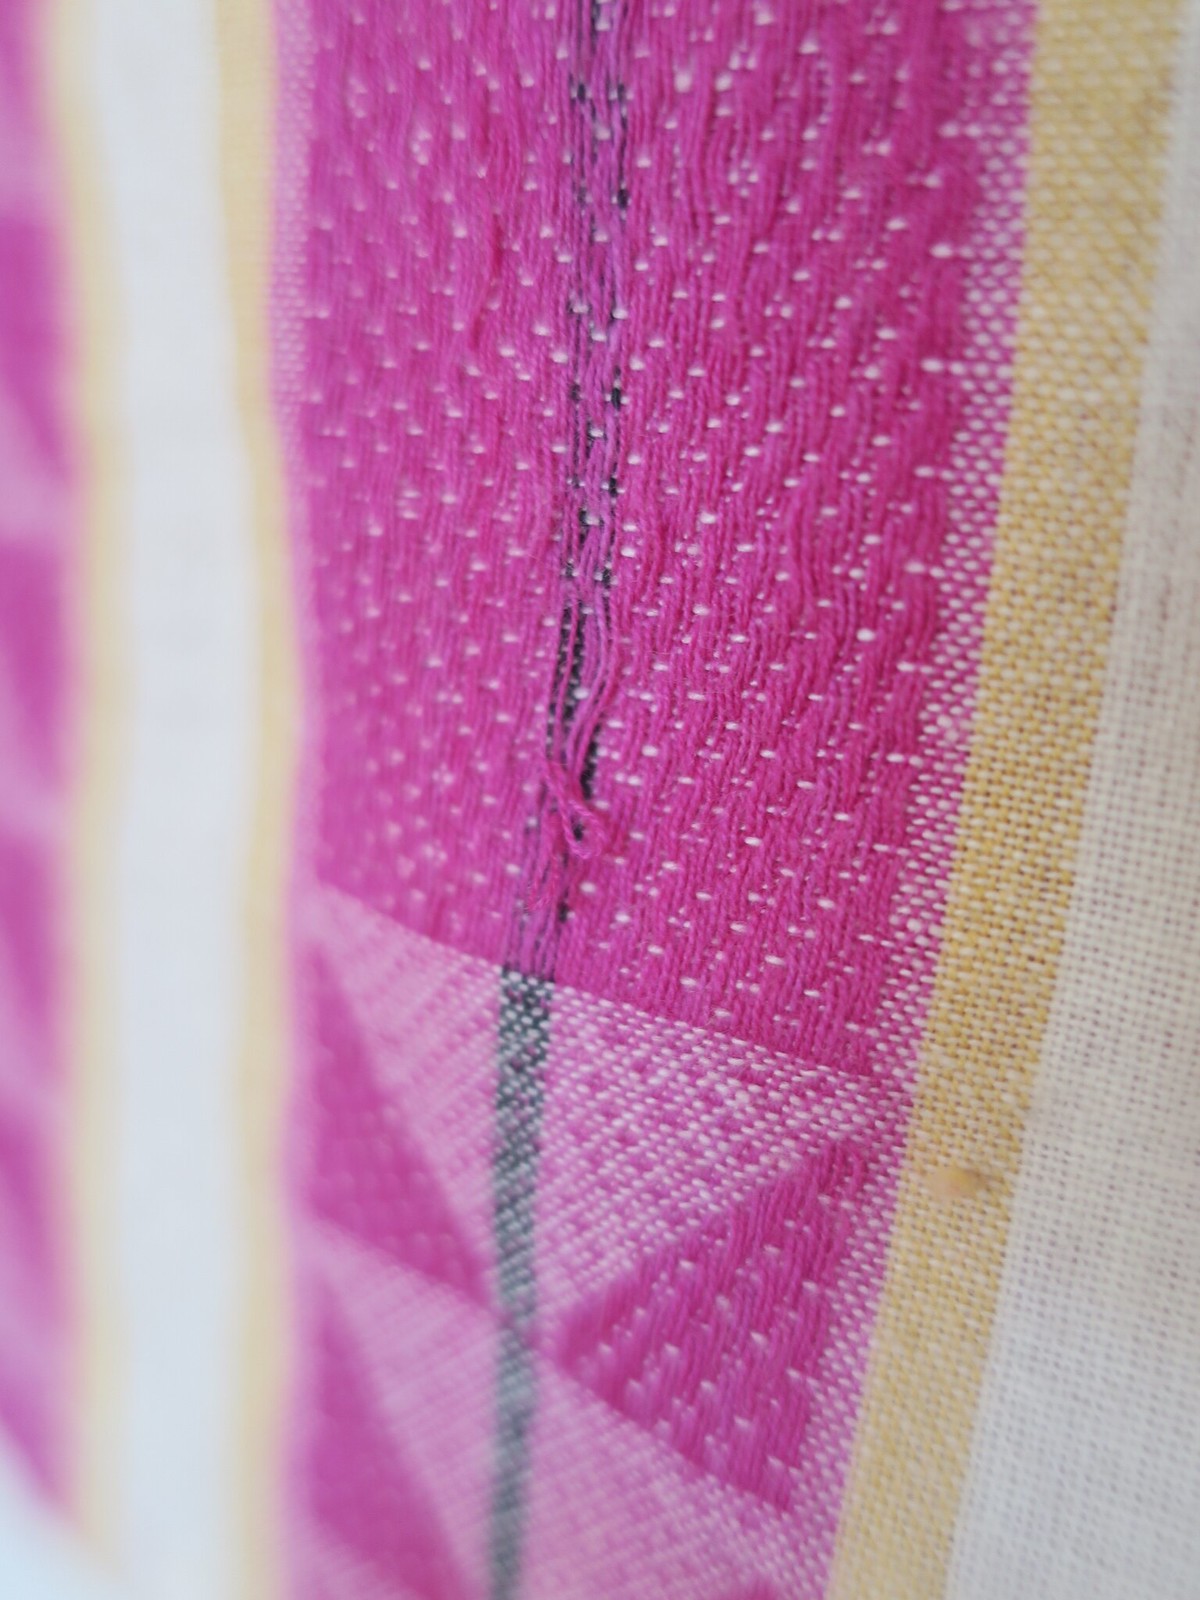
The handprinted fabric is quite stiff, but may soften up some with washing and wear. It is printed on Kona cotton. I had a really hard time picking from the 4 prints that G sent me, but the cactus won out in the end. I just adore this fabric so, so much.
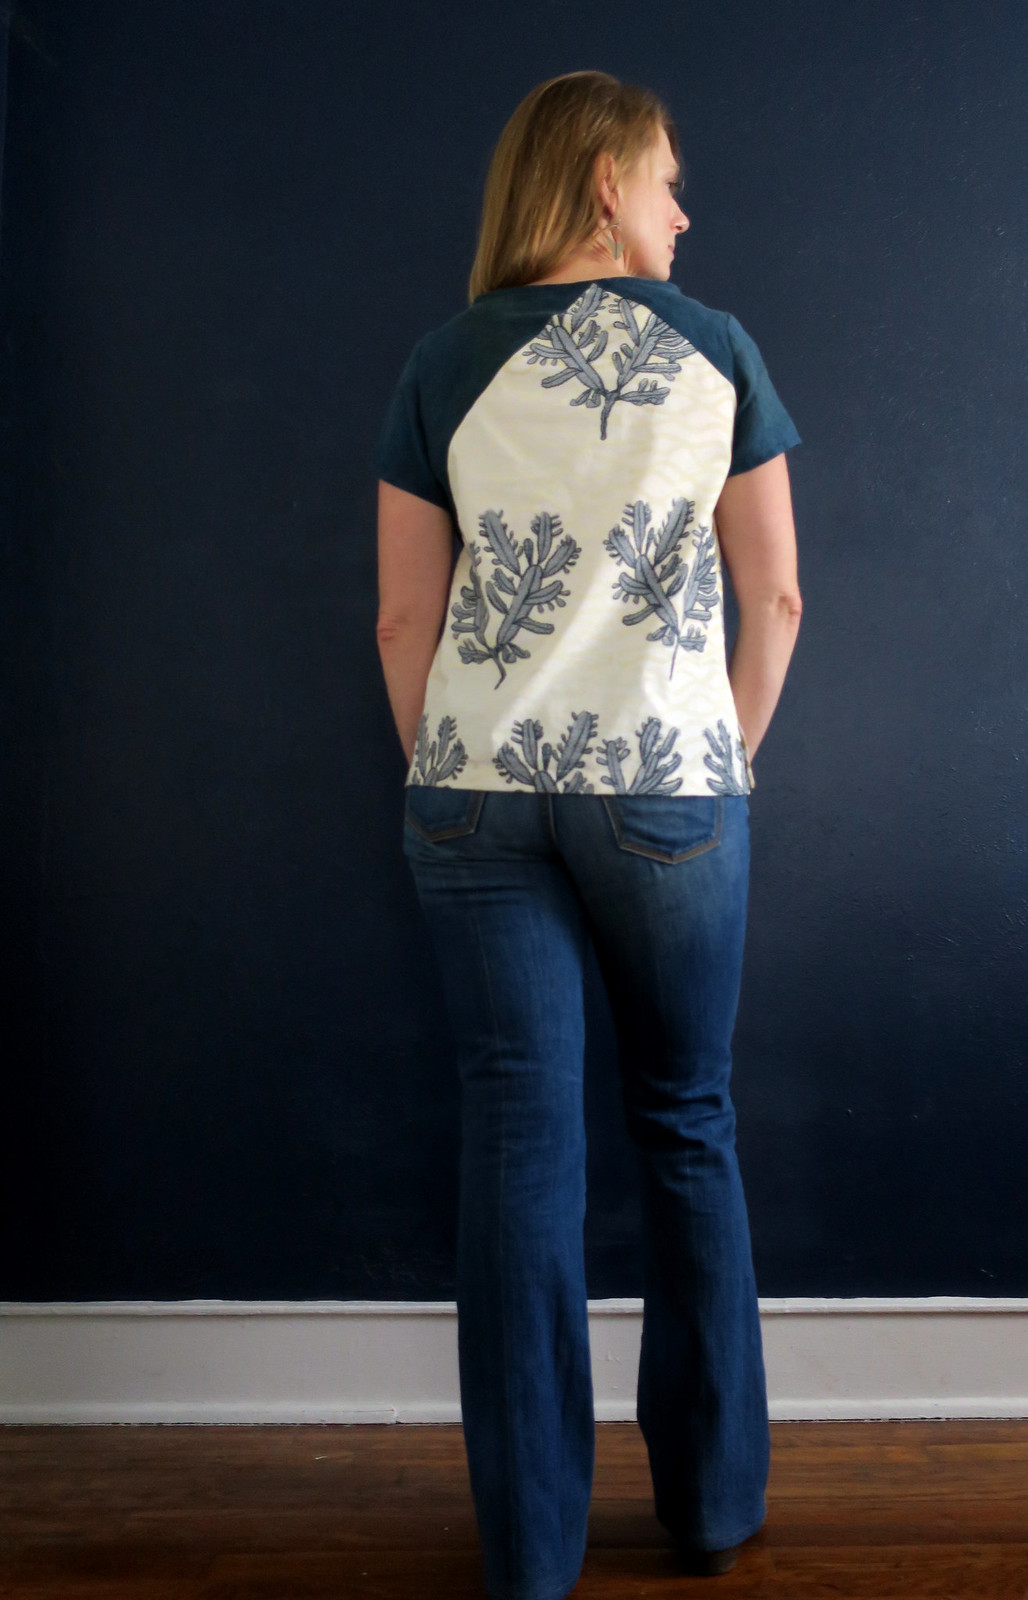
Handprinted Saltbox Tee

I am waiting for Gretchen to send me a photo of her in her Saltbox Tee. We took a photo together at Christmas but it is dark and blurry. I will post her photo and some of my pics of the fabrics soon. You can see a bit more here. Thanks for letting me share a bit of my personal history with you.
Monday, January 29, 2018

My Loominous Colette Aster

Colette Aster

This is one of my last two unblogged projects from 2017. I actually finished this Colette Aster back in October but procrastinated sewing the buttonholes until I was able to use my mom's fancy Bernina in early November. And then I procrastinated taking photos, and then I procrastinated blogging. Oh well, I am here now. "Slow maker" is my new moniker and I am living up to it well!

Colette Aster

I have become a person who loves the color pink. Mostly brick, adobe, brownish shades of pink but I do love this pop of color from this gorgeous Loominous fabric from Anna Maria Horner. I have been a long time fan girl of Anna and her fabrics and this line is even more wearable for me than most of her designs.

Colette Aster

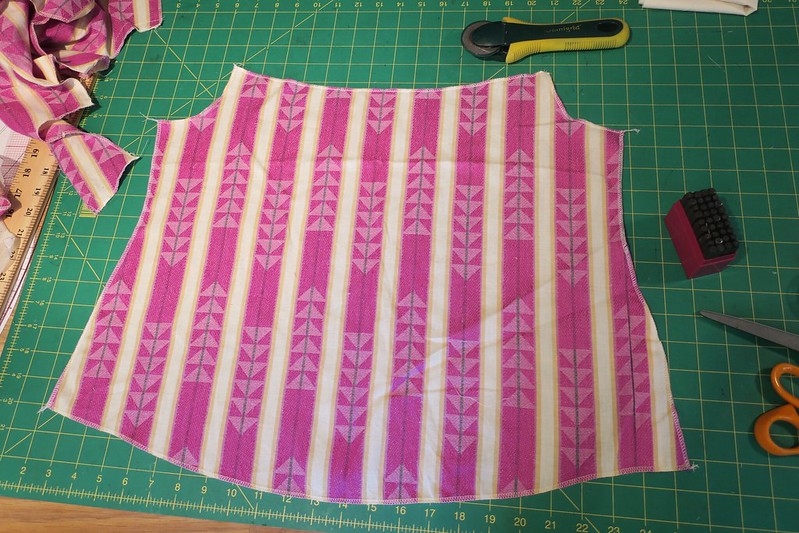
I did not create a muslin for this top, my bad. I put the pattern together as drafted, and it was baggy, gapey and all kinds of ugly from the back. I should have known better, as I always need a sway back adjustment. Luckily, the editing that I had to do to fix my issues made the back pattern piece smaller than the original, allowing me to recut the back from the already cut pattern piece. I think I achieved a really great fit and after my initial befuddlement that made me very happy.

Colette Aster

I do find the sleeves to be a bit tight, and while I like the look of the slim fit I think my biceps need a tiny bit more room next time. There is plenty of room across the back, shoulders and chest, so it isn't that I chose the wrong size. This is version 1 in size 2 by the way.

Colette Aster

I figured out too late that I used the wrong side of this fabric. It is a very loose weave and I am not sure how it will hold up over time. I will have to be careful with this blouse.

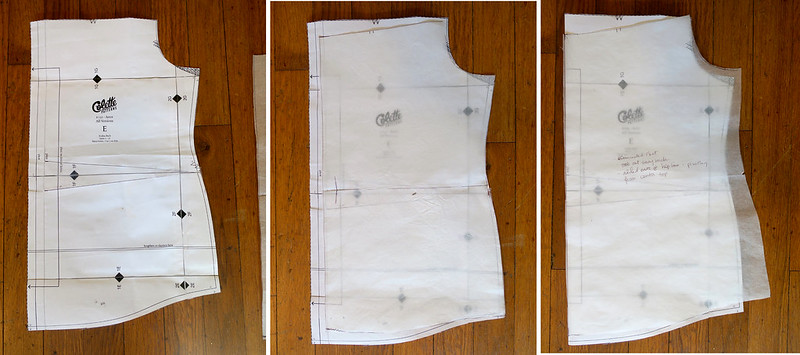
aster alterations
1. Original Pattern piece             2. Second draft with pleat eliminated and swayback removed      3. Final result with ease added in at hips. 


Here is the evolution of my pattern alterations. It took some thinking and research to figure this out because I had only ever done swayback adjustments on garments with a waist seam. The original pattern piece is on the left. I eliminated the pleat because there was way too much volume for my taste. Then I cut a wedge out at the waist line for the sway back adjustment. Finally I had to add ease back into the hip by pivoting at the center back. You can see that my final back pattern piece ended up with a curve at the top where it meets the yoke. I'm not sure if this is the "correct" way to do a swayback adjustment on a blouse but it worked for me and I am pleased with the result.

Colette Aster

As simple as this pattern is, I had always been drawn to its style lines. I do plan to make the other two versions at some point now that I have the fit down. I would recommend this pattern for someone as an introduction to sewing a button down blouse. I think it has just the right balance of simplicity, modernity and classic lines for my taste.

Sunday, November 19, 2017

Some new tops and these damn jeans

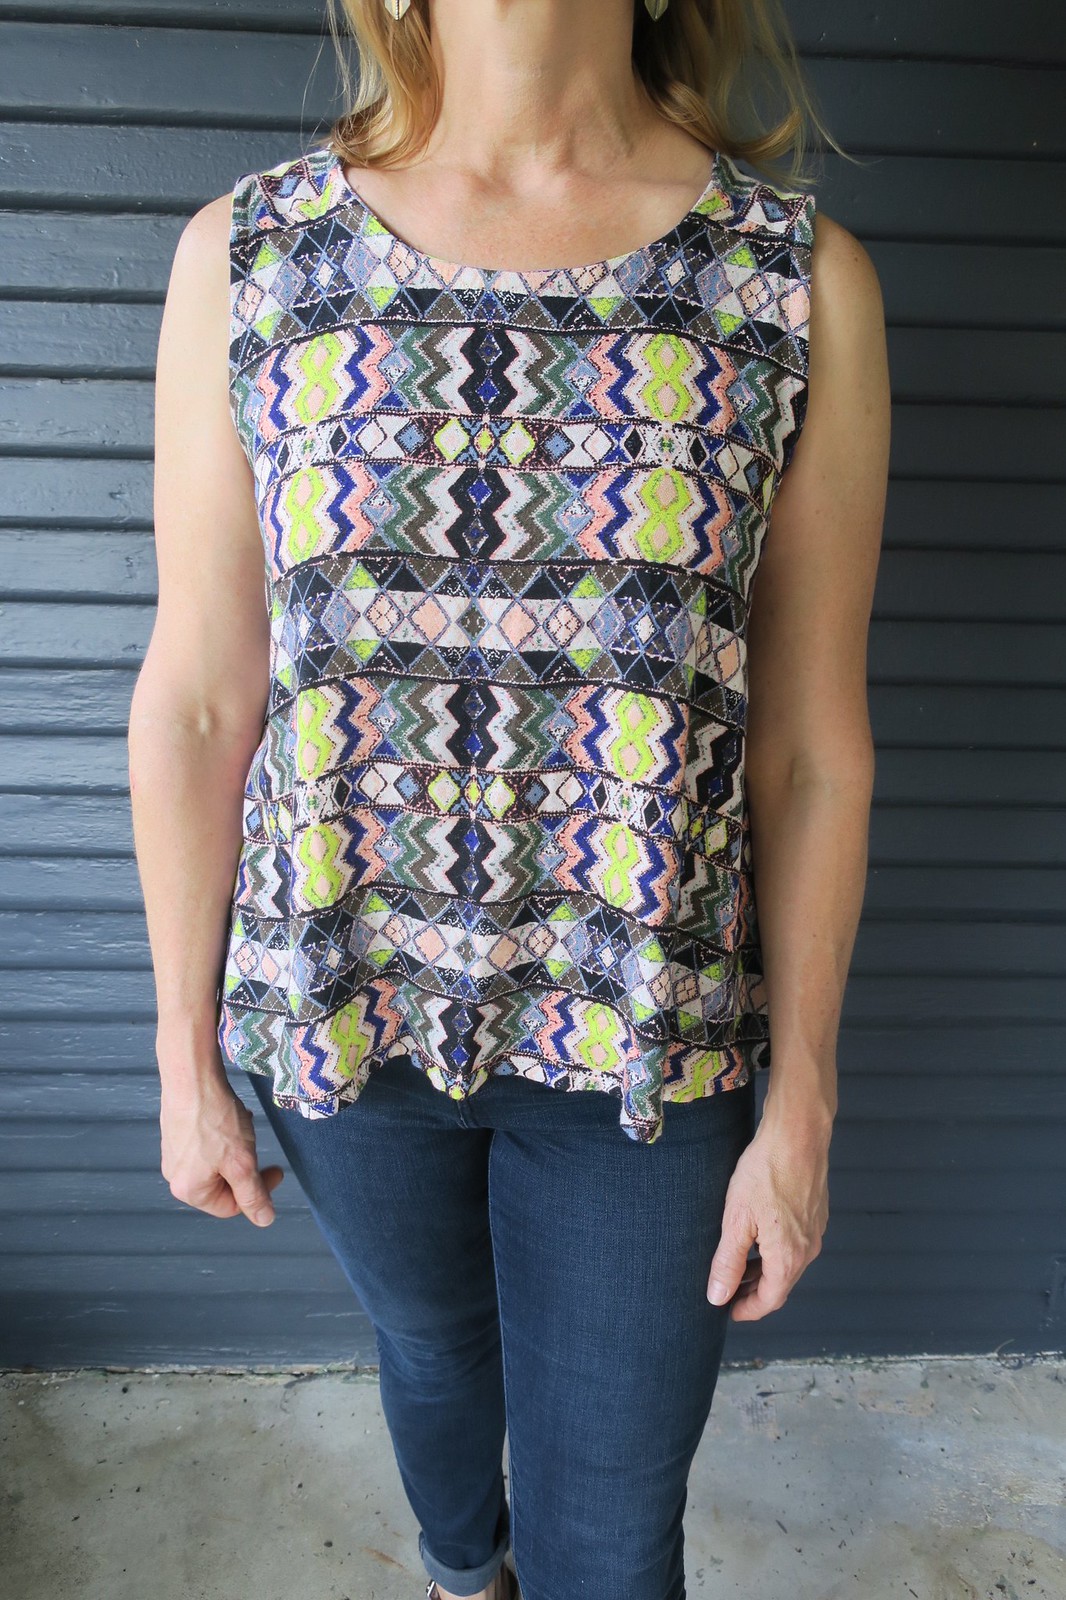
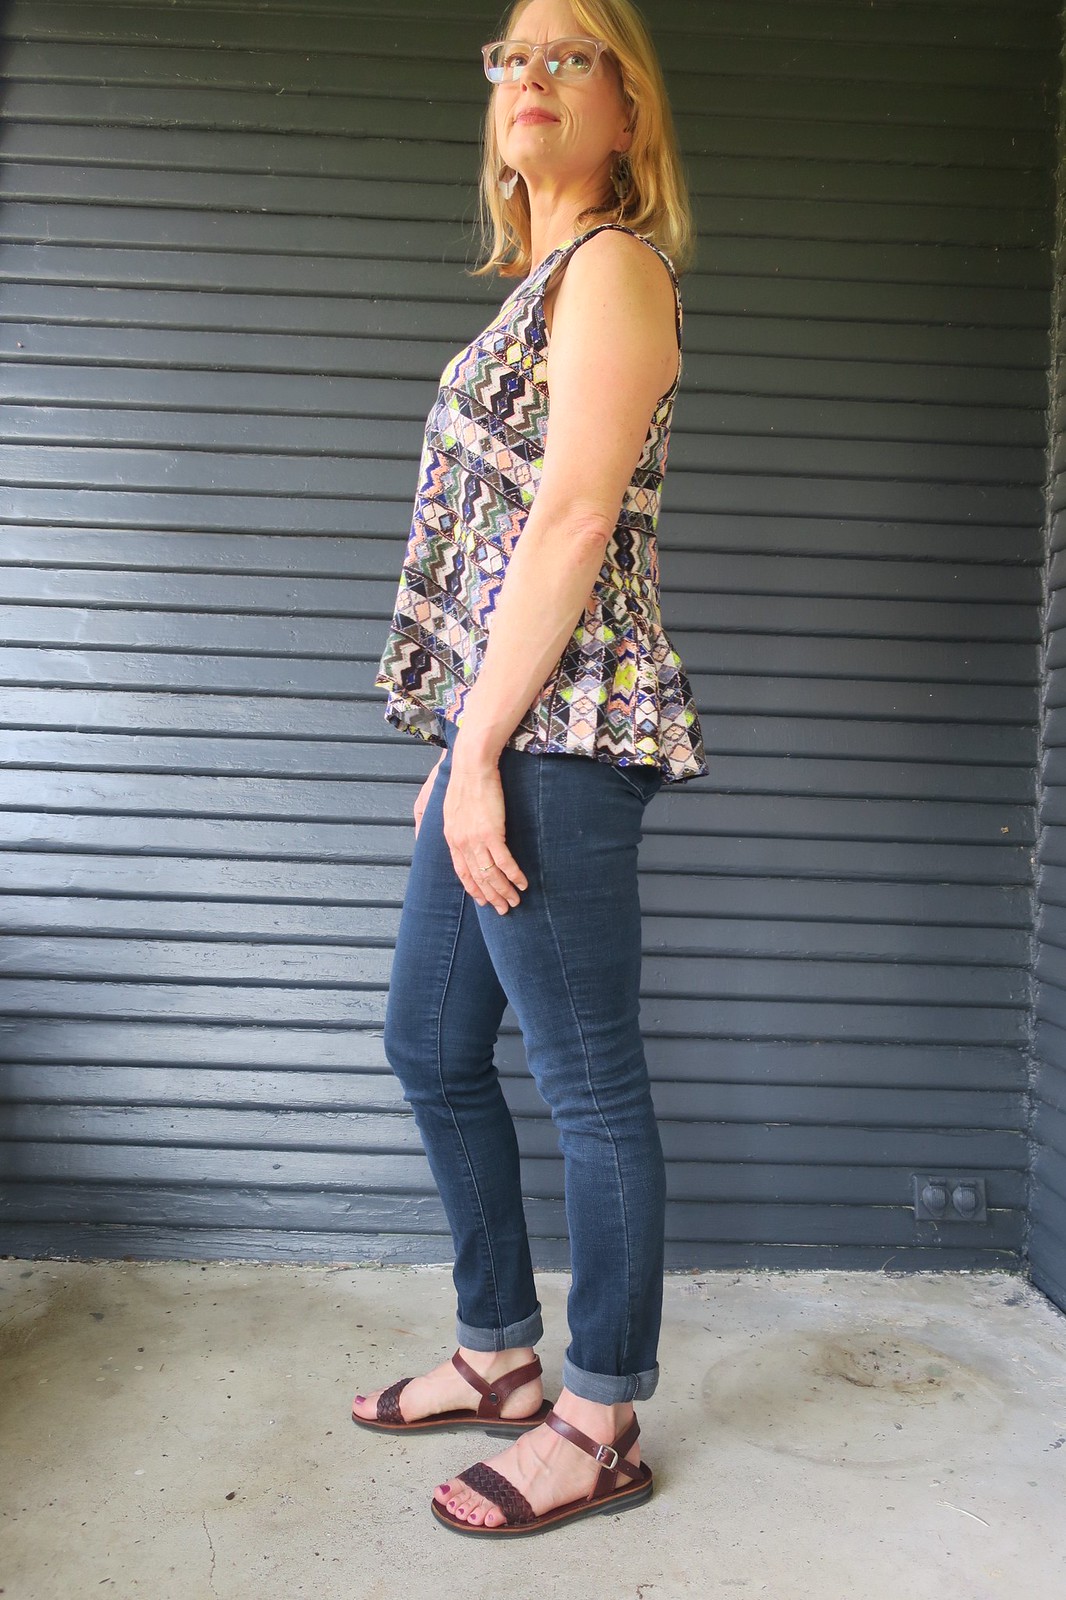
I have been absent from this space for quite some time. Let's catch up. I spent September on a sewing rampage. I was participating in SewPhotoHop over on Instagram. I had a solid sewing plan and really stayed on track that month. If you are interested you can see my plan here. I even impressed myself as I was able to complete 6 out of the nine projects and am currently working on the seventh, my Kalle cropped top. Three of the tops I made are pictured here. First up is the In The Folds Peplum Tank, which is a free pattern available from Peppermint Magazine.

In the folds peplum top

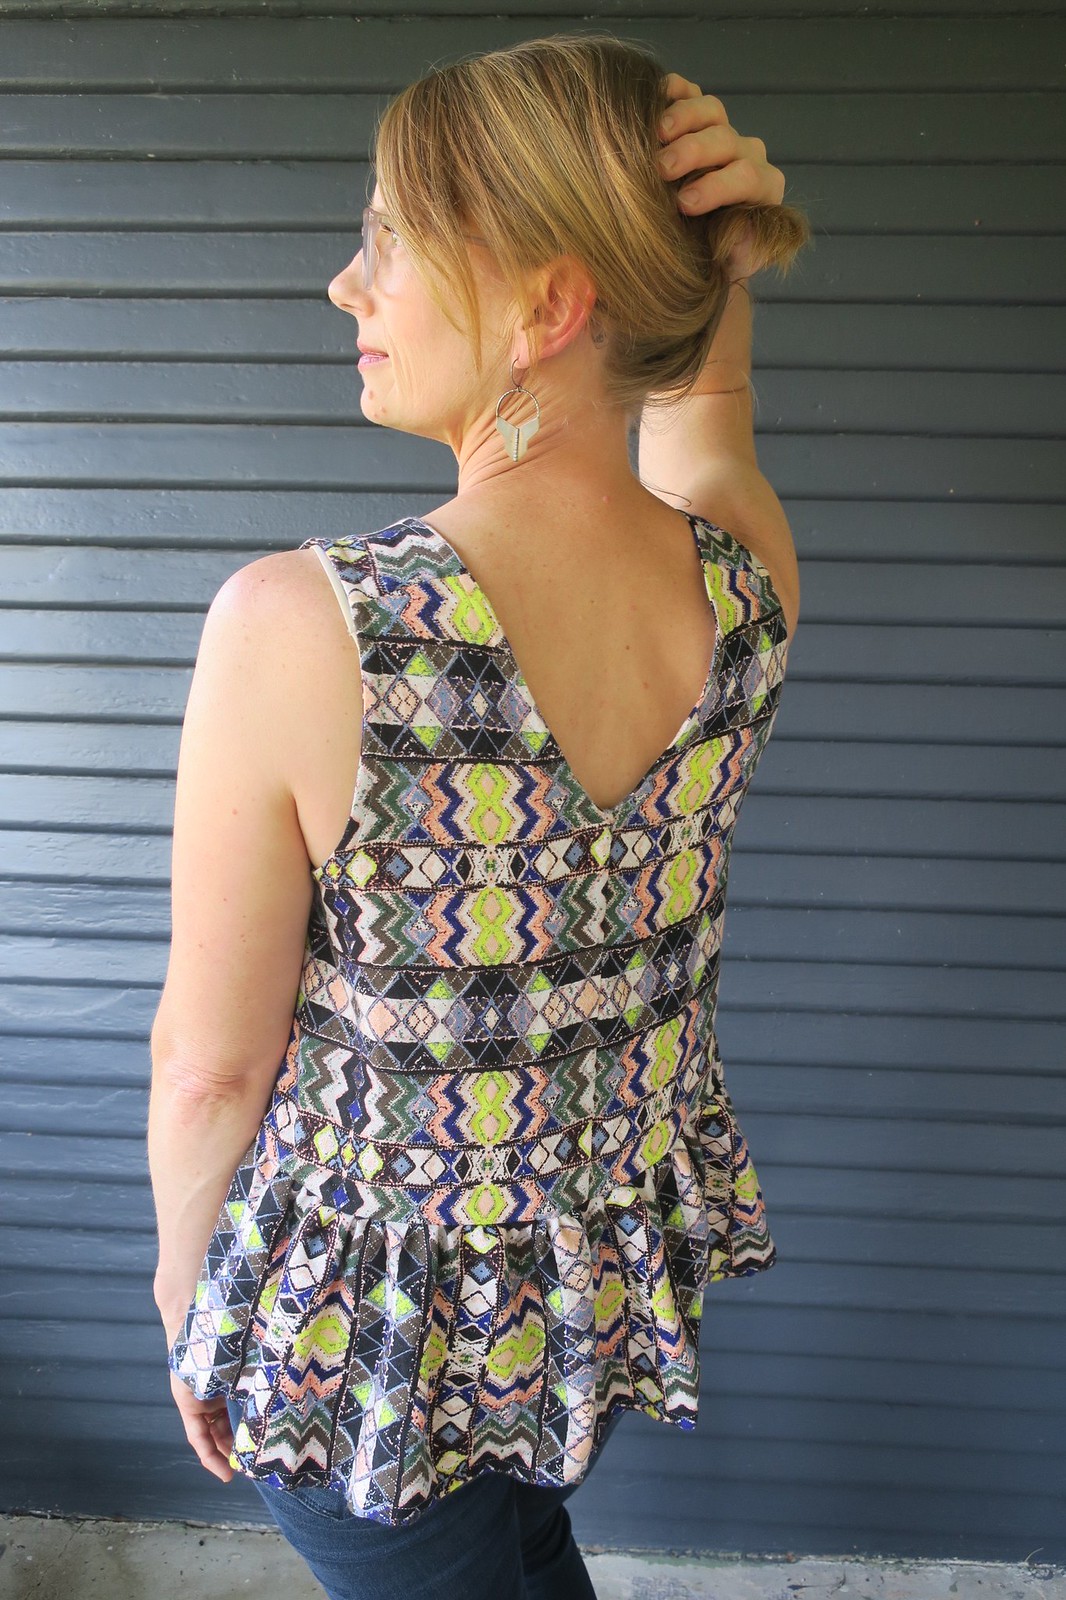
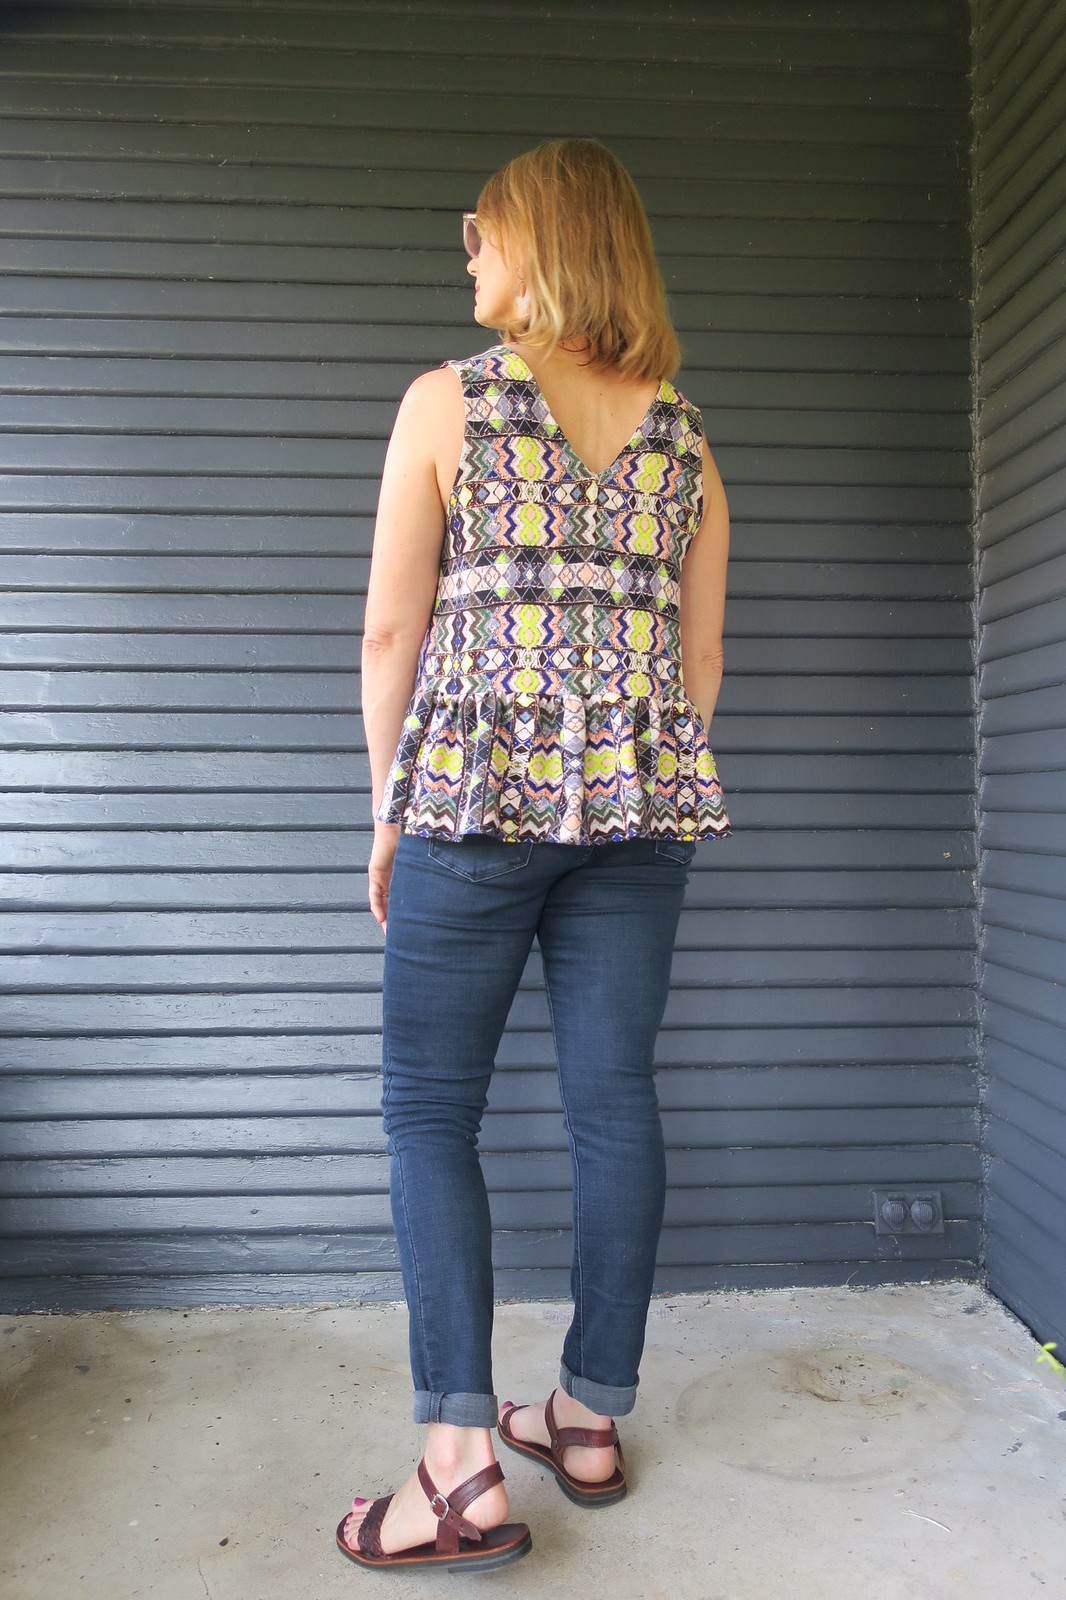
I had seen this top around the blogoshpere and thought it was adorable. My first (unblogged) version was a nightmare to me. The armholes were way too low, the peplum hit at the wrong spot on my torso and was way to peplum-y if you get my drift. I had an idea that I could make adjustments and make it work. While this top still has some issues, I think it works pretty well. Weather it does or not, it holds a cherished place in my wardrobe because I am absolutely smitten with this fabric! It is a rayon crepe that I purchased from LAFinch fabrics. I had never used Rayon crepe but it is delightfully squishy and soft. Between the soft hand, the colors (the colors!) and the pattern of this fabric, I am simply in love.

As you can see I lengthened this top, lowered the peplum placement and made the front an a-line, sans peplum. I also shortened the shoulder pieces in order to raise the armholes, which helped a lot.

In the folds peplum top

In the folds peplum top

Overall I am very happy with this top. I love the v detail in the back and will get a lot of wear out of this piece. The peplum in the back makes it a tad hard to layer, so this is mostly a warmer weather piece.

In the folds peplum top

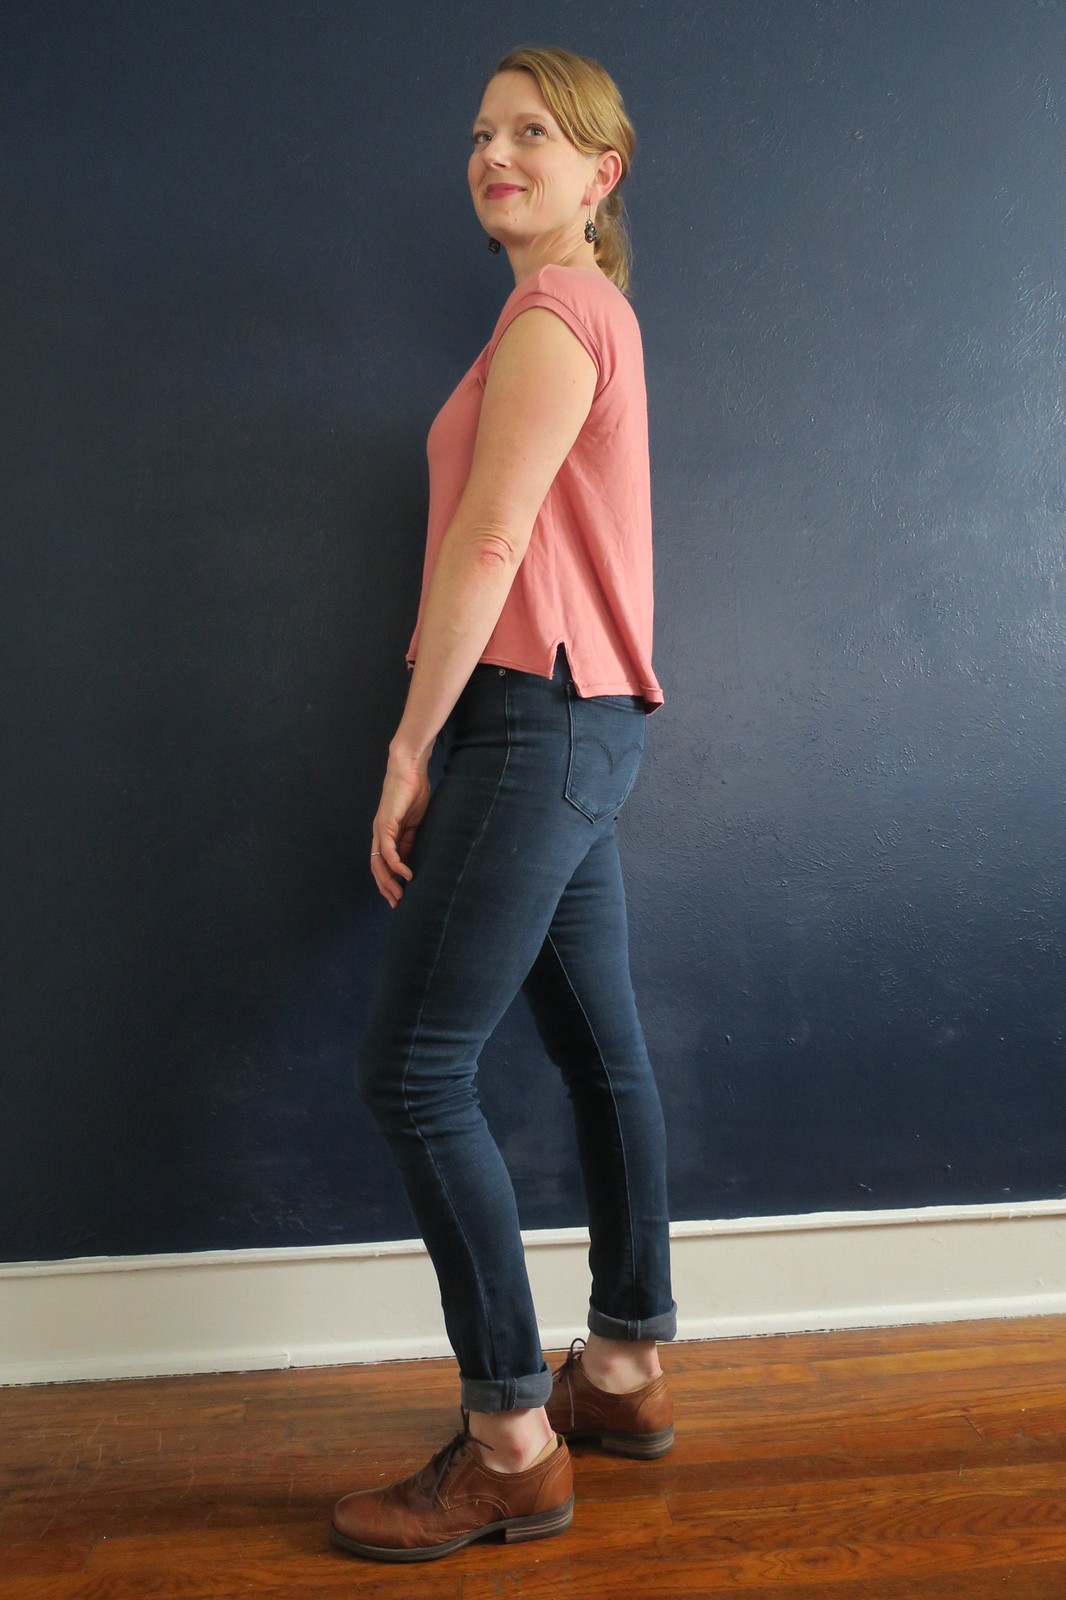
I also whipped up a few knit tops, which were much needed in my wardrobe. I had scored some rayon adobe colored knits, also from LA Finch fabrics and made these two tops with them. I never though I was a pink person, but apparently now I am. Do your favorite colors change throughout the years like mine do?

This first top is made from Simplicity 1366, a Cynthia Rowley pattern, which is actually designed for woven fabrics. This is somewhat of a revelation for me as it definitely expands my options for sewing with knits. I cut it in a size 12 and left off the sleeves. I made sleeve bands and a neckband. You can see another view of this top here, but I wanted to show it untucked as well. I straightened out the side seams and shortened the front of the top by 3". After sewing one of the armbands on the wrong way I had to take the sides in even more, tapering out to the original hemline. I love this top and plan to use the pattern again and again both for knits and woven.

Brick color knit from Simplicity 1366

This top is a copy of a kimono sleeve ready to wear knit top that I wore to death a few years ago. I did not destroy it to make the pattern but simply traced it off. I am also happy with the fit on this one. I accidentally got some ink from a pen on it the other day. Any tips on how to get that out? Also, check out my cochineal dyed yarn! My mom and I collected the cochineal from her cactus plants in September. I did not dry them properly but simply boiled them to make a dye bath. I couldn't believe how well it worked.

Adobe knit kimono sleeve top and cochineal dyed yarn

And finally, these damn jeans. I am embarrassed that I wear them so often, as proven here. And this just goes to show how badly I need to make everyday jeans and pants for myself. Next up is the Lander Pants Pattern from True Bias. I am a bit nervous but I see great versions all over the place so it seems to be a really well drafted pants pattern. Wish me luck!

I almost forgot to mention that I spent most of October working on our yard and painting our living room. I should say we worked on it, as it was a joint effort between Frank and myself. I took vacation for my birthday in early November and spent half the week at my parents working on our little camper renovation and the other half at home celebrating my birthday. The highlight of the vacation for me was the last day when the weather was perfect and we took Pearl on a hike at Mineral Wells State park. We explored Penitentiary Hollow, a ravine that is popular with rock climbers. We had it to ourselves that day and it was magical!

Tuesday, September 19, 2017

Filling in the gaps

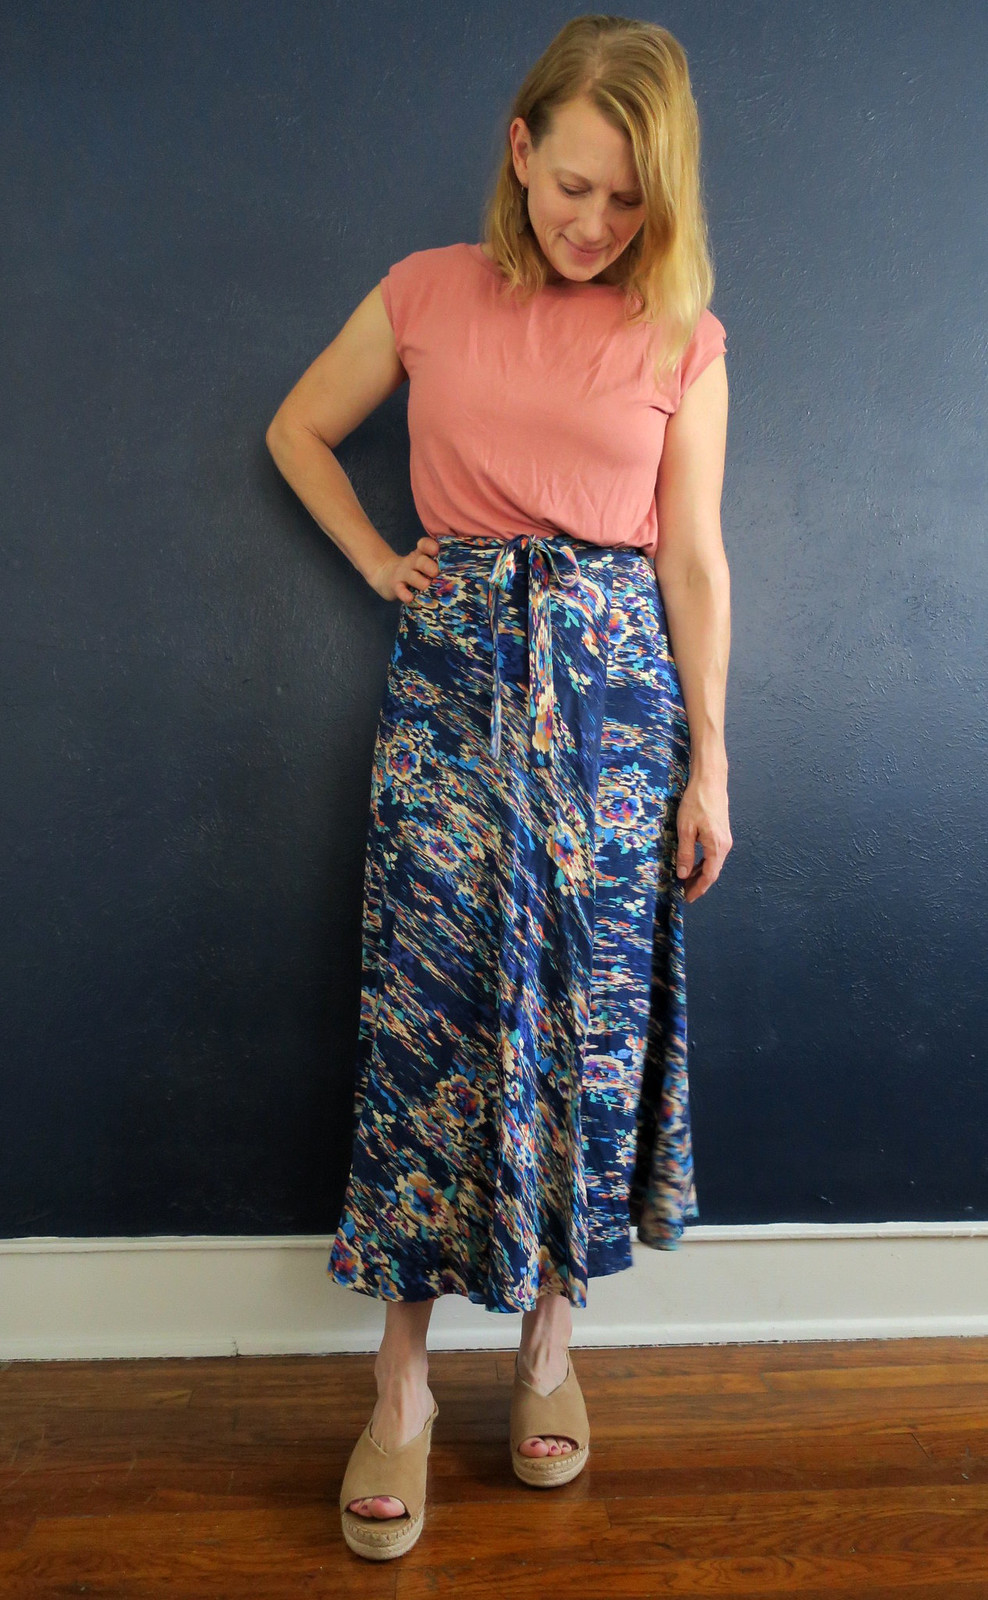
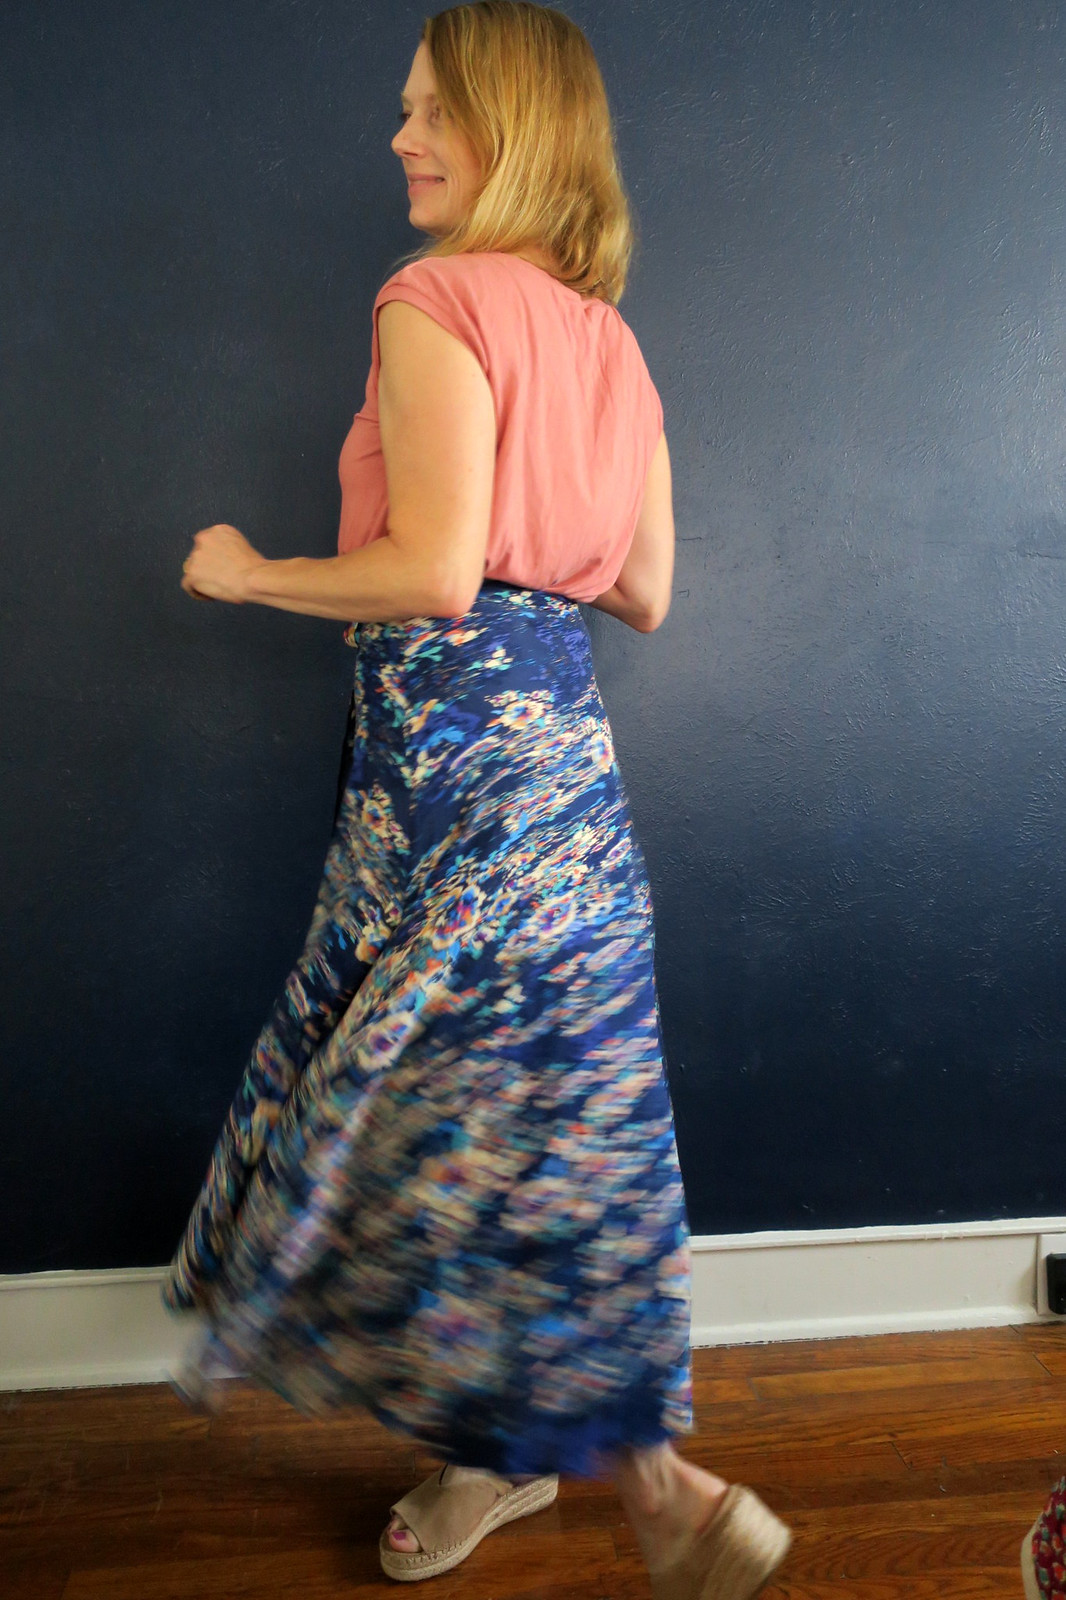
Here I am in early Fall (or the last days of Summer) in a skirt that I started with intentions to wear on my beach vacation to Tulum in July. I am a procrastinator ya'll, but it doesn't matter because it is still hot here so I can wear my beachy skirt for a while. Besides, my priorities for vacation were in the right place and I finished three new swimsuits for that trip. I took photos of this skirt a couple of weeks ago wearing the same sad black t-shirt that I wore with my Flint pants. I finally forced myself to sew up some much needed knit tops, three in quick succession by the way.
  Circle wrap skirt and Simplicity 1366

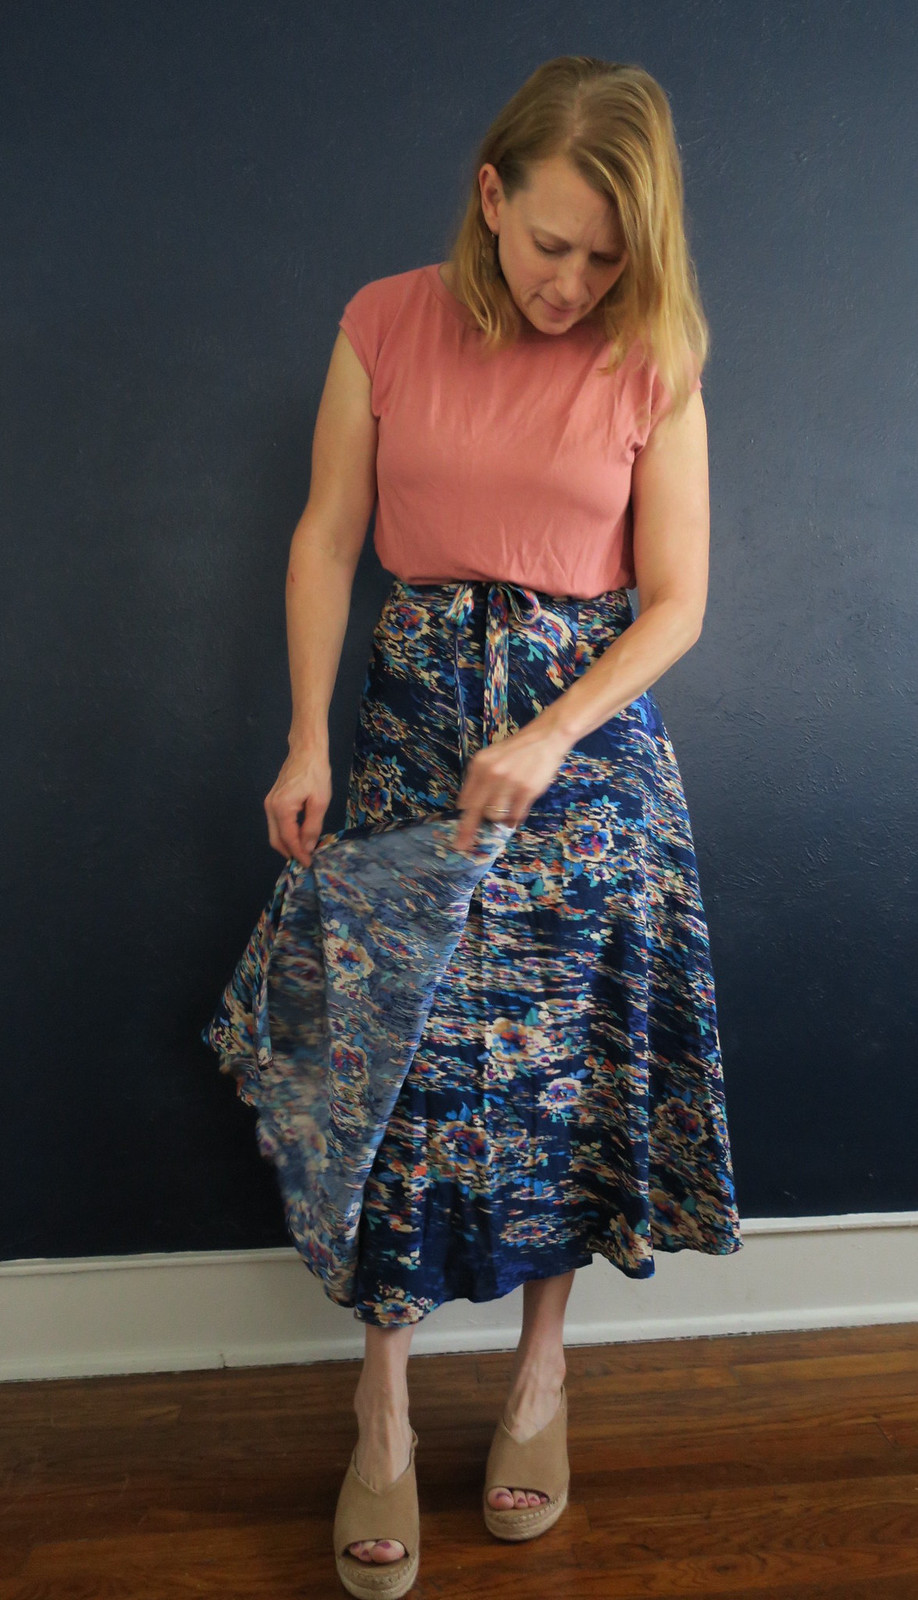
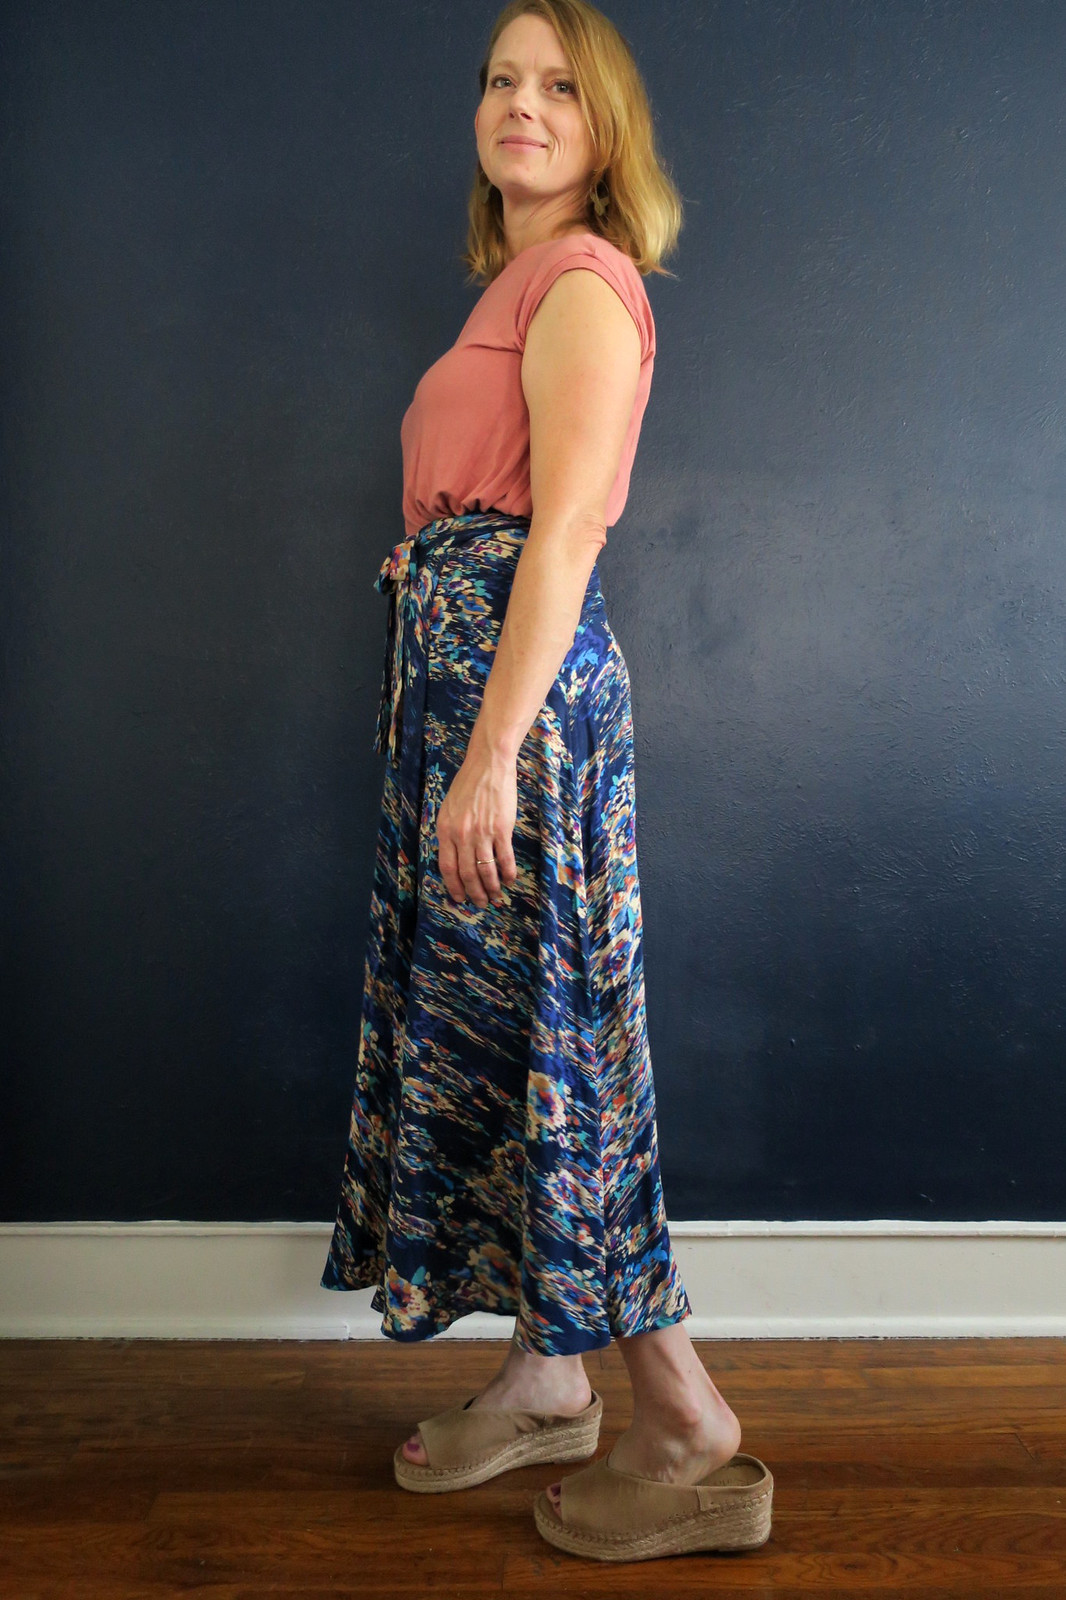
Both of these pieces came together after some changes and fixes and make it work type scenarios. The skirt was intended to be a self drafted 1/4 circle skirt with a button placket down the front. That did not work. I went back to Joann for more of the rayon challis (those are always hidden amongst the poly in the silky prints fyi) and added another panel to make a 1/4 circle wrap skirt. It is a pretty easy diy. Just use a circle skirt calculator to draft a 1/4 circle skirt based on your measurements. For a wrap version you would add another half of that pattern. I made a seam so it is basically a full 1/4 circle skirt with another half of that added on. Then just a long waistband, long enough to wrap around and tie in front with a buttonhole on one side to slide the waistband through. Hem both edges and the bottom, attach your waistband and you are good to go. I however, had a crazy hard time trying to hem this thing. I either cut it way longer on the added piece, and or it grew by about a foot. I don't have a dress form so hemming anything uneven is really hard. That is why this never made it into my luggage and with me on vacation. I had to wait for my mom to help me straighten the hem out while I wore it. I really do need to invest in a dress form! I think this needs a belt loop on the center back to keep the waistband from traveling but otherwise I love it.
  Circle wrap skirt and Simplicity 1366

The top also was an adventure. I wanted a boxy, cropped top. I started with Simplicity 1366, which is designed for woven fabrics. I cut a size 12, straightened the side seams to make it more boxy and shortened it. I serged up side seams and shoulder seams and was in love with the fit. So excited. Then I went to add sleeve bands and sewed one on with the serged seam facing out, but only one. Cut both off and had huge, gaping armholes. I was so sad. My fix was to take the top way in under the armholes, angling out to meet the bottom of the side seam. It worked out pretty well and I still love this top. This gorgeous brick pink is my new neutral. I am happy with the outcome, but still want to make more tops hopefully without that "fix" needed. This was just what I was missing in my wardrobe, and I still need more tops.
  Circle wrap skirt and Simplicity 1366Circle wrap skirt and Simplicity 1366 Circle wrap skirt and Simplicity 1366 We spent last weekend in San Marcos visiting my parents and working on our 1976 Serro Scotty Camper. I am thinking about adding a link to photos of our progress if anyone is interested. The trailer lives there for now and we don't get there as often as I would like, but it is a great excuse for us to go visit them more often. I also spent a good portion of Saturday doing eco and indigo dyeing with my mom and will post photos of what I made soon.

Monday, September 4, 2017

My Flint Pants and Introducing Pearl

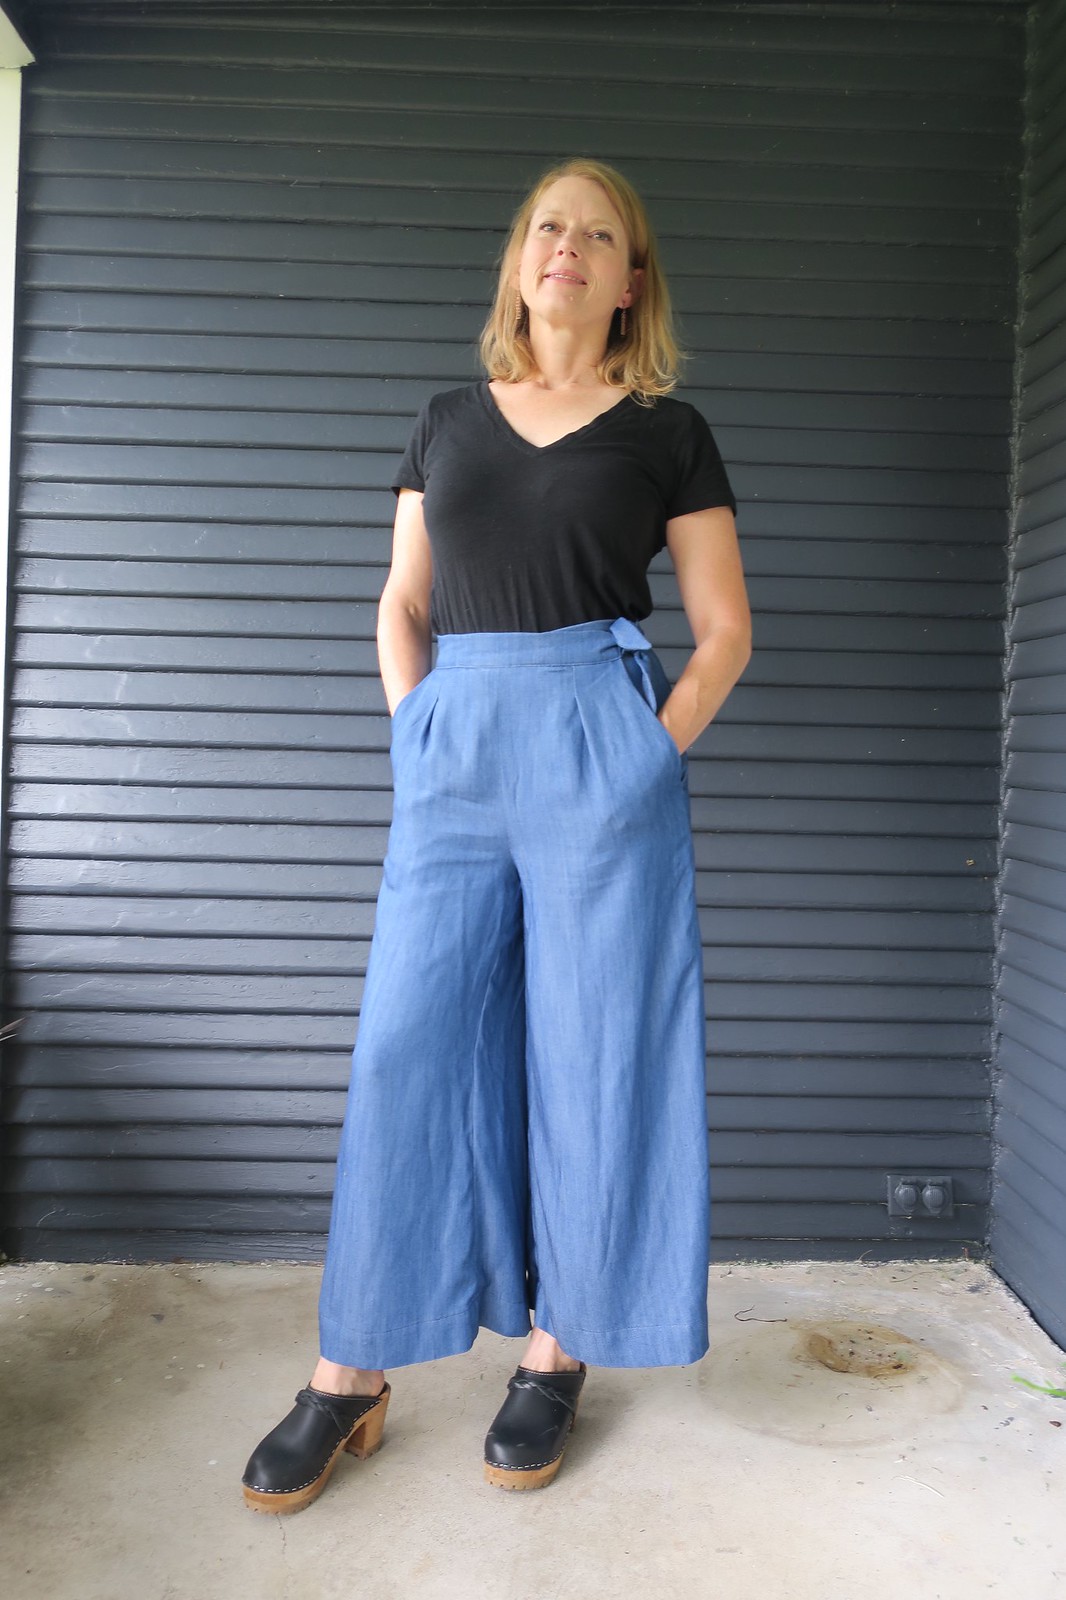
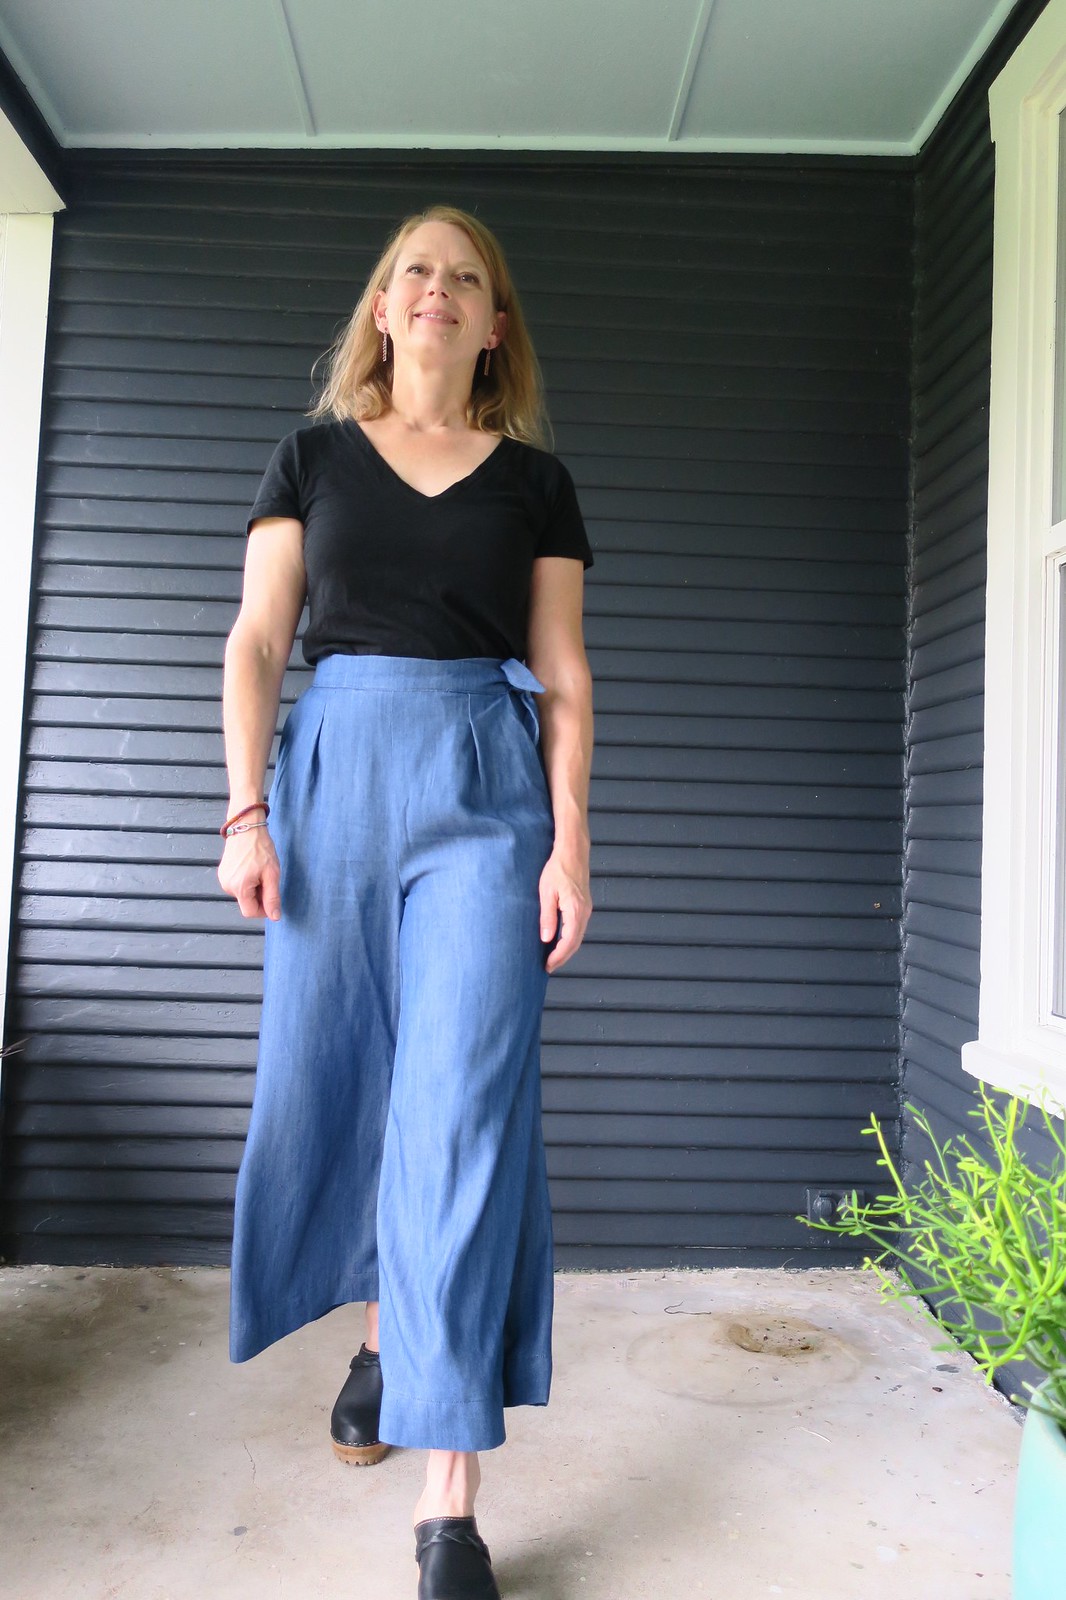
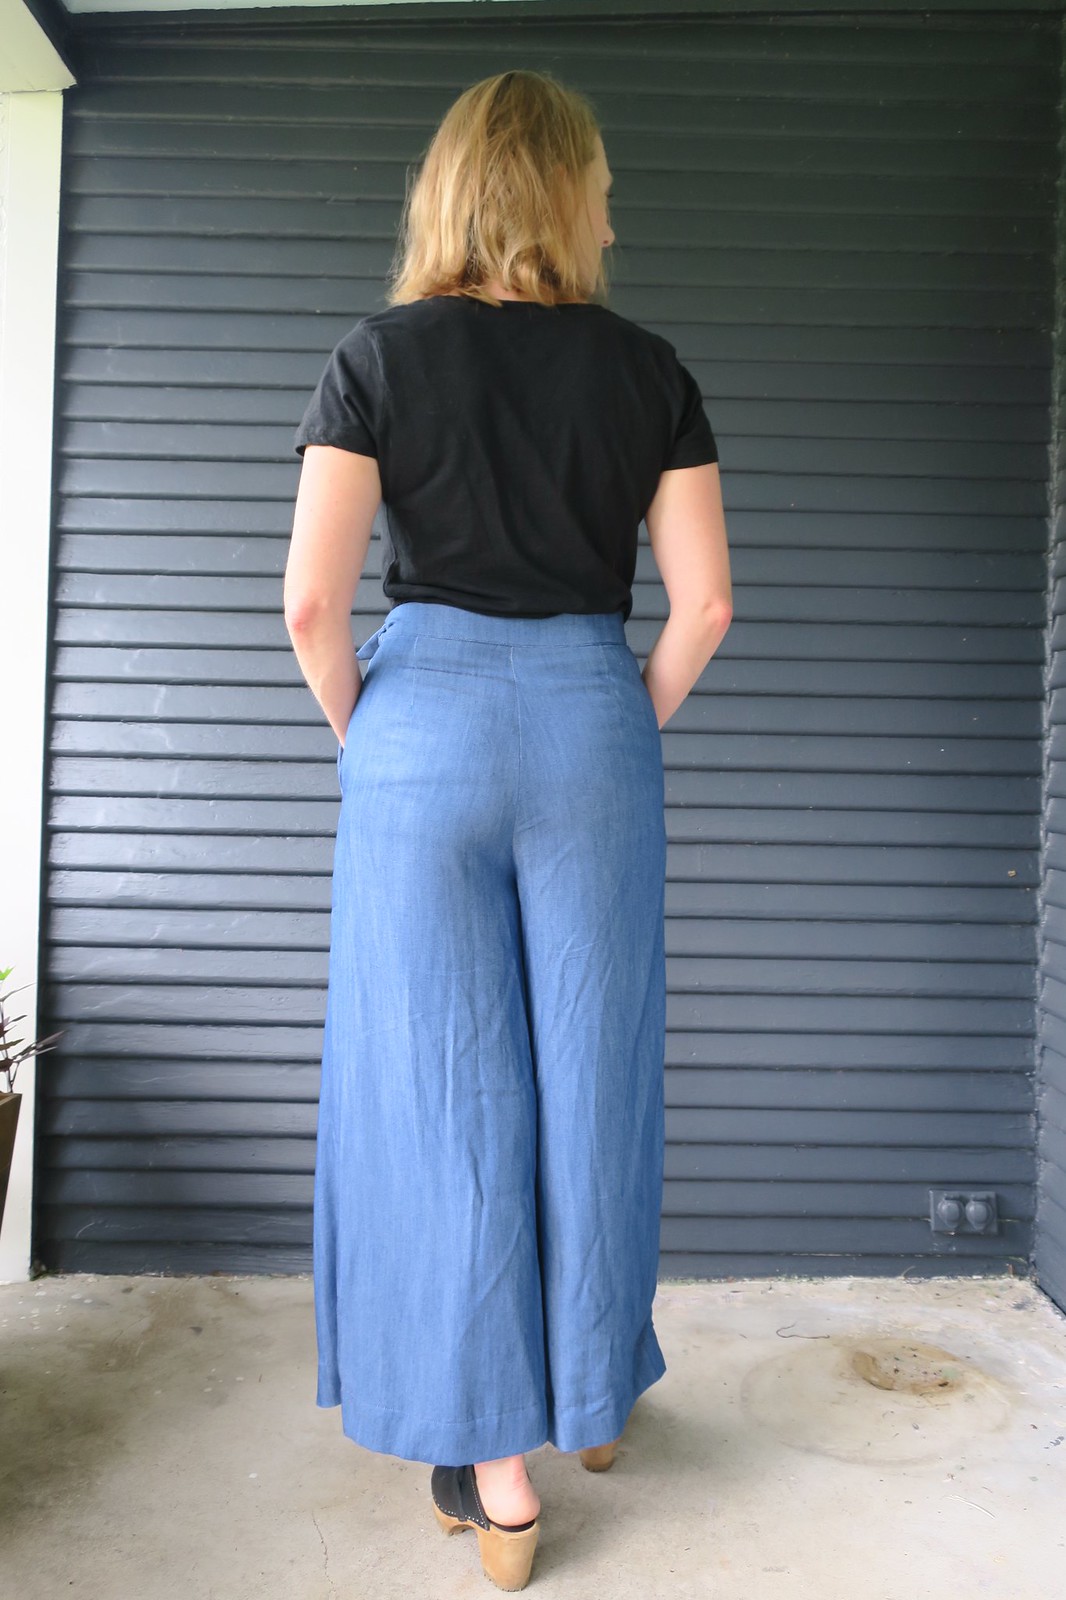
Meet Flint, my swishy, sassy, wide legged pants.
I love them. My Megan Nielsen Flint Pants

This pattern hardly needs introduction and my version is certainly not groundbreaking in any way. But look at them in all their swingy, 70s vibe glory.
Did I mention that I love them?

My Megan Nielsen Flint Pants

Frank said they were fancy, and they do have a certain glamour to them. However, I think the tencel chambray dresses them down. I am noticing gaps in my wardrobe with both non-winter closed toed shoes and tops that work with high waisted bottoms. I am trying to remedy both of those things right now, though my shoe budget and taste don't often jive.

My Megan Nielsen Flint Pants

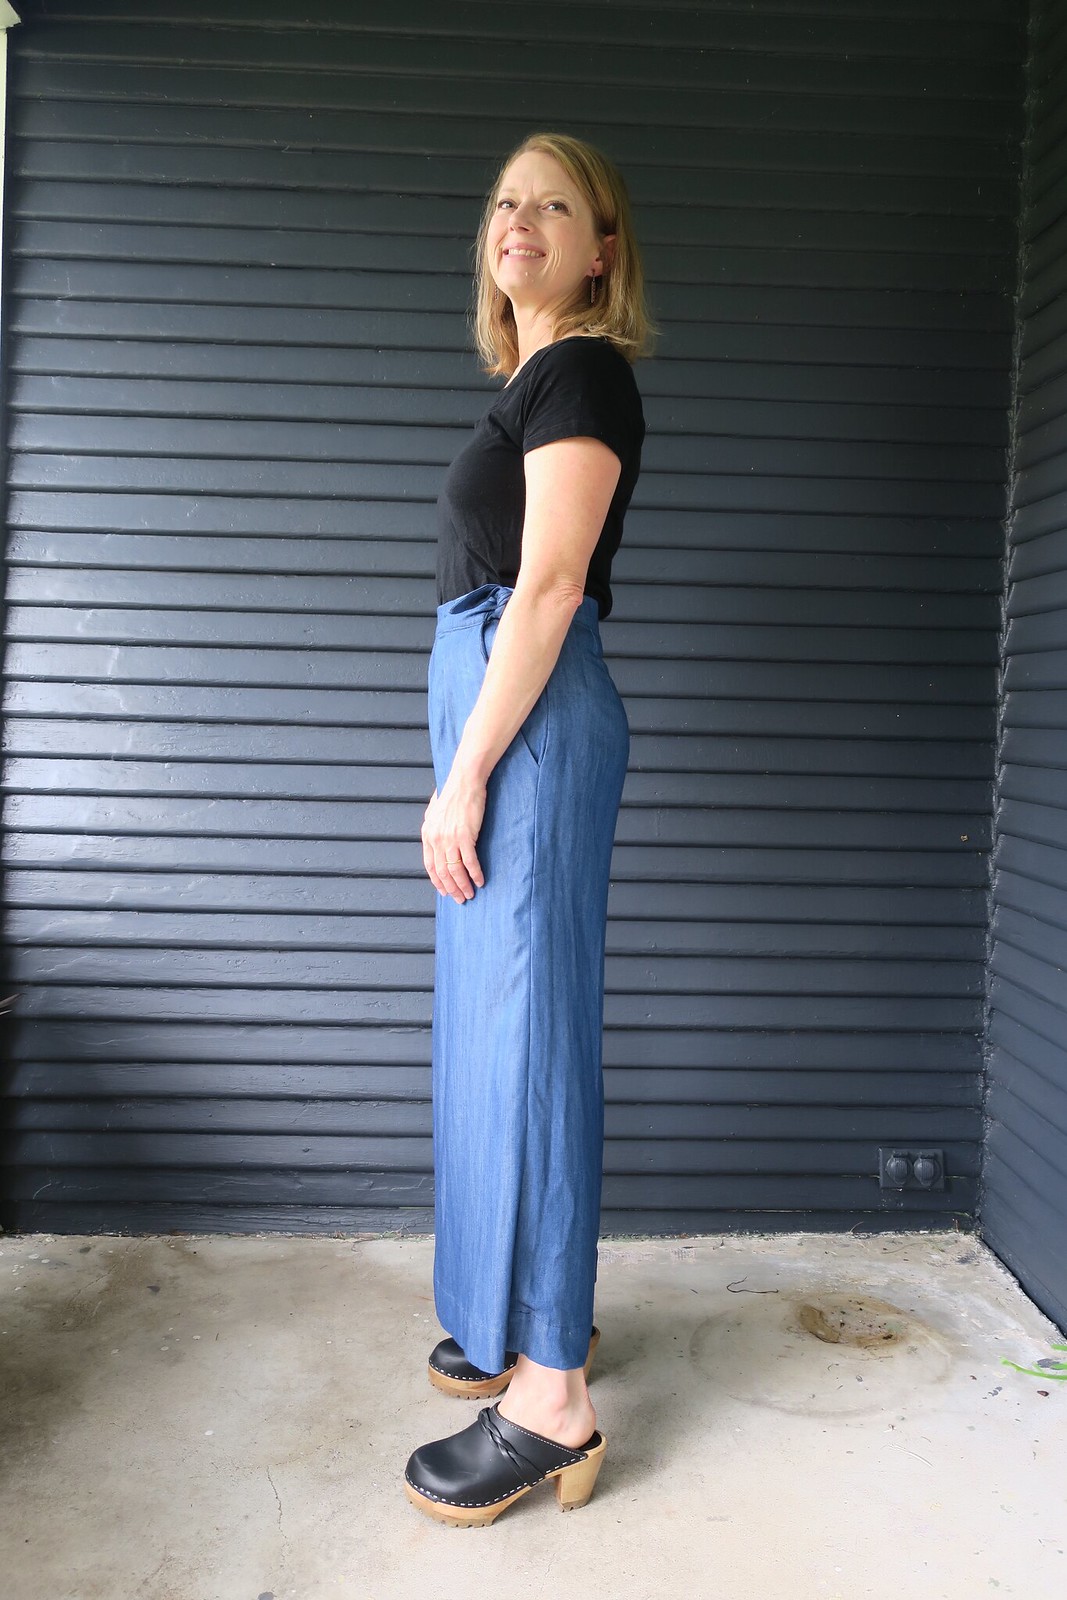
The fit is spot on. I cut and sewed a straight size Small. 
I originally cut these in a size Small but took them in at the side seams only to an XS. My note to self on the pattern suggests cutting between an XS and S next time. Goodness, those notes really do come in handy. I think they fit nicely on my booty, if you don't mind me pointing that out.

My Megan Nielsen Flint Pants

I should be over hear screaming from the rooftops that I MADE A PAIR OF PANTS. AND THEY FIT. AND I LOVE THEM. I have never found success with pants fitting and several misguided attempts to radically alter pants patterns had scared me off for years. This was the perfect pattern to ease myself back into pants sewing and helped me find my confidence in that realm again. My past mistakes have always included taking a big 4 pattern and trying to make it into something it was not. Starting with a well drafted and loose fitting indie pattern is, I believe, a much smarter choice. Try this pattern if you dig the style. I think you will love it. They could be totally different in various types of fabric. A denim or twill would give a much more structured look, and a rayon challis or silk would be even drapier than these. I am a bit obsessed with the wide leg, cropped pant look now and am debating between the Republique du Chiffon Gaston and the Papercut Nagoya patterns. I can't find versions of either to sway me.

Now meet Pearl, our now four month old bundle of love and energy, who we are totally obsessed with. My Megan Nielsen Flint Pants

This tencel chambray was from Joann and I also purchased it in the lighter blue version that I made my Charlotte Kan Tie dress in. They also carried it in olive green, which I recently snatched up the end of a bolt of and a tan color that I never was drawn to but now want to add to my stash because it is such an awesome base fabric for dyeing or some other type of surface design. Have I mentioned my mom does eco dyeing with two business partners slash friends? Check out their work here.

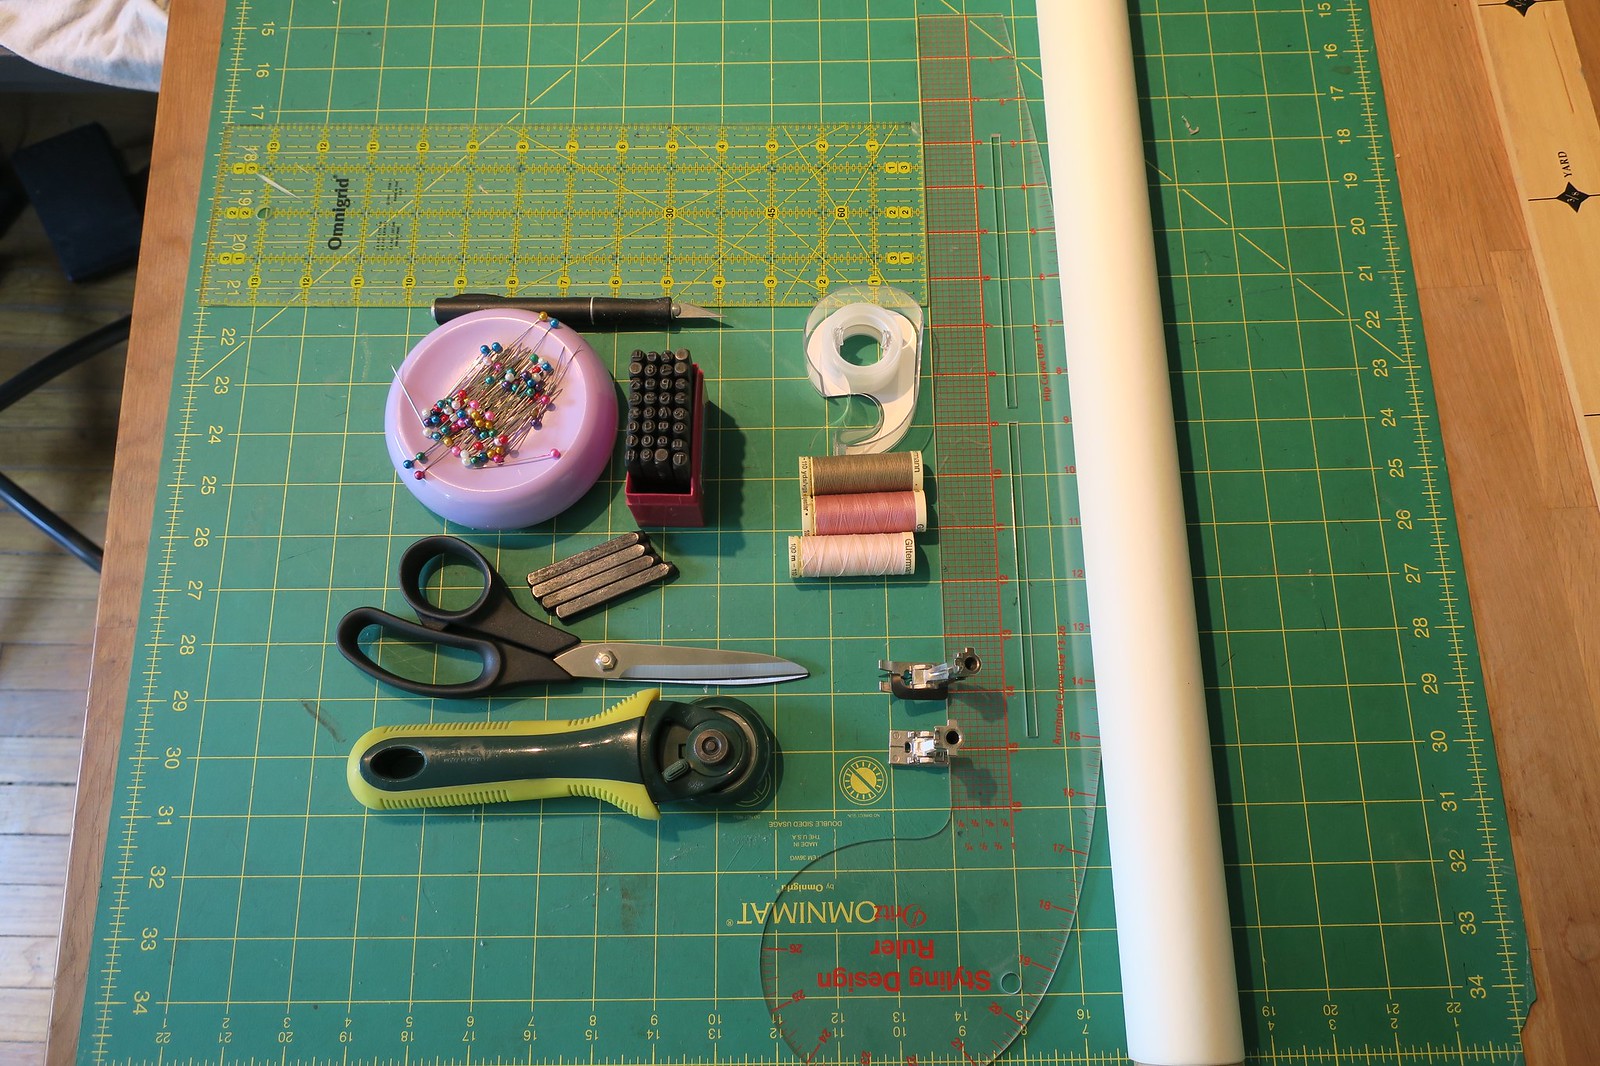
Are you participating in Sew Photo Hop over on Instagram? I am and I am meeting so many new sewing friends. Check it out. Essential tool kit

Sunday, August 27, 2017

How I added Piping to my Sophie Swimsuit

Sophie Swimsuit

When I made my Sophie Swimsuit I had so much fun picking out fabrics. There are endless options for mixing patterns and/or solids to come up with your own custom suit. I opted to add piping to the bottoms and thought I would show you how I did it. My piping is pretty subtle but you could really make it a stand out with a color that contrasts your main fabrics.

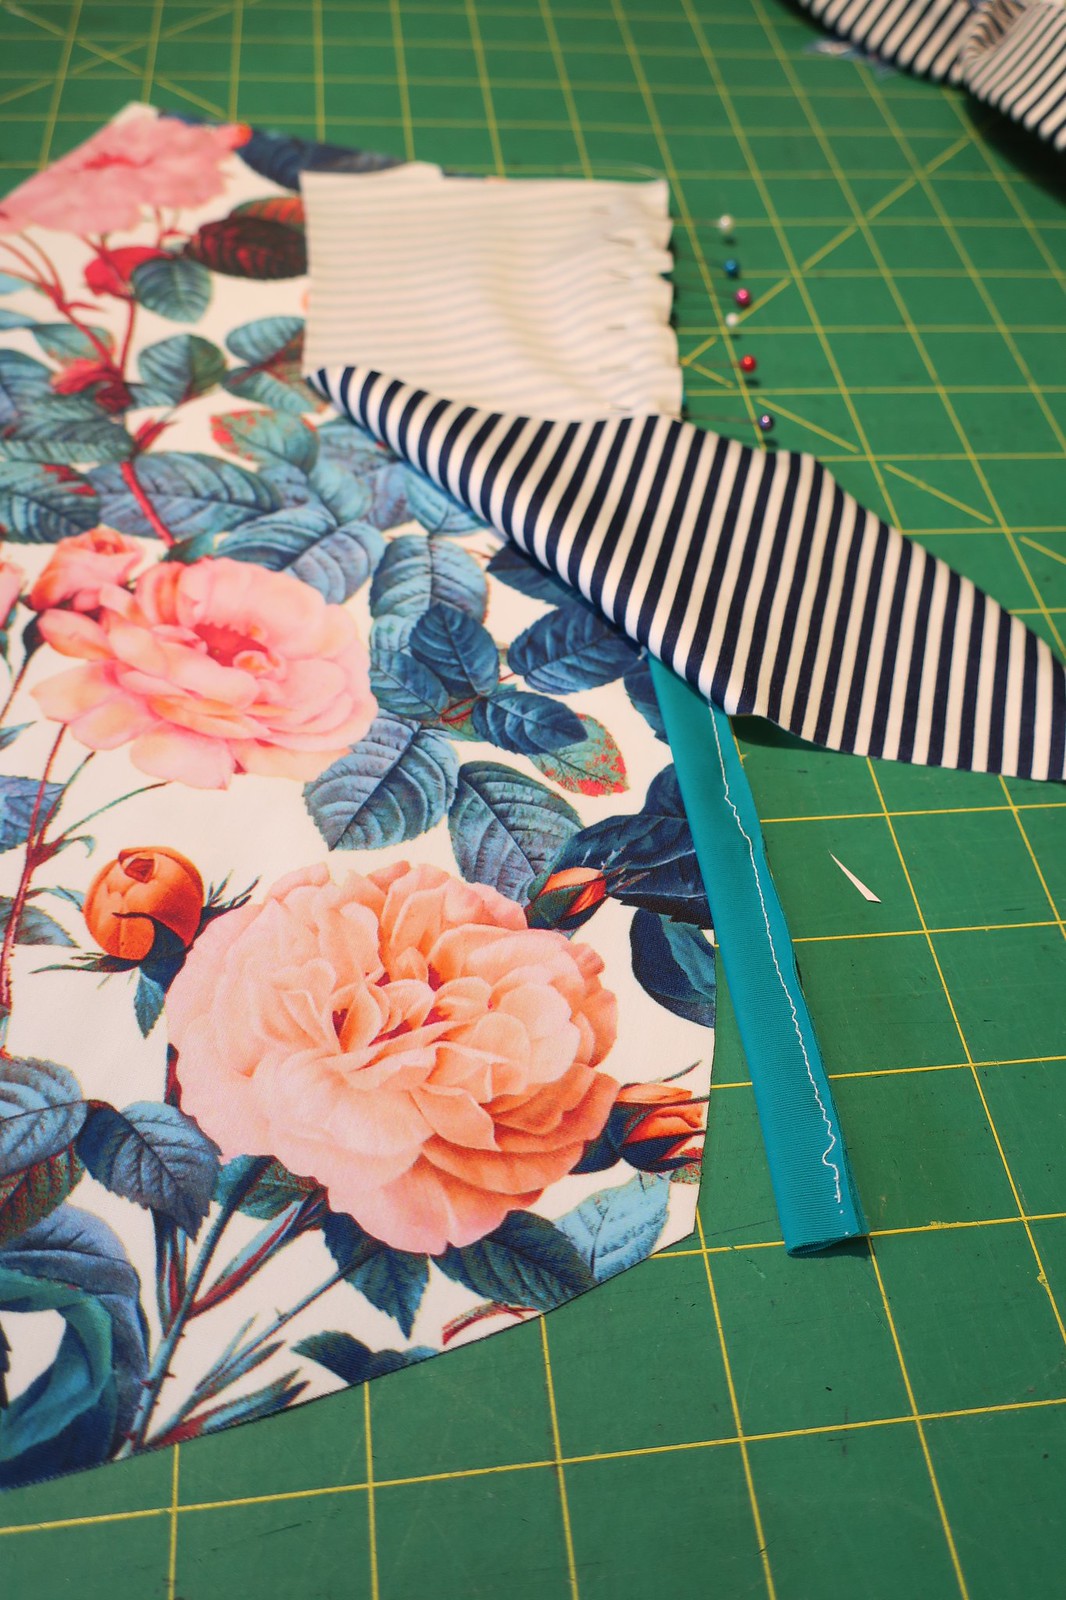
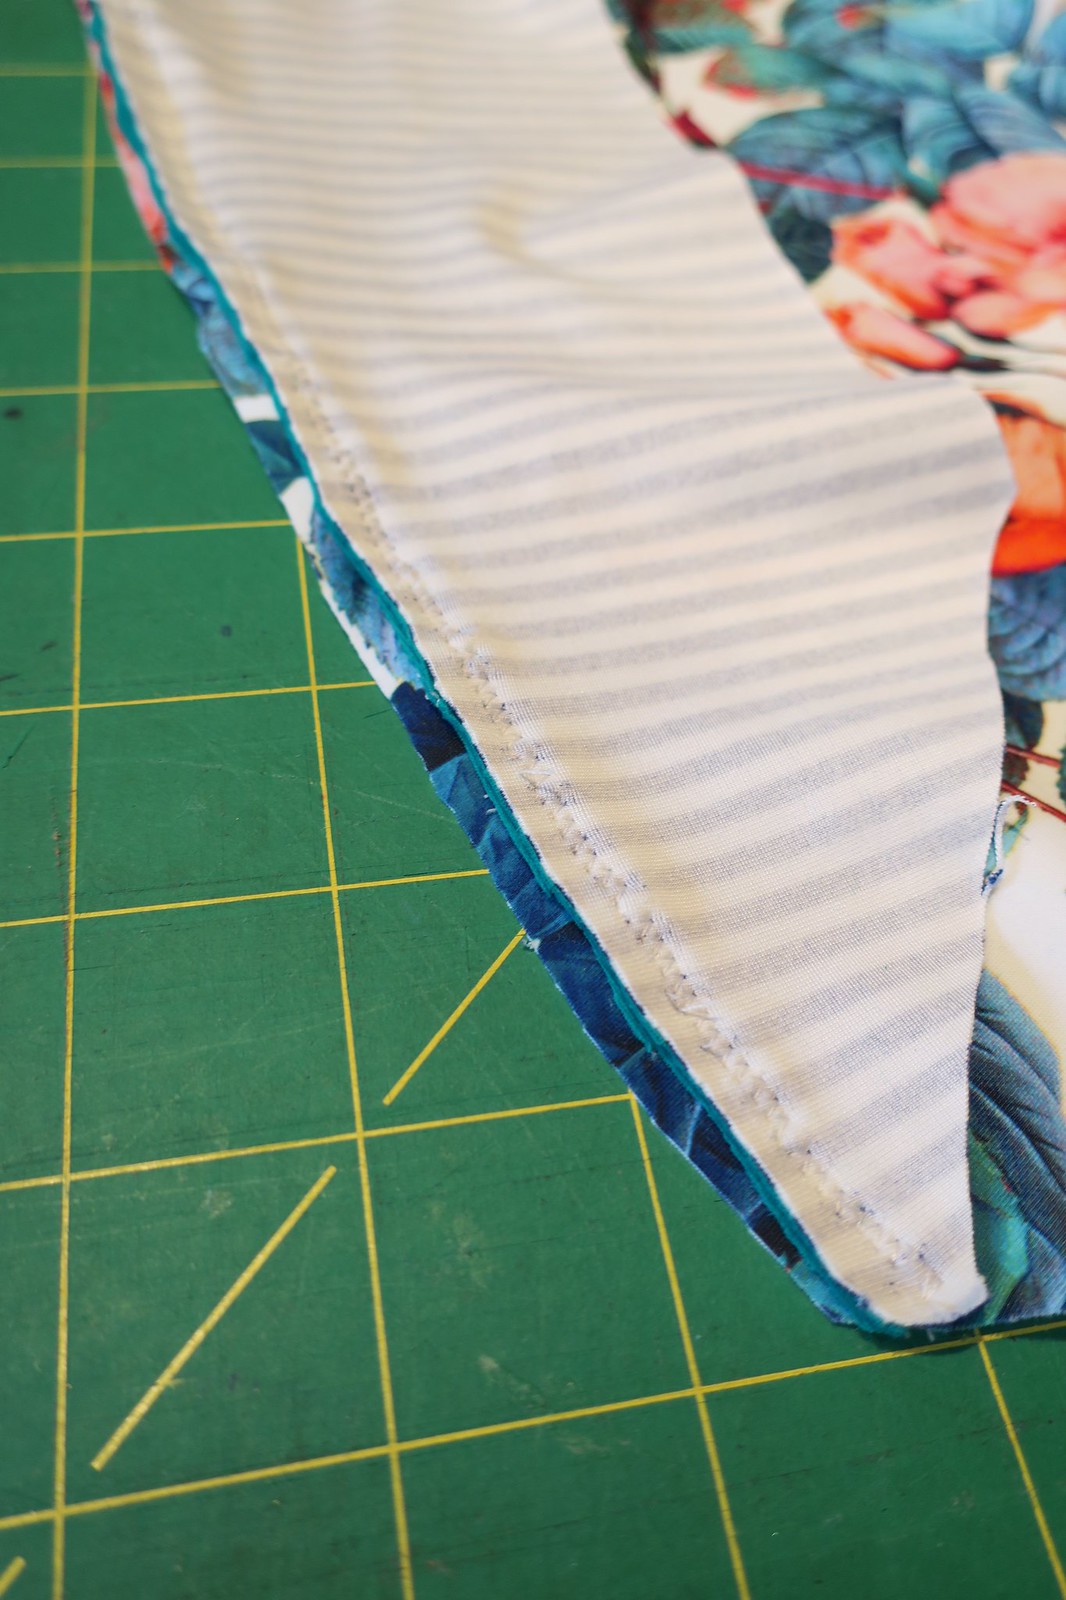
My piping was made from a 1" wide strip of swim fabric. I folded it with wrong sides together and basted close to the raw edge. This part will be trimmed off later.  

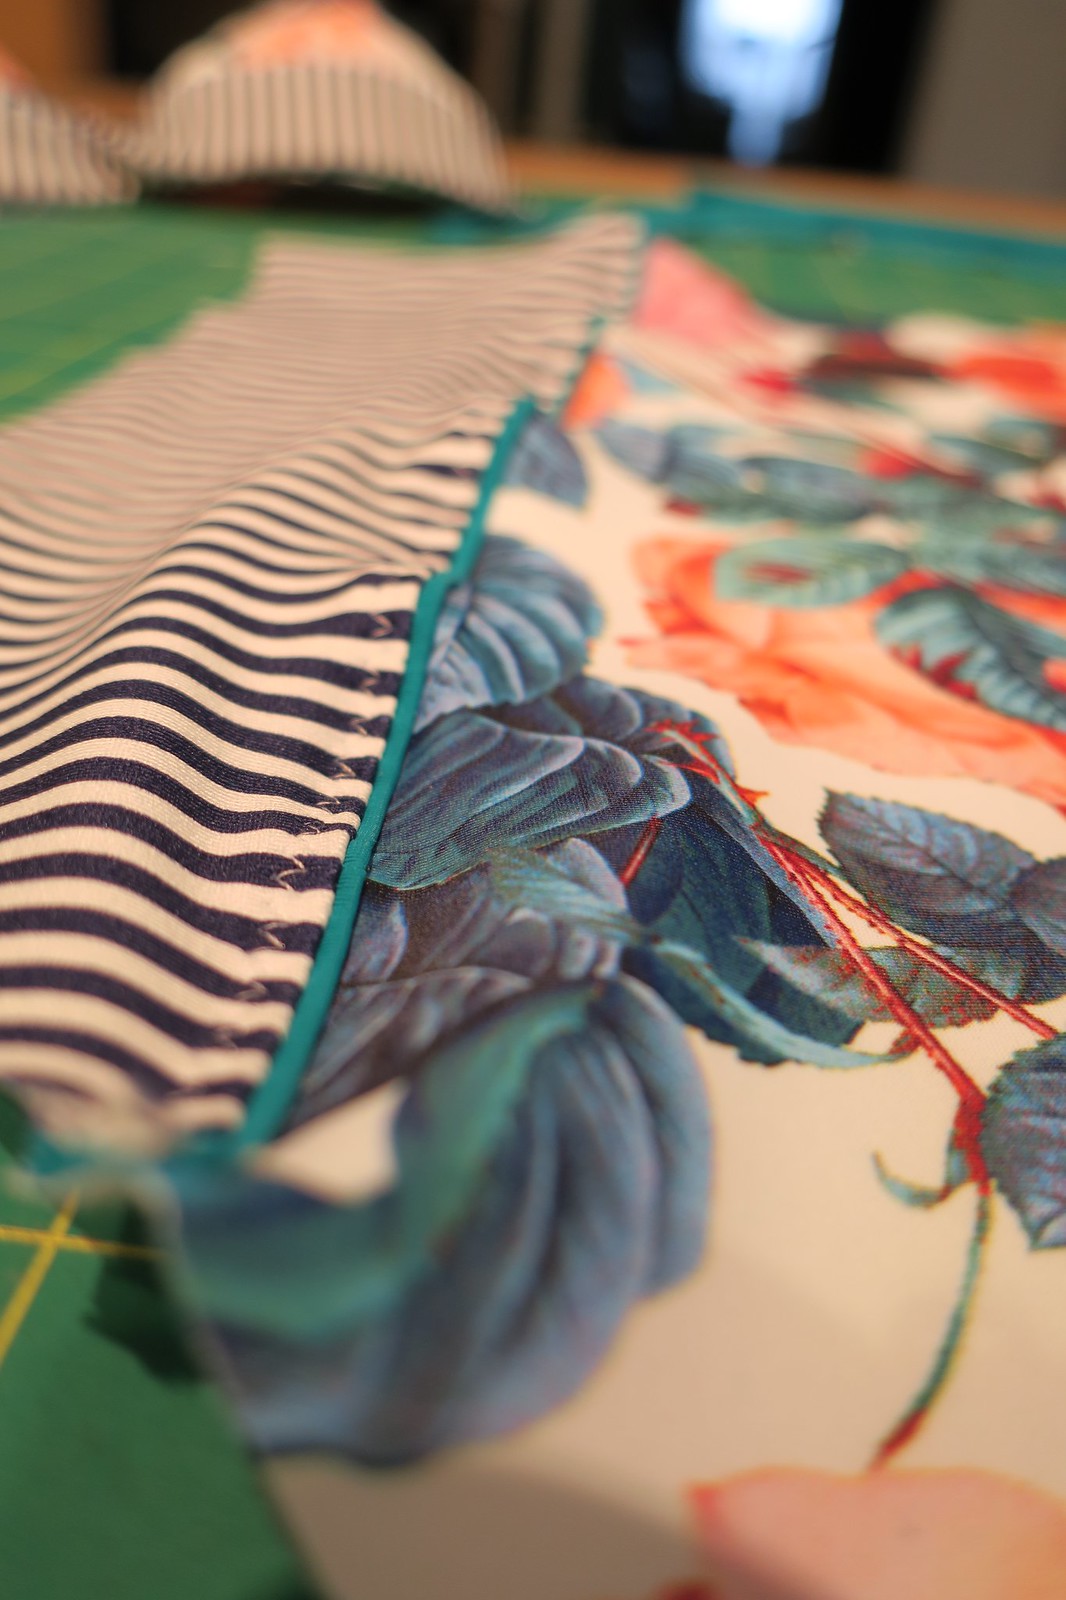
I sandwiched the piping between my center and side panels (both front and back) and used a lot of pins to keep each seam lined up.
Sewing the Sophie Swimsuit

This pattern uses a 3/8" wide seam allowance. You will have to experiment with your zig zag width but the goal is to leave a tiny bit of the piping peaking out of the seam. On my machine I used a 3 width and 1.5 length for my zig zag on the seam. After sewing up each seam I trimmed the piping and side panels closer to the seam to reduce bulk.
Sewing the Sophie Swimsuit

I finished each of these seams by turning the seam allowance towards the side seams and topstitching with another zig zag. The seams came out a bit wavy but that is not a problem when the suit is being worn.
Sewing the Sophie Swimsuit Sewing the Sophie Swimsuit

If you haven't tried this pattern yet I highly recommend it. It was intimidating at first, but if you take your time and follow the instructions carefully the suit comes together perfectly. I found it to be a challenging project that left me with a great sense of accomplishment.

Sewing the Sophie Swimsuit Sewing the Sophie Swimsuit

Flowers from my garden
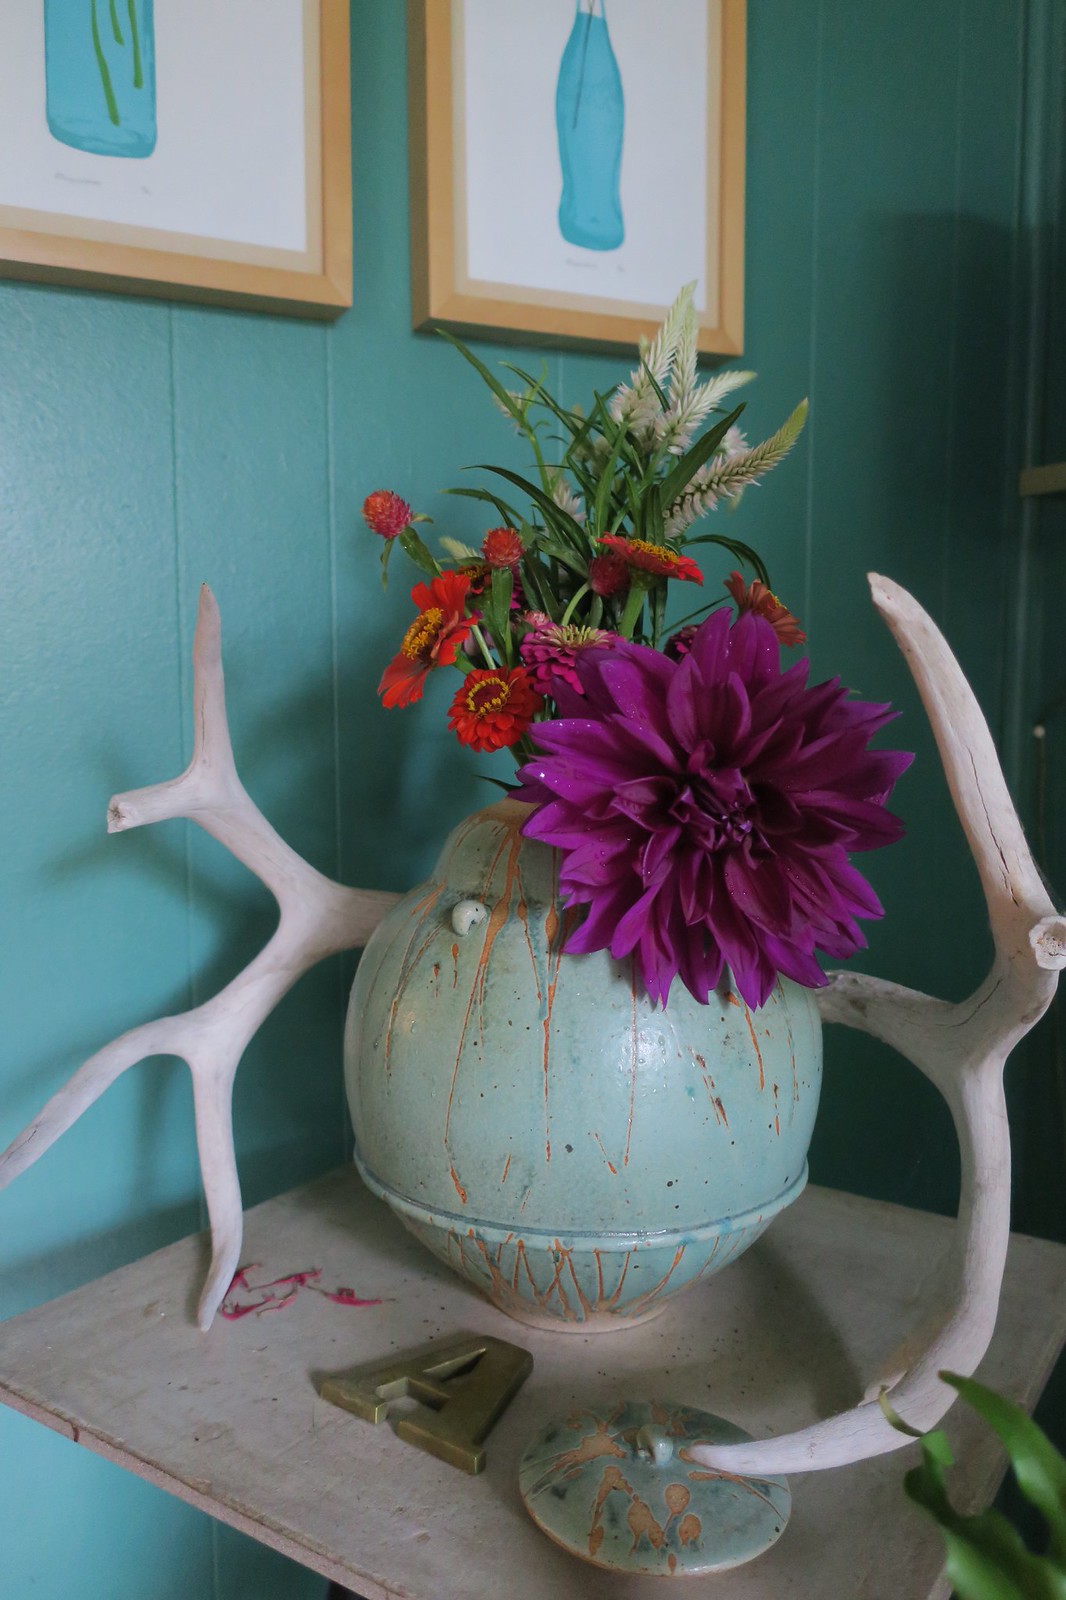
My garden has been happy this Summer! Can you believe I grew that Dahlia?! 

Thursday, July 27, 2017

My Sophie Swimsuit

Am I really doing this?
Am I really?
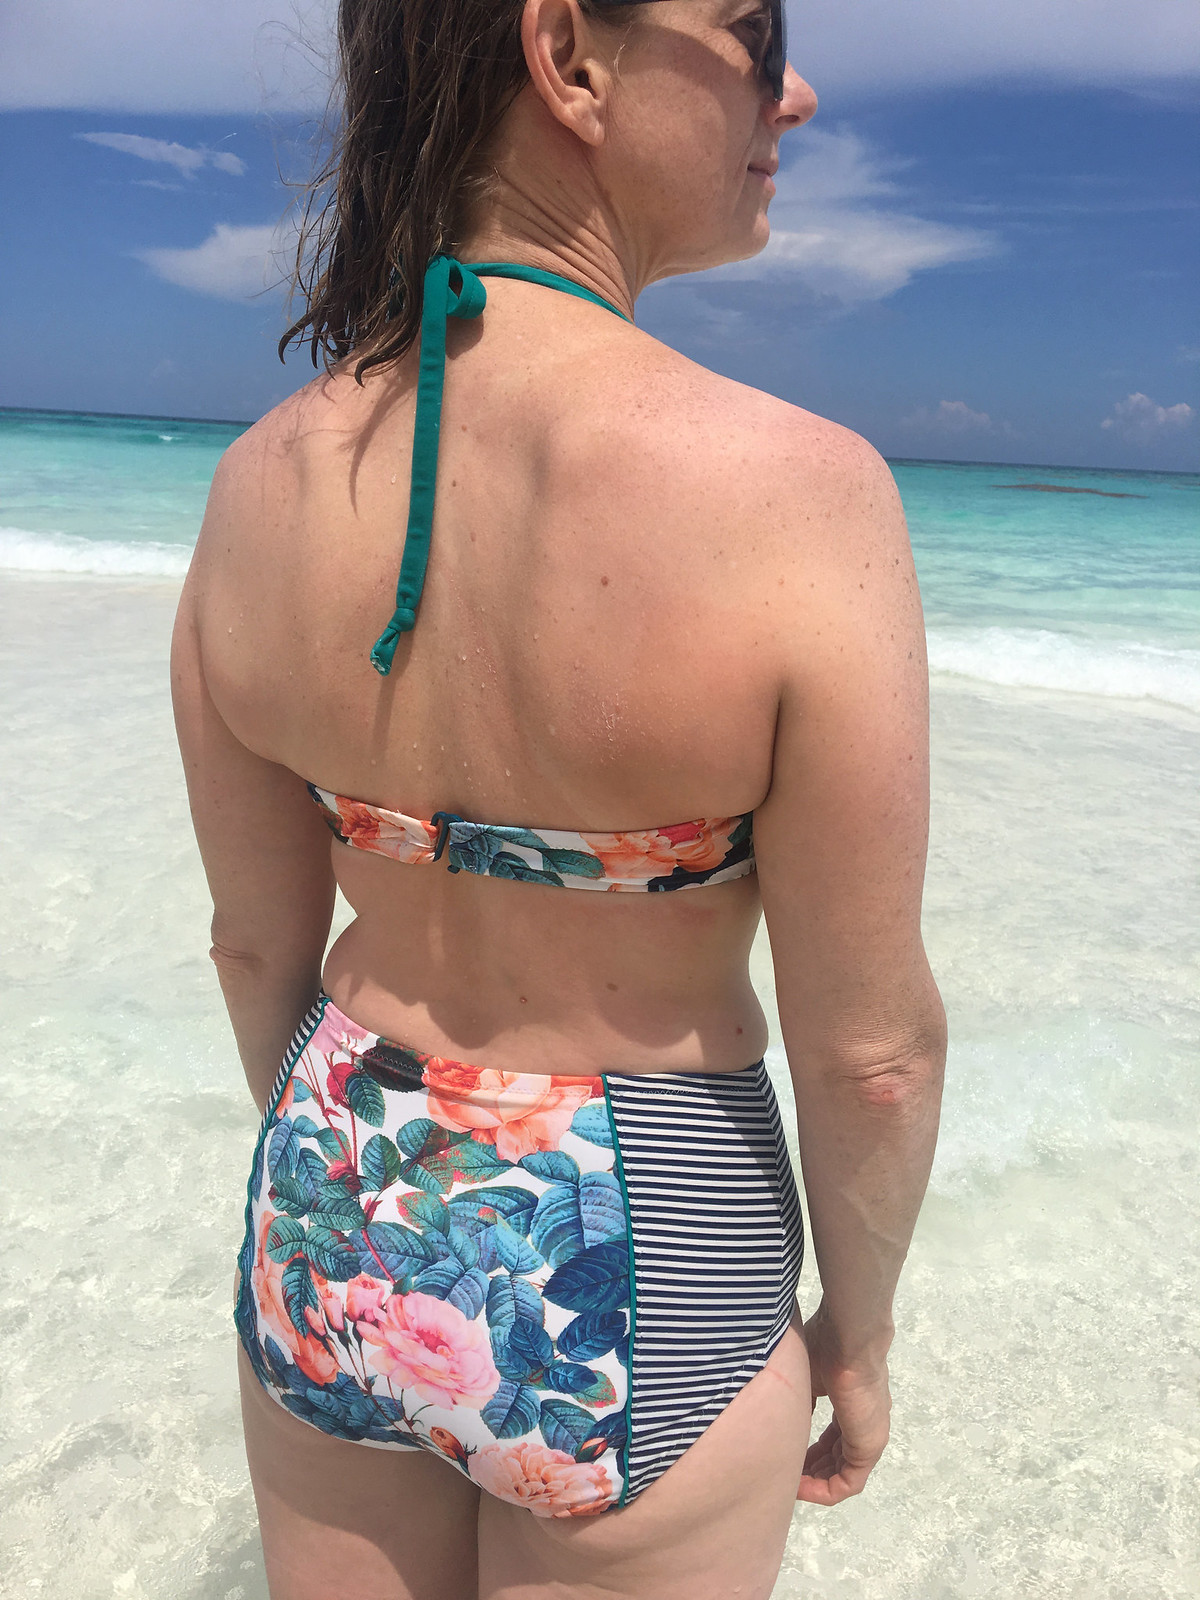
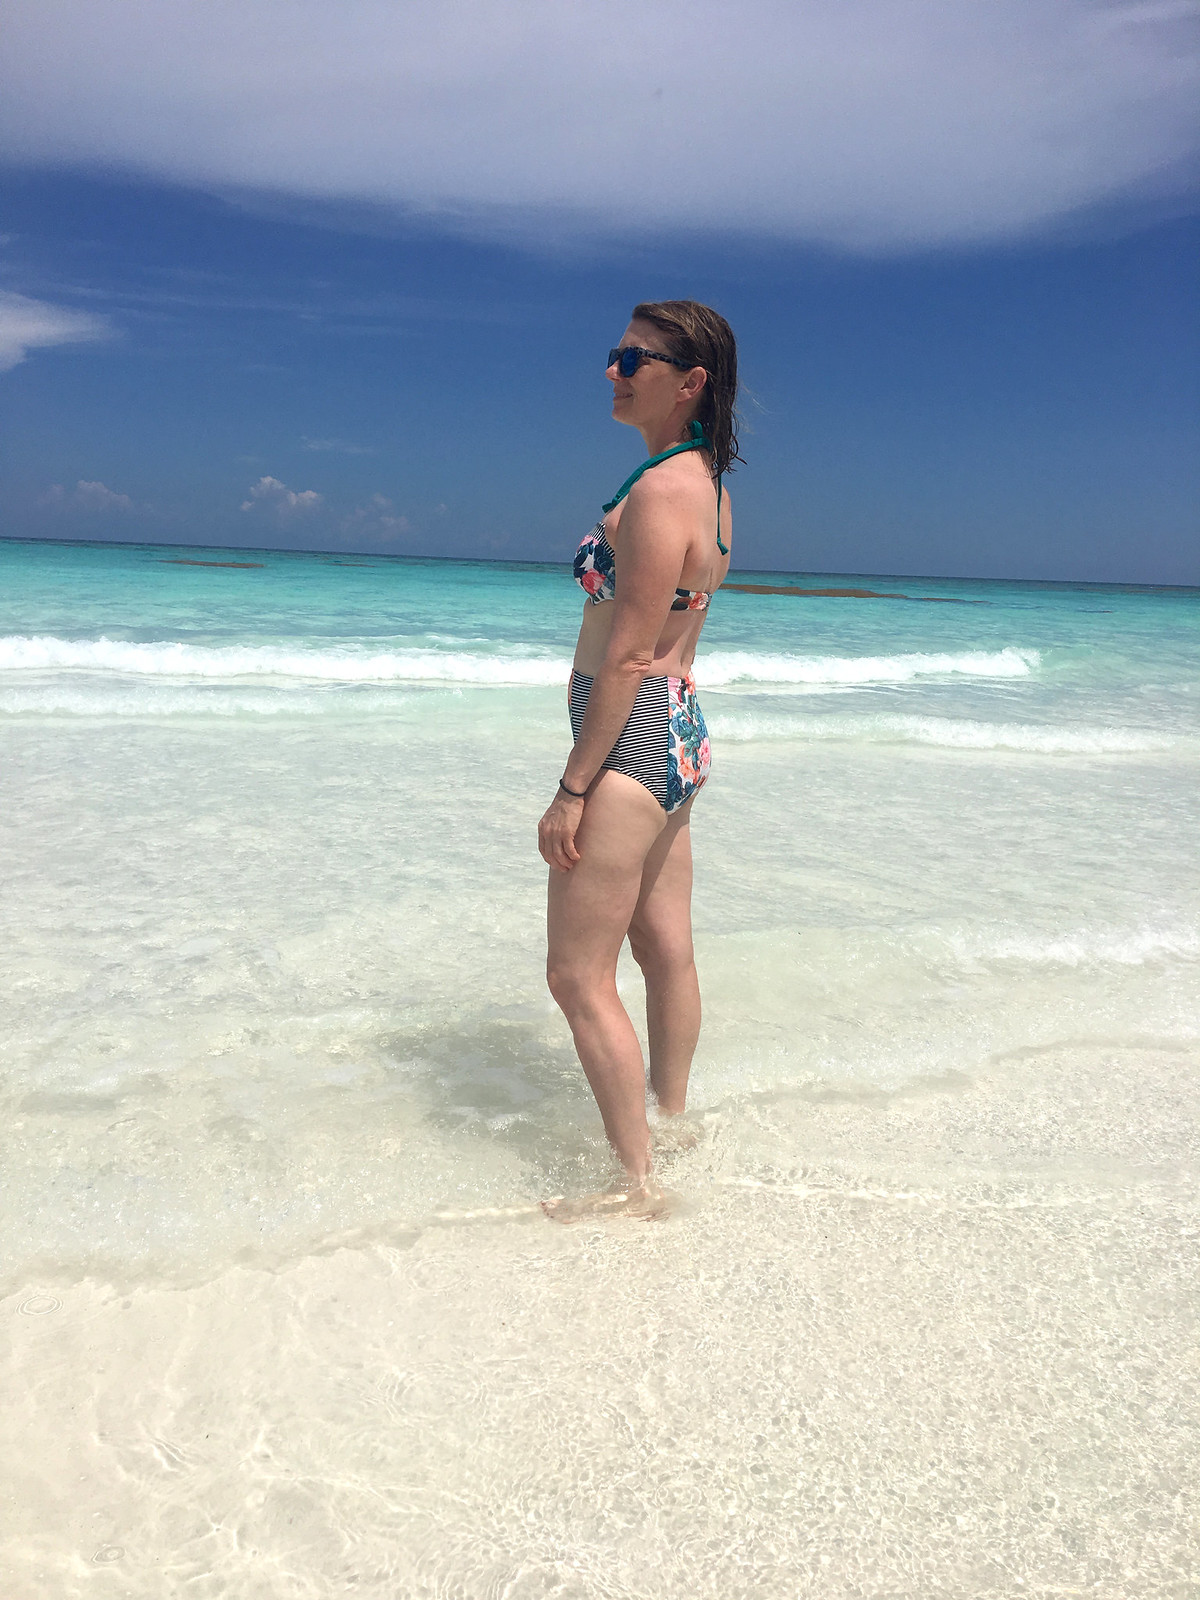
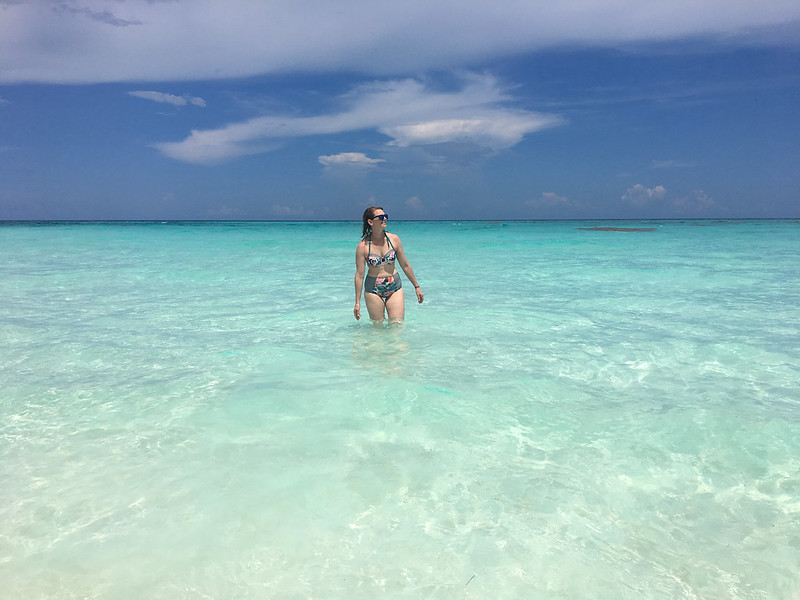
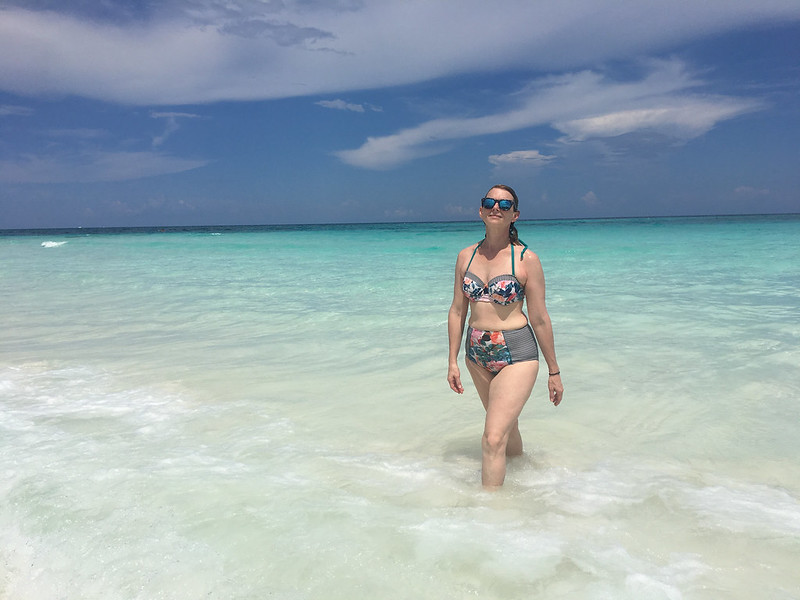
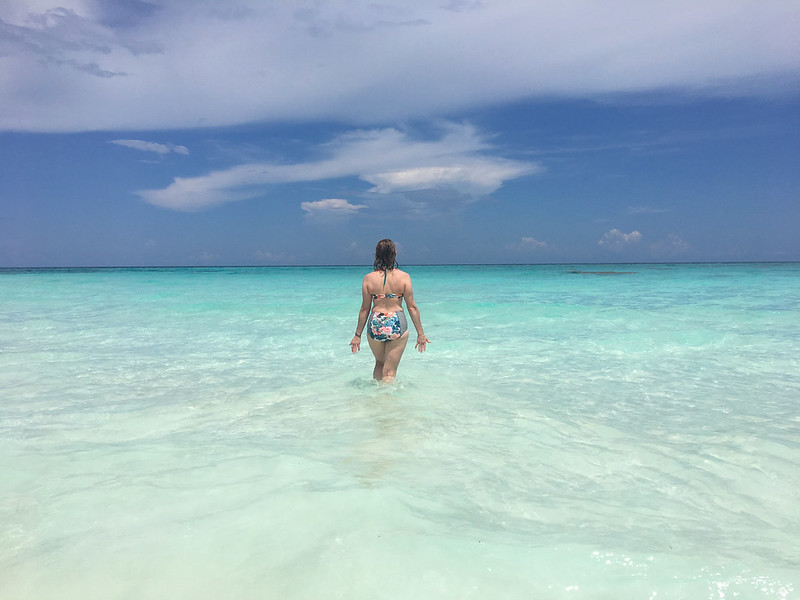
How could I resist, with this perfect combination of Sophie Swimsuit Pattern, Gorgeous Floral fabric and Caribbean waters? So yeah, I am going there, I am there, well I am here, or here I am, in a swimsuit.

Sophie Swimsuit

I'm sorry, but isn't it amazing? That isn't really bragging since a huge portion of the credit goes to Heather Lou. Heather not only designed this fabulous swimsuit pattern, but created it in a way that someone who has never sewn an underwire bra could conquer this project. I can't say for sure, since I do have experience sewing swimwear, but I bet even a confident seamstress who had never made a swimsuit would be thrilled with their outcome thanks to the fabulous instructions in this pattern. In case you haven't heard of this pattern, which is doubtful, it is the Sophie Swimsuit from Closet Case Patterns and it is wonderful. Can you tell I love it?
  Sophie SwimsuitSophie Swimsuit

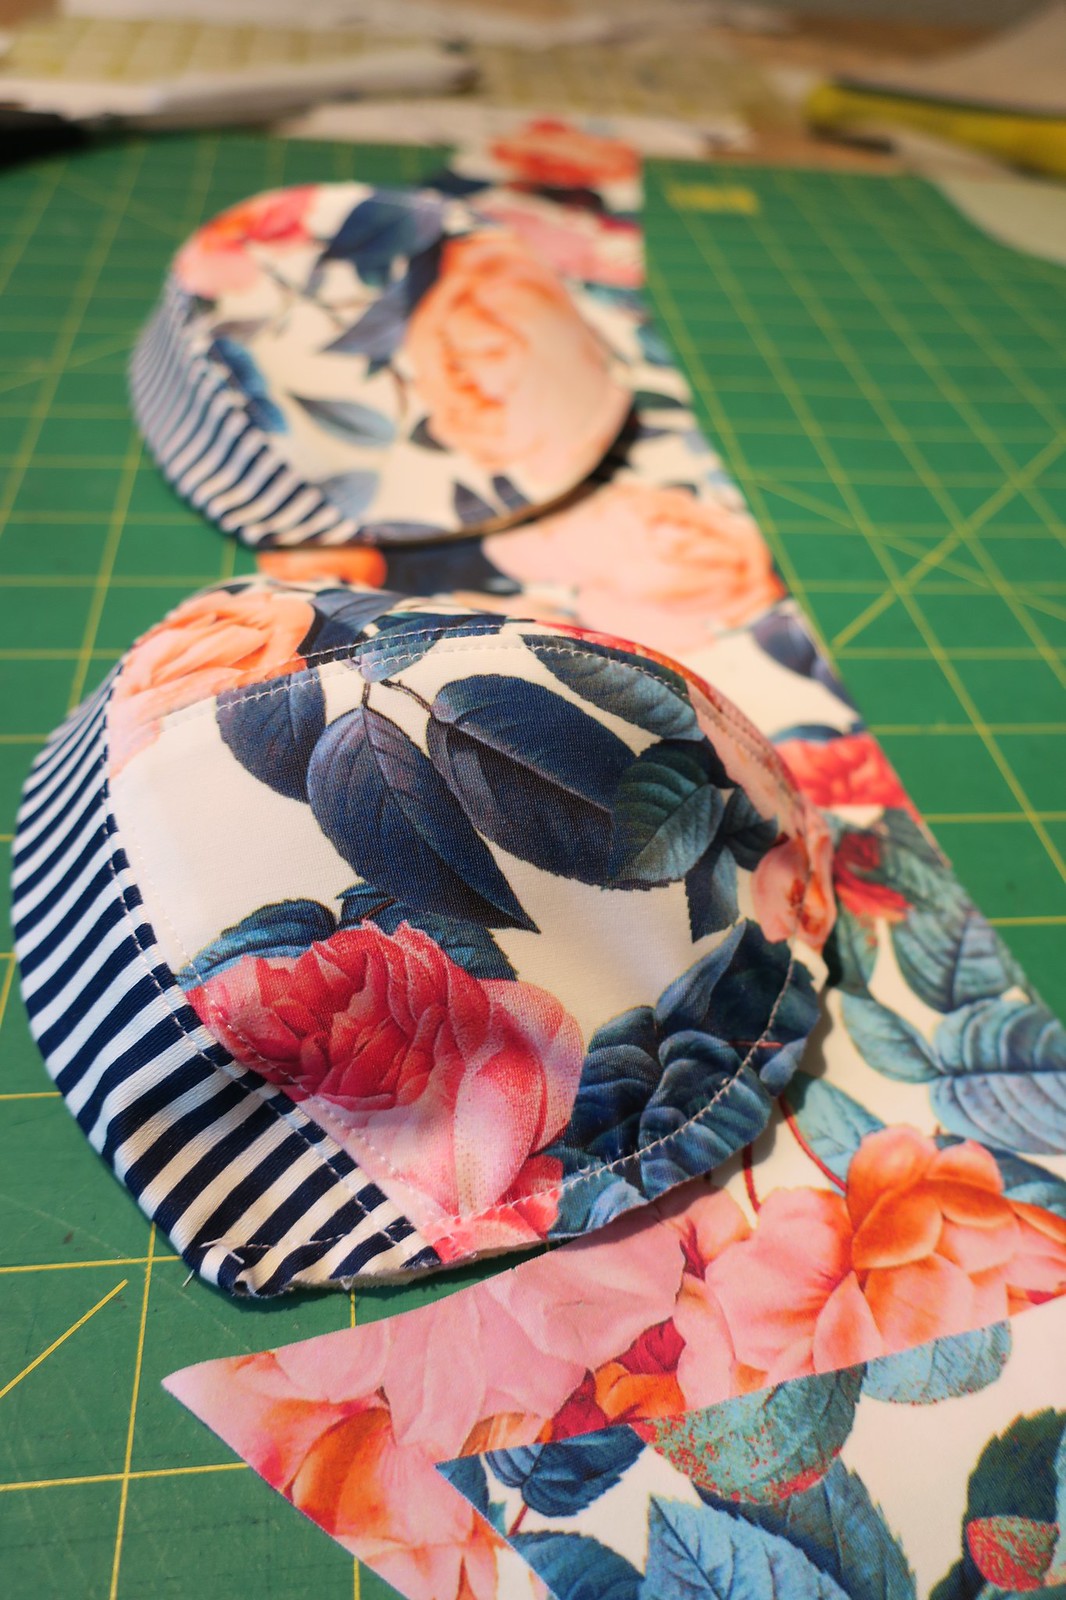
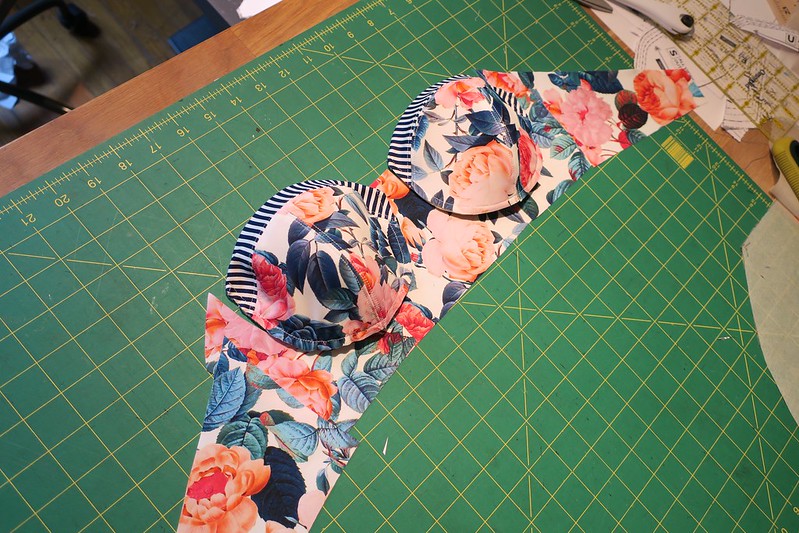
I am willing to give another chunk of the credit to this suits' success to this fabulous floral fabric. You can still get you some over at The Fabric Fairy. I paired it with a navy and white pinstripe and added teal piping (which I plan to do a tutorial on soon). I will go ahead and take credit for masterminding this great combo of fabrics and sewing up this beauty. Heck, even if I am bragging it's okay because as my dad likes to say "it isn't bragging if its true" and this is a truly wonderful thing that I have created.
  Sophie SwimsuitSophie Swimsuit

I was highly influenced by Sophie, the muse behind this swimsuit. Isn't her suit to die for?! I even ordered the very same floral from Pitt trading, all the way from Australia. I wisened up though and decided I needed to make it my own instead of a straight copy.
  Sophie Swimsuit

Construction wise, the only thing I altered was chopping several inches off the waistline of the bottoms to bring them down to my waist and then chopping off even more to make them not so high waisted on me. I am not sure this style of bikini bottoms is the most flattering on me, but they definitely provide good coverage and fit really well. For the top I used the size 4 with the cup size 5 and I think the fit is spot on. I used the size 6 on the bottoms. The bra sizing was a bit confusing to me at first, having never made a bra. But I trusted Heather and it turned out just right.

I couldn't be more thrilled with the outcome of this swimsuit. Bonus, I now know how to make an underwire bra!
  Sophie Swimsuit

My husband and I took a trip to Tulum a few weeks ago with five of our dearest friends. In case you are wondering, this gorgeous beach I am on is called Xpu Ha. It was secluded and mostly populated by locals, which was just the type of place we were looking for. You turn down a dirt road, pay $30 pesos per person and they let down a rope for you to pass.  We only found this beach because we picked up two young French hitchhikers and gave them a ride from another beach back into Tulum town one day. Don't worry, lots of folks hitchhike down there and it was perfectly safe. They told us that we HAD to check out Xpu Ha and they were right, it was our favorite beach on this trip and the most beautiful beach I have ever been to. If you are interested in seeing what else we did I have all of our trip photos over on flickr and have labeled them pretty well.