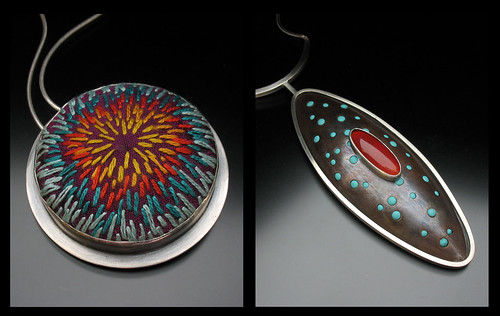
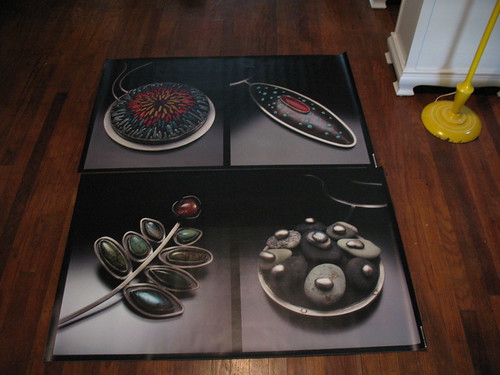
No pun intended, but when I pulled out my new banners and exclaimed WOW to myself I think that is a good sign! Hopefully they pull in lots of eyes at Bayou City next weekend. I hope you like them as much as I do.
ETA: I forgot to add that I got these from Vista Print and they were half off with one of their promotions. These are the 15m vinyl without grommets and have clear corners to hang them by. I am super happy with the quality and they were so cheap, can't beat that! Here is a link with the discount.
Thursday, September 30, 2010
Monday, September 27, 2010
More progress shots
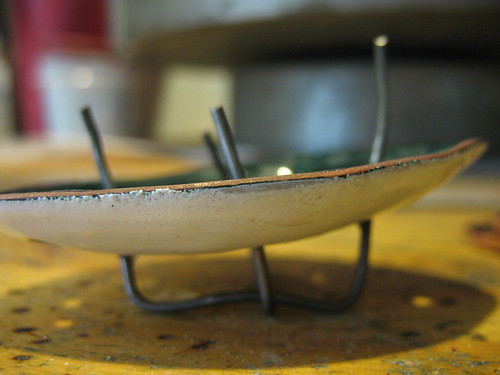
The trivets that I have weren't quite large enough for this piece, so I grabbed some wire at Lowes and improvised. It worked like a charm!
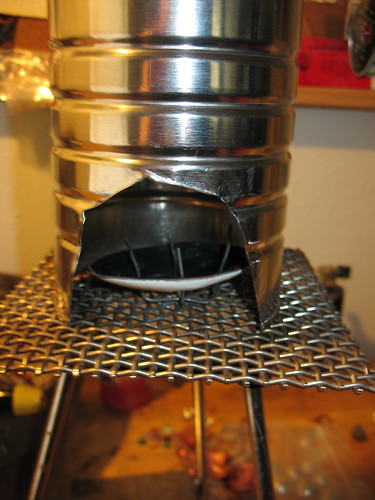
Remember my question about building a little oven around my torch firing area? Well, a fellow Etsy Metal member came through with an answer, as usual. Maria of Fluxplay linked to her coffee can kiln and gave me instructions for constructing one. I love her theory of keeping costs down and making due with what is available and cheap!
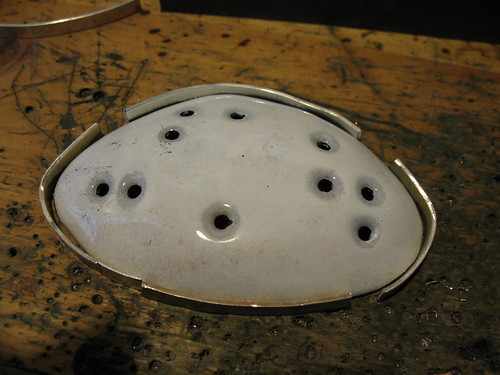
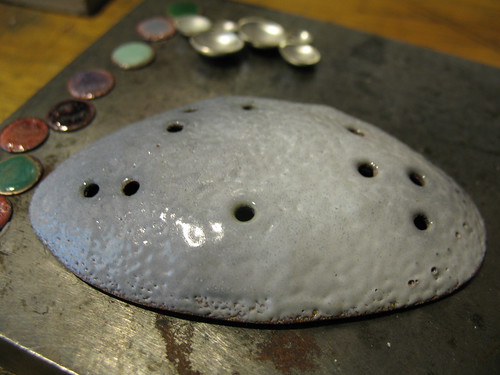
This one is still a work in progress and didn't do the trick the way it is. I did read in the Rio catalog to preheat the beehive kiln for 30 minutes. After doing that and firing this piece for 10 minutes it was all smooth and pretty. There are some impurities in the white enamel still, I imagine from torch firing. I plan to stone it down and give the enamel a matte finish anyways, so I'm not worried about the spots.
I do still have to figure out how to set the enamel portion in the pendant and am playing around with different ideas.
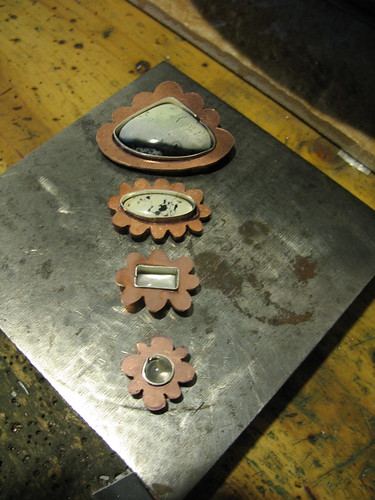
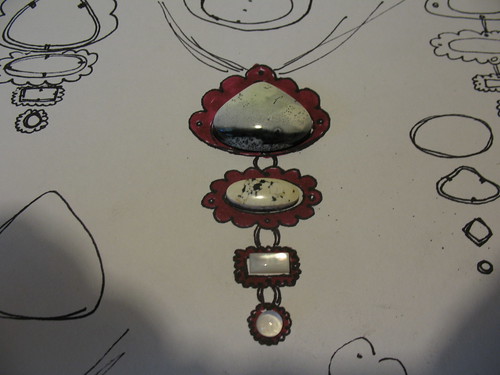
Here is another piece that I am working on. I put together these white stones one day and came up with a pendant design around them. I plan to enamel the copper and then tube rivet it floating above the bezel backing. I think it will be really nice.
Thursday, September 23, 2010
Something new
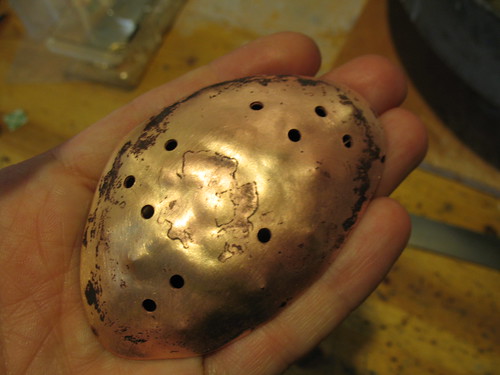
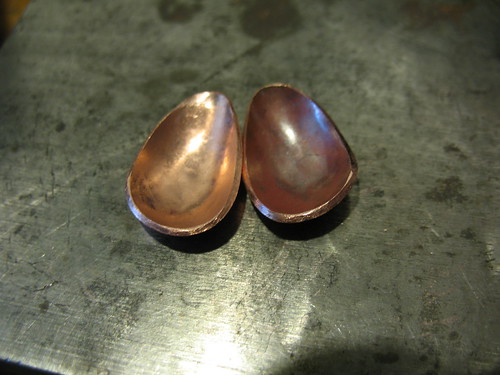
I mentioned yesterday that I'm working on some new designs for my upcoming show. Here is one of the new pieces. I made this shape on Monday and had lots of fun working on it. I can't yet use my hydraulic press for a piece this big, I don't have a large enough piece of urethane. So I cut the shape and used a dapping punch to form it. It isn't as smooth as it would have been if it was formed in the press, but I don't mind some texture. In fact I have a list of tools and supplies that I want that will help me create lots more texture in my work:
Rolling Mill
Pitch and Pitch Bowl
Etching Supplies
Rolling Mill
Pitch and Pitch Bowl
Etching Supplies
I'm really happy with the shape that I came up with. It is reminiscent of the pebbles that I use in my jewelry. I drilled the holes and prepped the piece for enameling. I'm just getting back into enameling and I have this beehive kiln. I was only able to get it to work when the piece was laid directly on the elements for counter enameling. When it was up on a trivet it didn't even start to fuse the enamel. Perhaps this kiln only works well for smaller pieces? If anyone has experience with one of these I would appreciate some tips!
I couldn't lay the piece back on the kiln floor after it was counter enameled, so I torched fired it for the other side. Here it is underfired. The white turned gray which I read online could be caused by an Acetylene /air torch, which is what I use. I don't mind the gray though and think it makes it look more pebble like, so I consider it a happy accident.
This is where I'm going with this pendant. The gemstones will somehow be connected to the top of the enameled piece. I have several ideas for how to do this and may need to do some sample pieces to see which works best.
Hm, I see some rings in my future, no point in just doing samples that I don't use for anything! I'm also not sure yet how this whole piece will be set, I have to work on that today.
Torch firing enamel tips are welcome too. I am new to torch firing and not even sure if it is supposed to work on a piece this large. I'm thinking I need to build a little surround of soldering bricks to hold the heat in. Does that sound useful?
Add to tool wish list:
Kiln
Wednesday, September 22, 2010
Searching for inspiration
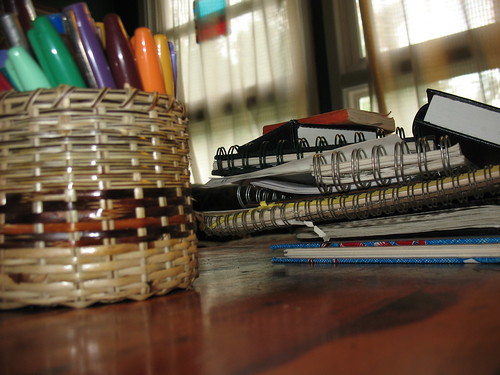
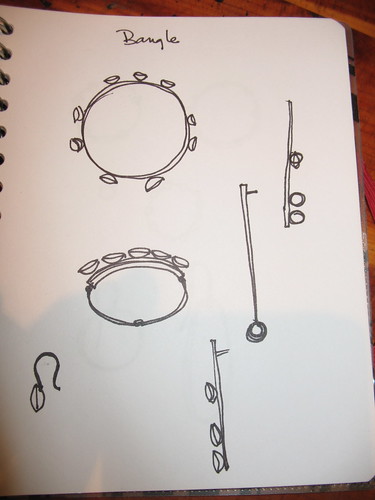
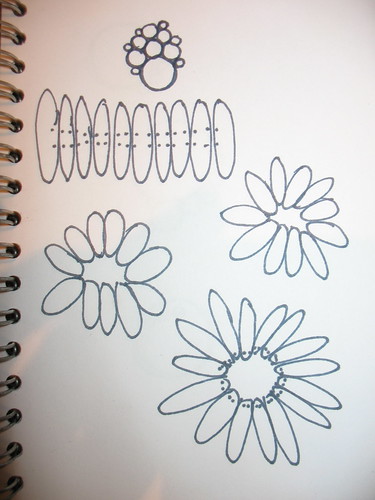
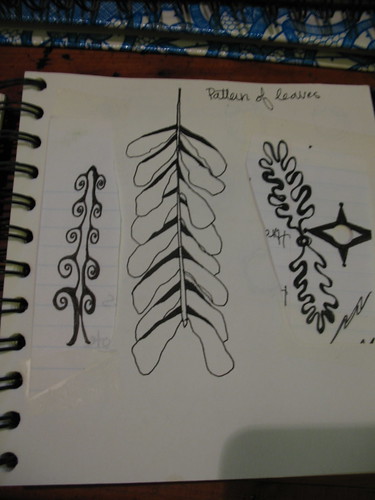
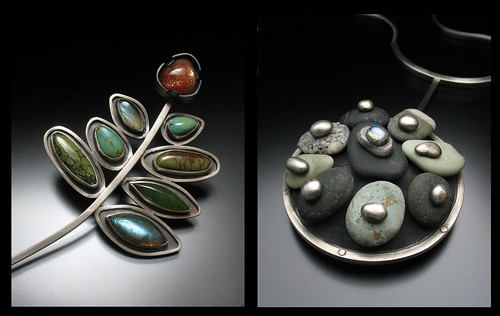
Last week I was searching for inspiration for new work for my upcoming show. I pulled out all of my sketchbooks and looked through them for ideas. These go way back and aren't all of my sketches, I have more on loose sheets of paper in a folder somewhere. Some of these ideas were never made, some were. Either way the shapes and compositions still spark something in my mind and get me in a creative mood.
Sunday, September 19, 2010
Possible New Banners
I am considering these two layouts for new banners for my booth. My old banners are okay, but the images are pretty dark and the vinyl is thinner so they sag a lot. I have been wanting to upgrade and found a deal so this is what I came up with. What do you think?
Here is a sneak peak of a new idea I am working on. I have been wanting to do more organic shapes than my circles for a long time. I still am not really up and running with my hydraulic press, which is how I always envisioned making these shapes. So I experimented yesterday with cutting out these pebble like shapes and simply using my dapping block to form them. I do like the outcome and am going to pursue this idea more. This of course also led to a long wish list of tools that I have been wanting and now feel like I really need. I think I am going to enamel these for earrings.
Thursday, September 16, 2010
Critters and Blooms in the Garden
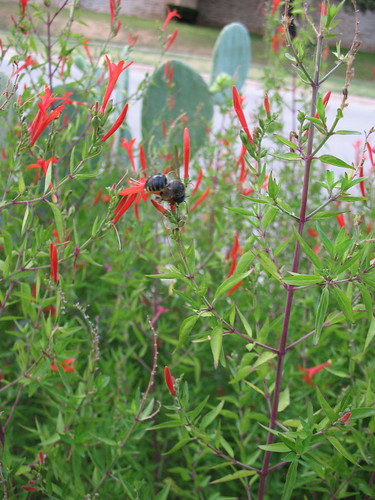
A huge bee on my Flame Acanthus
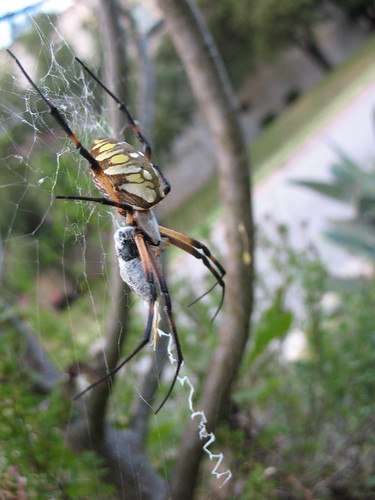
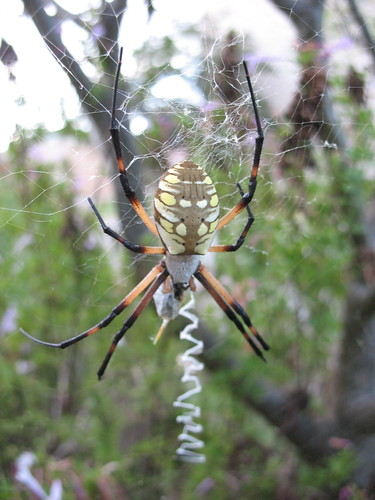
A huge spider with some kind of prey
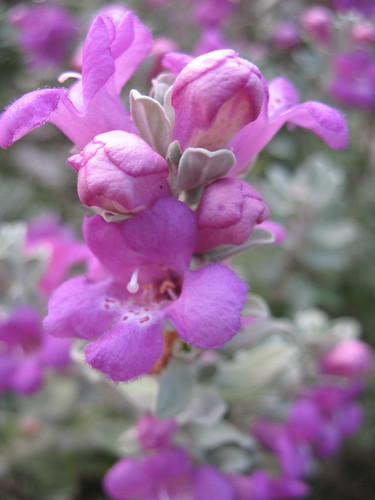
Texas Sage
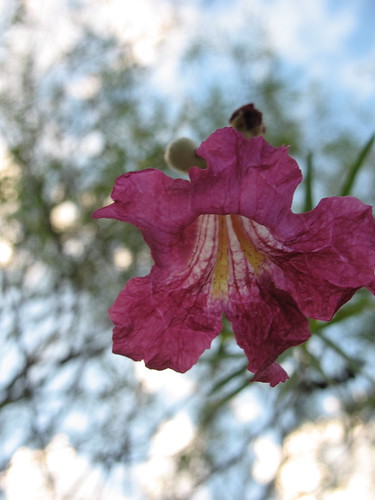
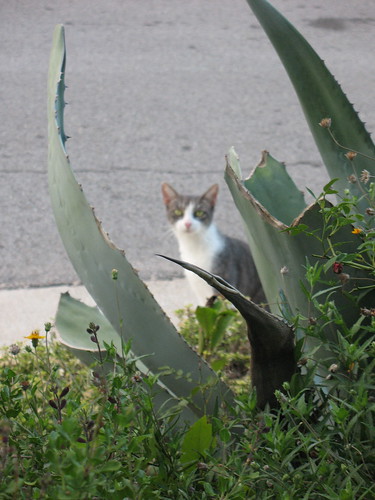
I have been working on my much neglected backyard garden in the mornings this week. There is still a long ways to go before it looks pretty again. The front however, is doing well and I snapped these pictures of flowers and critters in the front garden last week. That kitty has been hanging around and unfortunately I think she already has a kitten of her own. I'm not sure what to do about them.
Wednesday, September 15, 2010
Texas Metal Arts wrap up
I am finally recovered from the crazy hot and humid weekend at Texas Metal Arts! My poor husband and mom deserve multiple awards for hanging in there and supporting me all weekend. My neighbor at the show who has been doing art shows for 40 plus years said she had never felt so uncomfortable at any art show. Now that is saying a lot! Despite the heat, there was a crowd and people came out and shopped both Saturday and Sunday. Thank you to all the great customers who sweated along with us and supported the artists at Texas Metal Arts!
Some of our closest friends also came down for the weekend and camped out on my parents property. It is so nice to have a base camp in my favorite part of Texas! We didn't get to swim this time and that was just not right. Last year we had the time but the weather didn't cooperate, and this year we just didn't have the time.
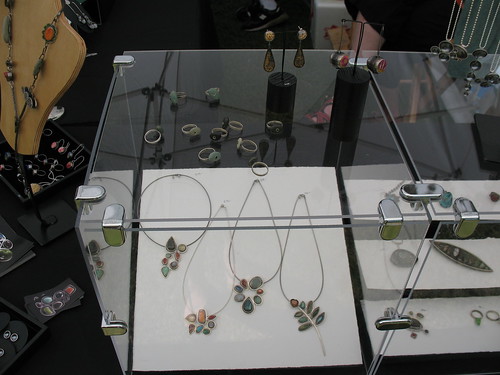
I didn't get great photos of my booth and displays this time but you can get an idea of how it looked above. I had a corner booth, but was in full sun. Since the ez-up only has an awning on one side we moved the tables in as far as possible so that you could view the work while standing under the tent. Just stepping out of the sun and under the shade of the tent made a huge difference in comfort. I stacked one case at the end, which I had not done before, but didn't realize I was short one piece of plexi-glass for the top. Now I know I need a couple more pieces if I have a non-corner booth and have to stack two cases. Overall I was really happy with this set up, although there are always things that I want to tweak and improve.
I was super impressed with the dedicated supporters who came out in the heat and humidity to shop at this show. I am so thankful for all who did!
Thursday, September 2, 2010
Texas Metal Arts Preview
My booth at Texas Metal Arts last year. Hey mom.
A preview of what I'm working on for this show, my fiber pieces.
This is my second year to participate in Texas Metal Arts. It would be the third if not for the Hurricane Ike that came through the same weekend in2008! The show is held in Gruene, Texas and I love that town. Now that my folks have a place down there we have a base that is a jumping off point for the entire Texas Hill Country. If you haven't been down to that area you just have to see for yourself how great it is.
The show is September 11th and 12th and I hope you can make a weekend out of it! There is so much to do around Gruene including shopping, great food and lots of swimming holes.
Subscribe to:
Posts (Atom)