I had made a pair of Lander Shorts last summer that I love. However I like my pants much more fitted than my shorts. I ended up taking them in 1/4" at the side seams, except through the hip and I drafted a curved waistband, which I will use for any future versions of this pattern. I also took 1/2 wedge out of the center back seam where it meets the waistband. This eliminated the swayback.
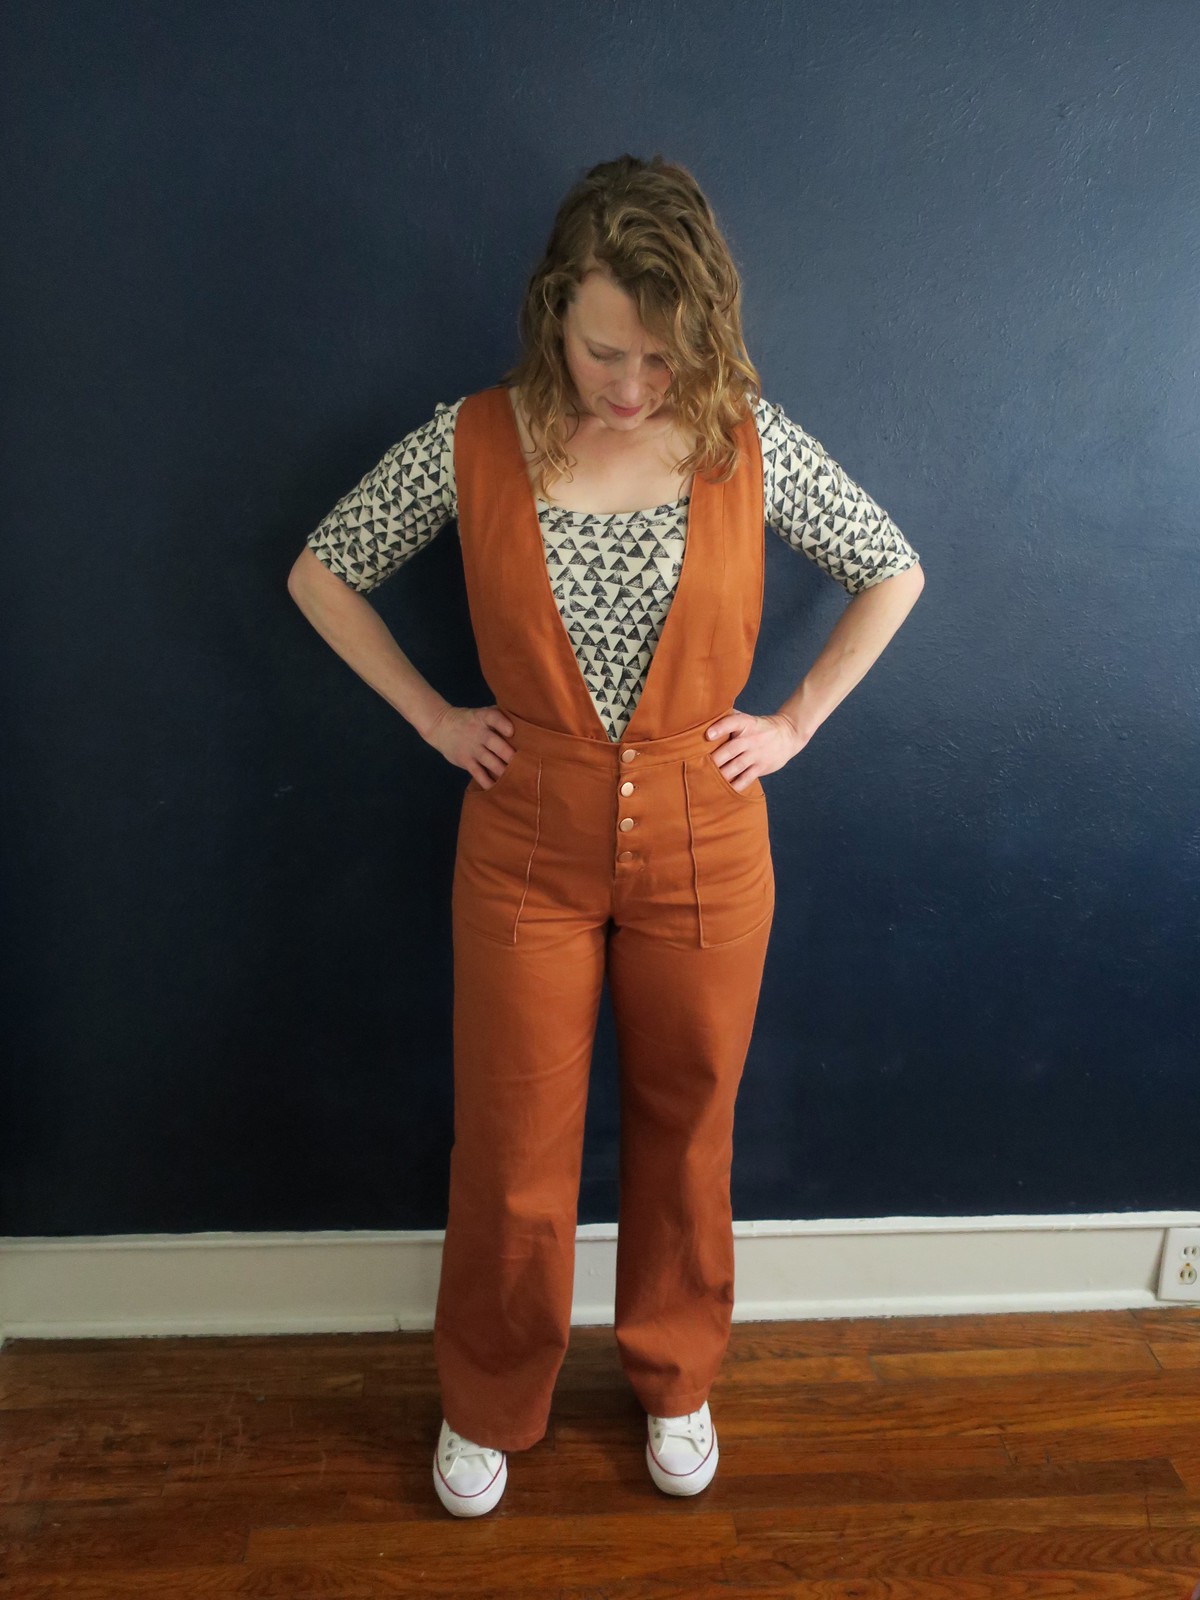
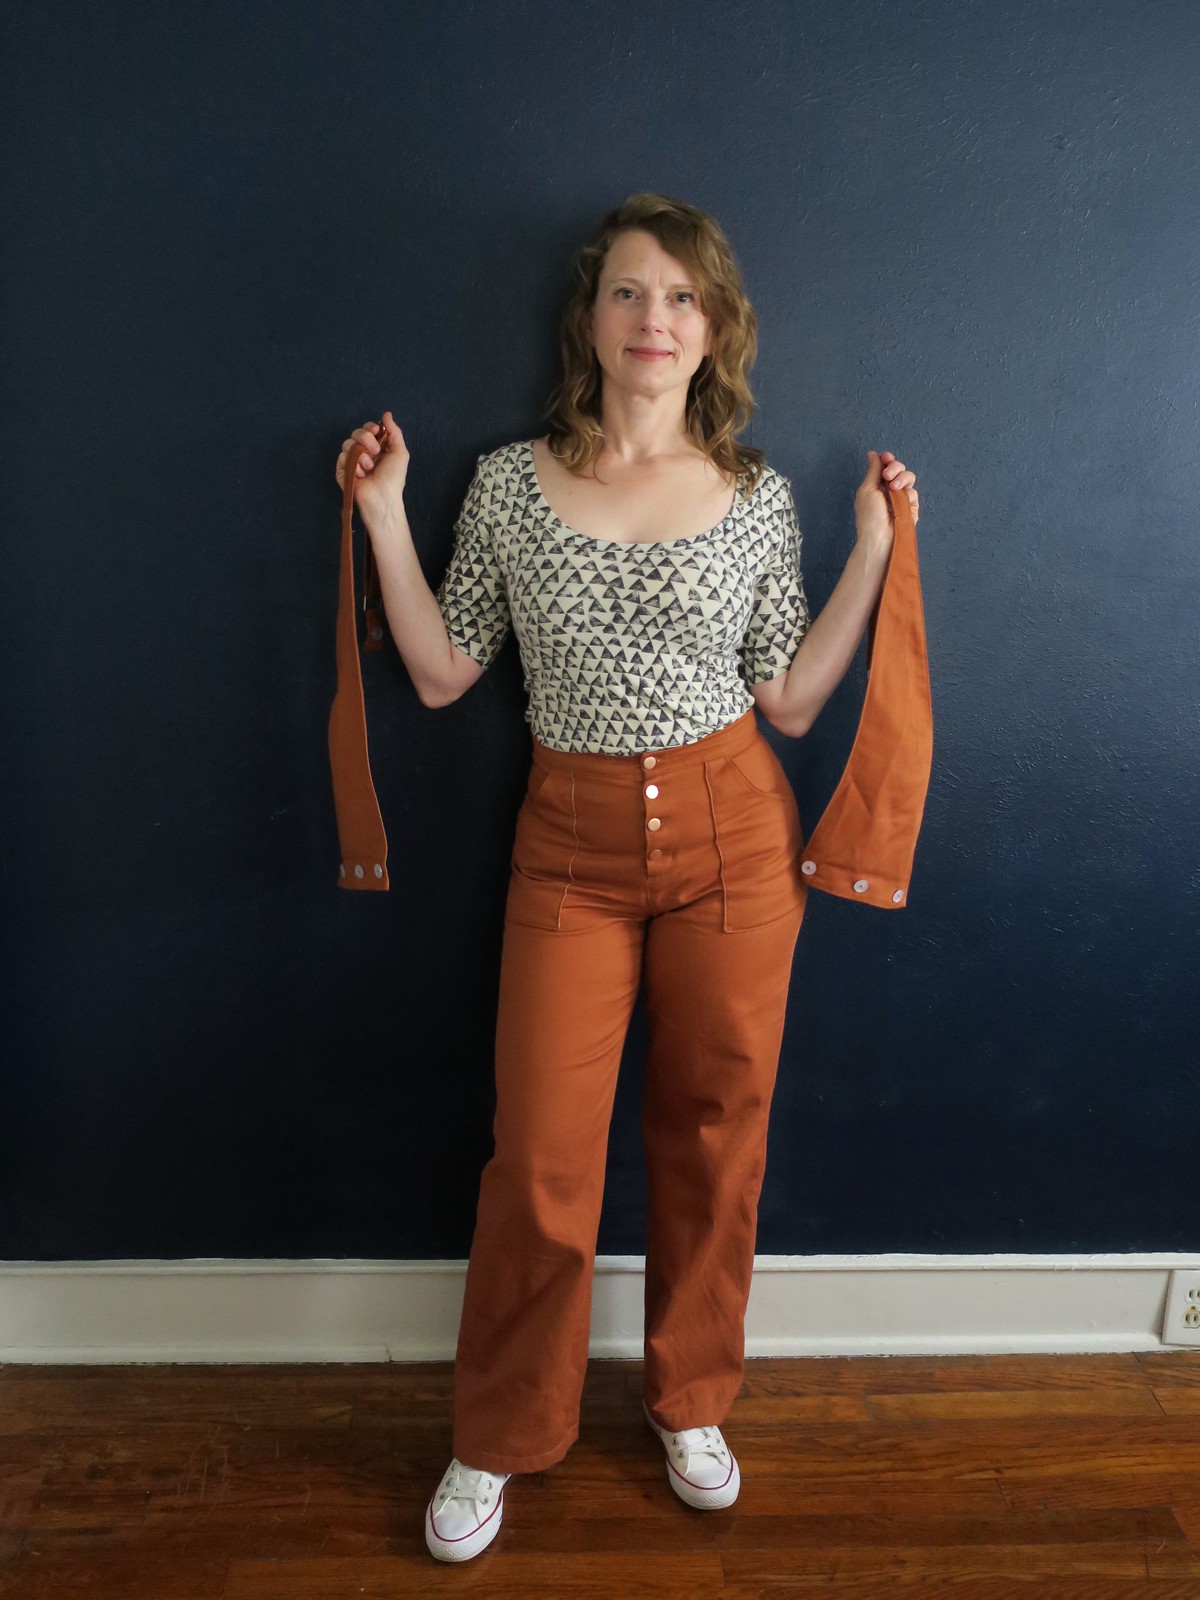
I used the tutorial from SewNorth on instagram to figure out how to attach my two bib pieces. The waist band has an extra layer of fabric to protect it from the buttons and the inside waist band has button holes. This worked out great and now I have a party trick where I can remove the top half of these overalls and have plain 'ol pants.
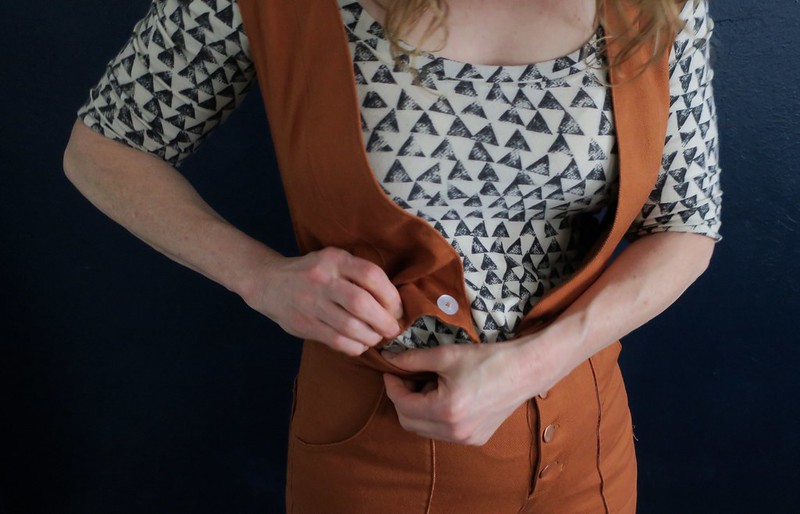
The only downside to this is that I think between the extra layer of fabric and the buttons they fit a little tighter when the bib is buttoned on.

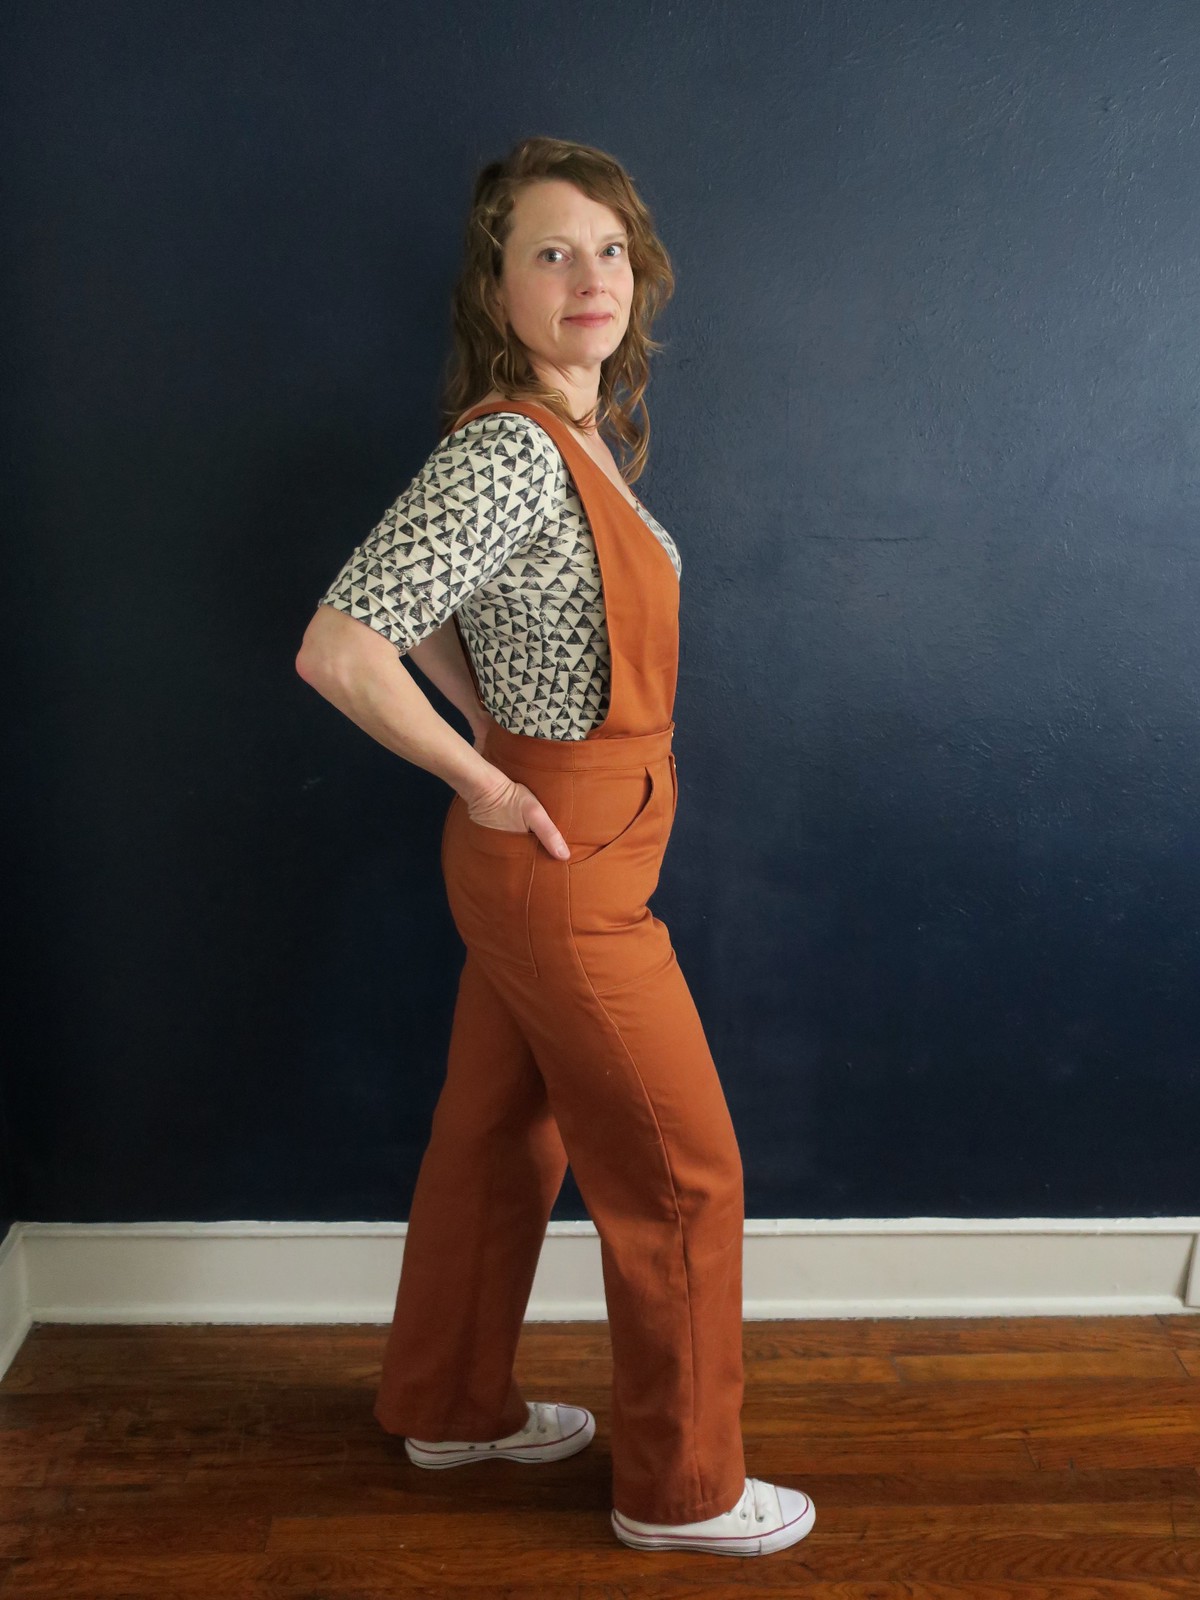
I'm learning so much about my body from sewing pants. I always thought of myself as "short waisted". My waist is very close to my bust. In my mind I assumed that my waist to crotch length would also be short, but now I think I have a high waist. I have seen the Lander pants sit at some peoples true waist without alterations. Even with lowering the crotch after they were all put together I think these need another 1" to 1.5" to sit at my true waist. Next time I make this pattern I will add that length. Right now they are just a tiny bit uncomfortable where they are sitting. While that could be frustrating, this is by far the best fitting pair of pants that I have made so far and I am hoping they will stretch enough to make them comfy.
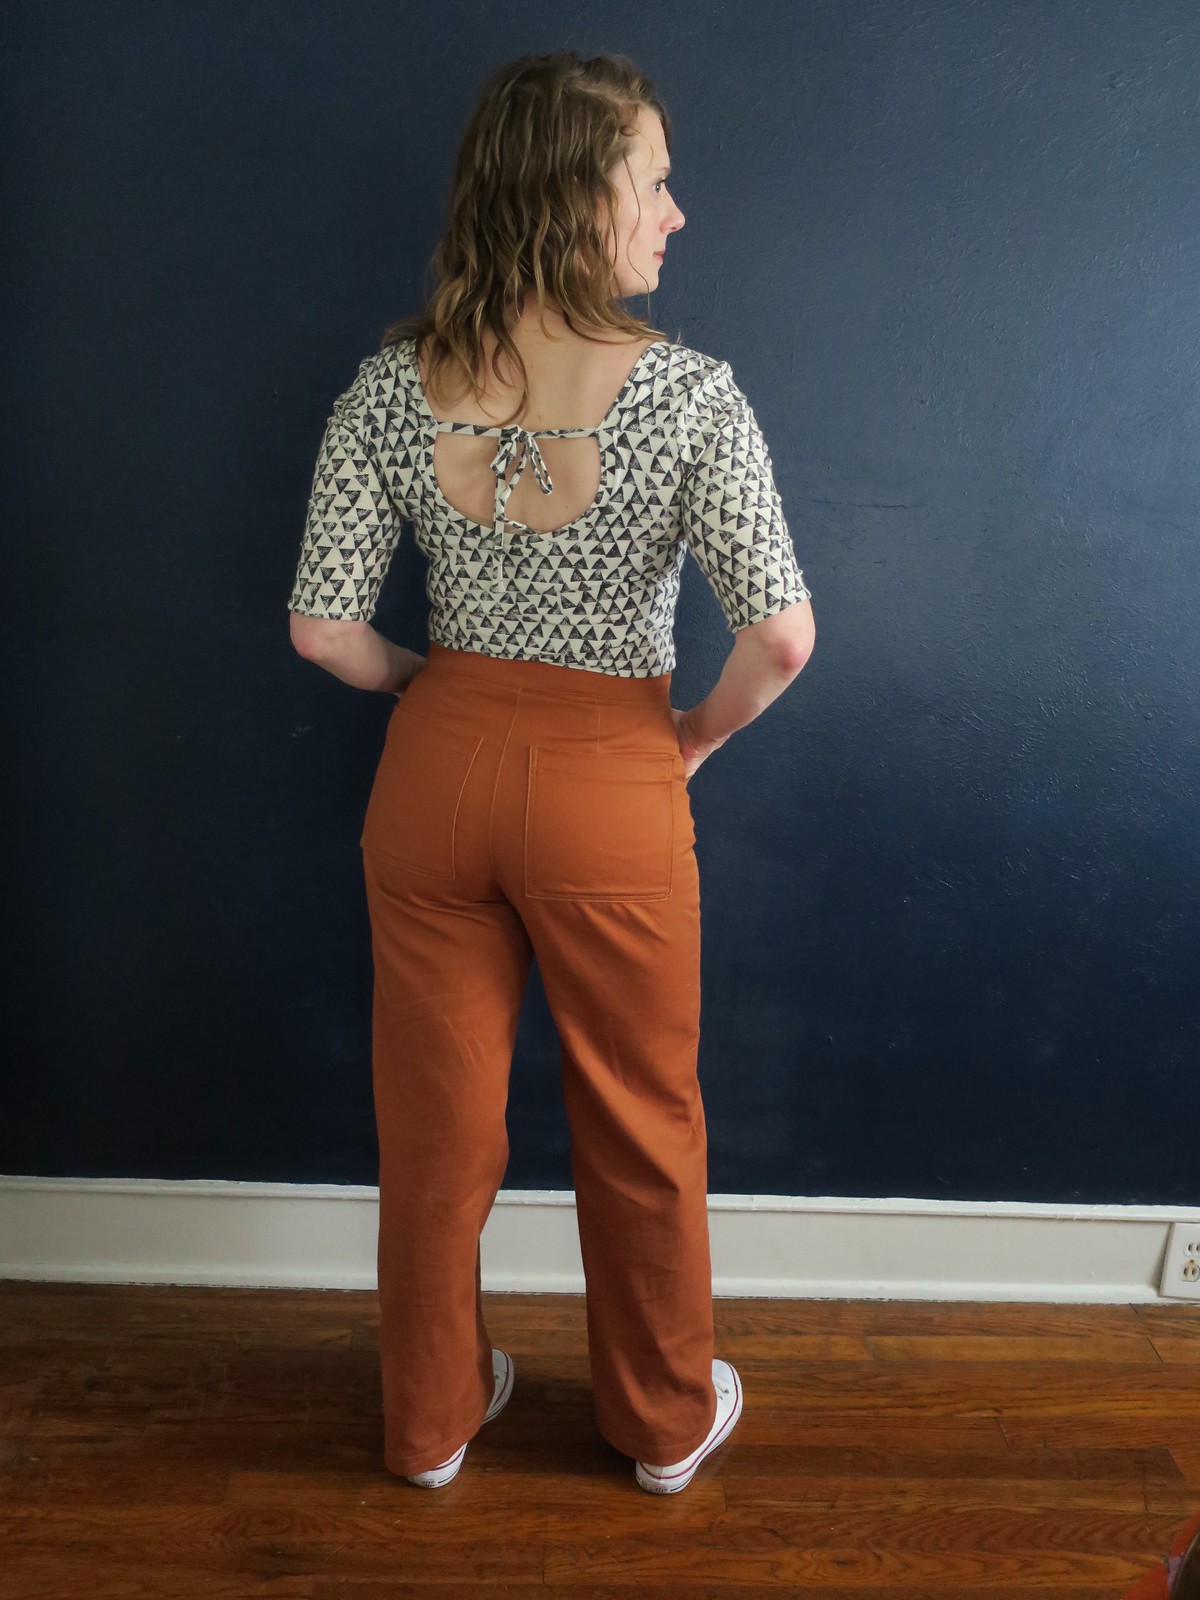
I'm super proud of the top stitching on these pants. When I got my new Bernina last Fall I really thought it would handle top stitching thread easily, but that was not the case. I now use my triple stitch and it works so well! I can't get enough of top stitching, so I am really happy to have an option that works without the headache of thread nests that come along with proper top stitching thread. I highly recommend trying the triple stitch if your machine has that setting.

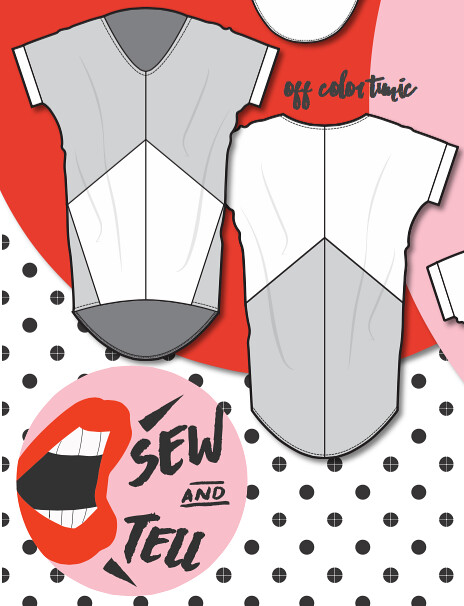
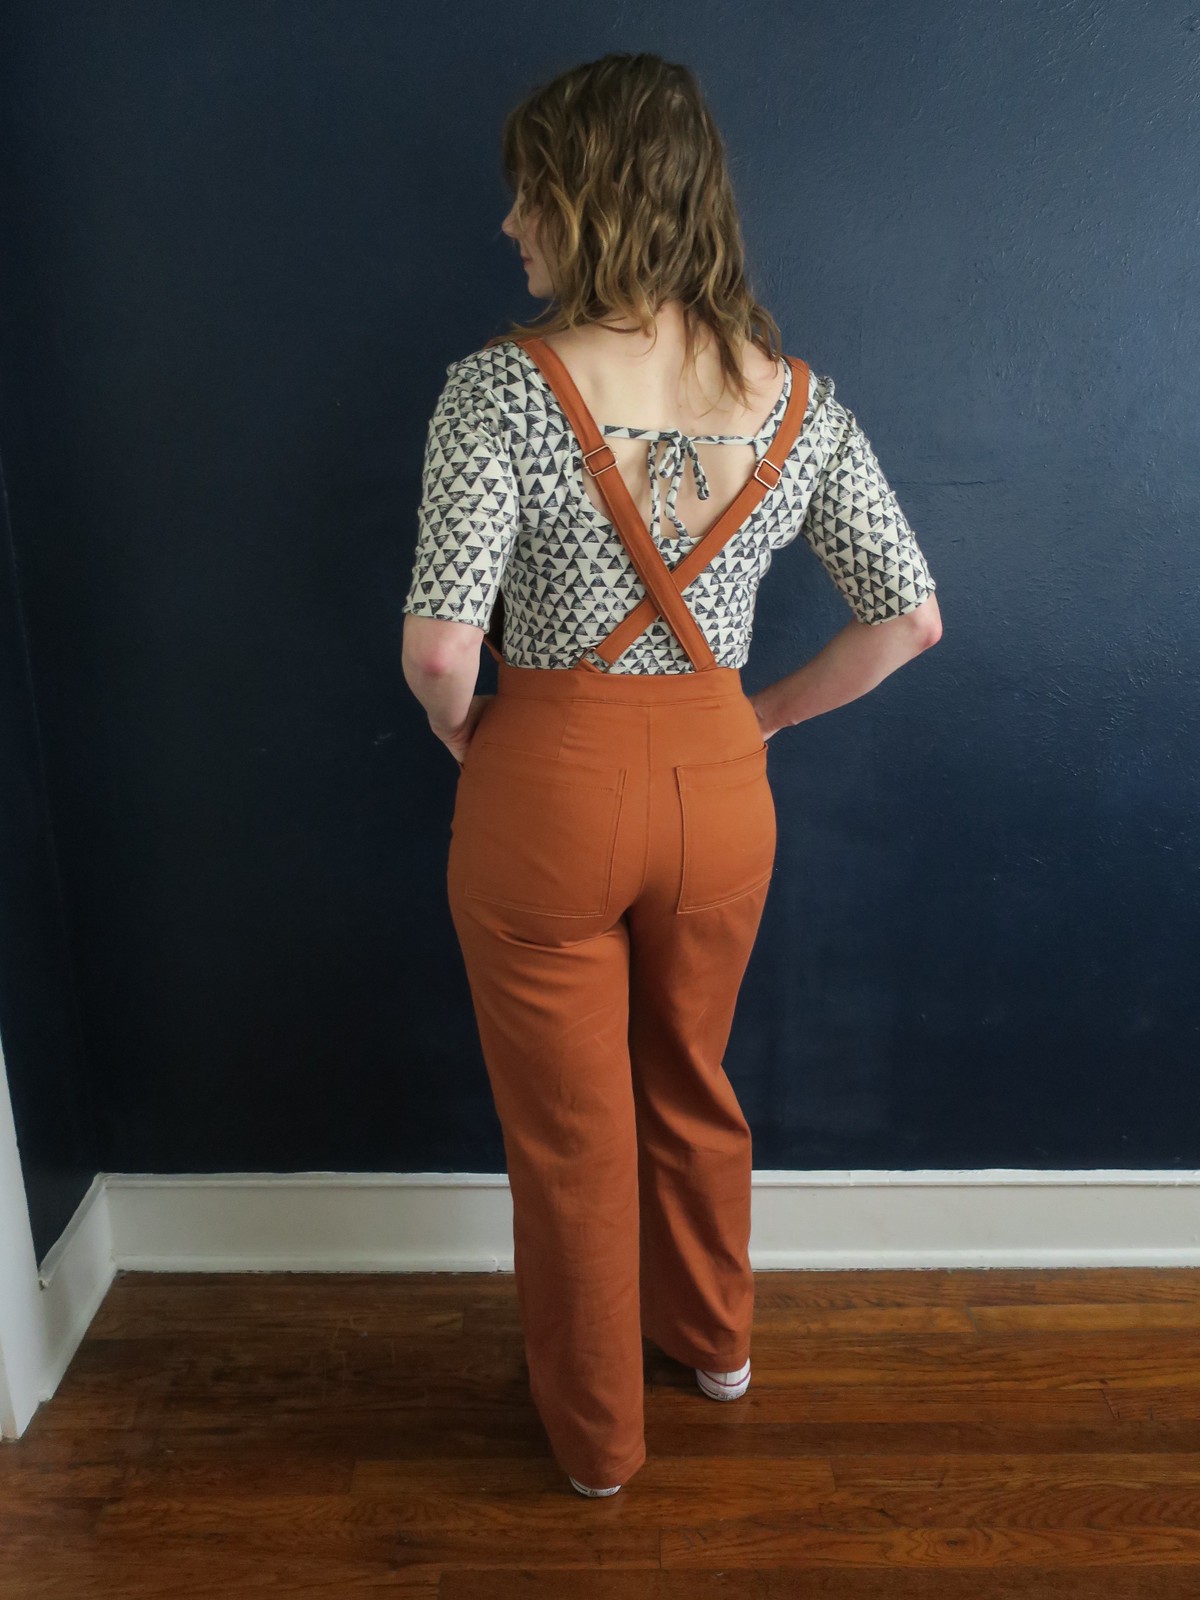
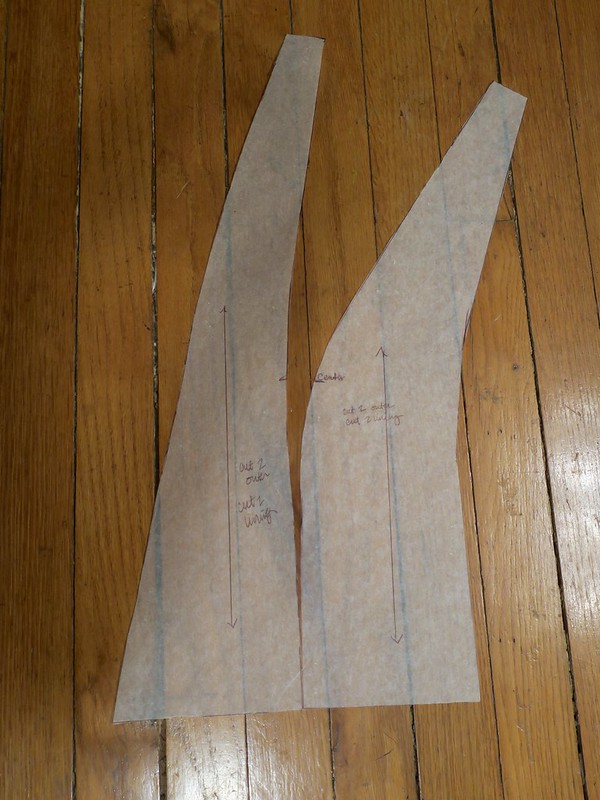
Planning and drafting the bib portion really took some thinking. I started with a triangle shape but that angled straight up to my neck. I pinched enough out of the side to see what the angle should look like and went from there. It was all very intuitive. I did about 5 drafts and muslins before I cam up with this shape and I'm thrilled with the results. I can totally envision having a skirt with this bib attached as well.
Lander Pants
Fabric: Robert Kauffman Ventana Twill in Brick Brown from Fancy Tiger Crafts (3 yards)
Adjustments:
I'm not totally sure now where these end up on the Lander pattern size wise. I need to retrace my pattern pieces with my new pants adjustments and see.
Cut 4 at front waist and 6 at back waist, tapering out to an 8 at the hips
Took in 1/4" off side seams except at hip
Took 1/2 wedge out of the center back seam where it meets the waistband.
Low butt and Round pubis adjustments
Lowered crotch slightly after putting them all together (next time I will add 1-1.5" to crotch length)
Drafted curved waistband
Measurements:
34 Bust
26 Waist
38 Hip
I realized this past week that my last three sewing projects have been extremely labor intensive and tedious. I still need to share the other two of those. I think I need a palate cleanser, and now would probably be a good time to work on my plan of sewing more projects with knit fabrics.